How to Fix a Sagging Car Headliner Without Replacing It
A sagging headliner is one of the most common and unsightly problems in older vehicles. The foam-backed fabric that covers the ceiling detaches from the board above, hanging down in unsightly bubbles or drooping completely. Professional repair costs $200-500, but several effective DIY fixes exist for under $30.
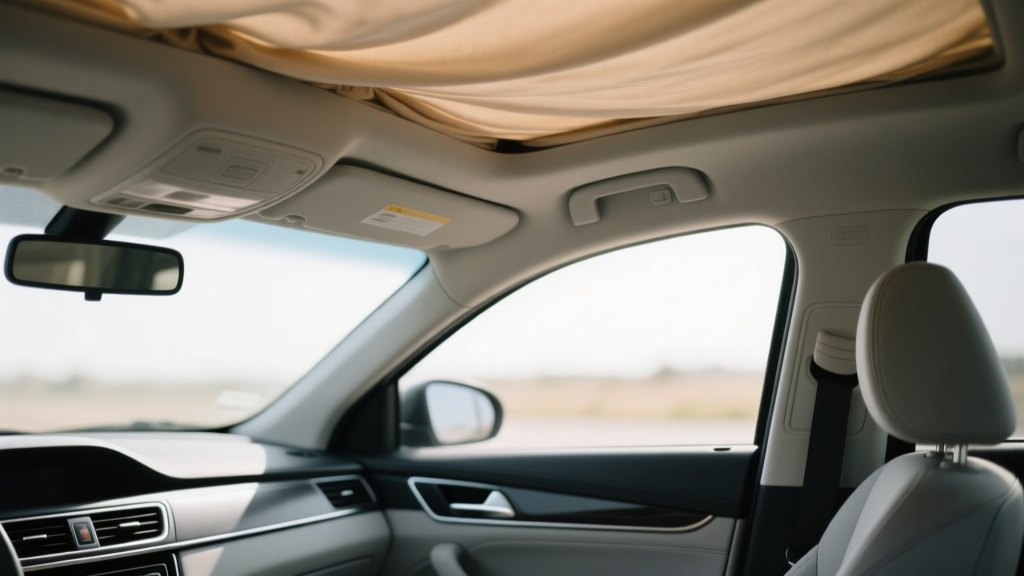
Why Headliners Sag
The headliner consists of a rigid board (usually fiberglass or cardboard) with a layer of foam glued to it, and fabric bonded to the foam. Over time, heat, humidity, and age cause the adhesive between the foam and board to break down. The foam itself also deteriorates, becoming crumbly. Once the adhesive fails, gravity pulls the fabric downward. This is most common in vehicles 10+ years old, cars parked in hot climates, and convertibles that experience more temperature cycling.
Method 1: Twist Pins (Quickest Fix)
Headliner twist pins (also called headliner repair pins) are small, clear plastic pins that push through the fabric into the board above, holding the fabric in place. They cost $8-15 for a pack of 50-100 pins. Installation takes 15-20 minutes. Space pins 4-6 inches apart in a grid pattern across the sagging area. Push each pin through the fabric until the head snaps flush — the clear plastic is nearly invisible from below. This is the fastest fix but does add visible pin points to the headliner. Best for: emergency repairs, budget fixes, vehicles you plan to sell.
Method 2: Adhesive Spray (Best DIY Result)
This method reattaches the fabric to the board without removing the headliner. You need: 3M Super 77 or 3M Headliner Adhesive spray ($12-15), a paint roller or wallpaper seam roller, and a helper. Lower the headliner carefully — if it is only partially detached, pull the loose section away from the board. Scrape off the old crumbly foam from both the board and the back of the fabric using a putty knife. Spray adhesive on both the board and the fabric back. Wait 30 seconds for the adhesive to become tacky. Starting from one edge, press the fabric onto the board while your helper supports the other end. Roll firmly with the paint roller to ensure good adhesion. Work in sections to prevent the adhesive from drying before you press the fabric down.
Method 3: Full Removal and Re-glue (Best Quality)
For the best result, remove the headliner board from the car entirely. This requires removing sun visors, dome lights, grab handles, and A-pillar trim (usually Phillips screws and plastic clips). Once removed, peel off the old fabric and scrape away all deteriorated foam. Cut new headliner fabric (available at auto parts stores for $20-30 per yard) slightly larger than the board. Spray both surfaces with headliner adhesive, wait for tackiness, then carefully lay the fabric from center outward, smoothing as you go. Trim excess fabric around edges with a utility knife. Reinstall the board and all hardware. Total cost: $35-50. Time: 3-4 hours.
Preventing Future Sagging
Park in shade or use a windshield sunshade to reduce heat buildup — heat is the primary cause of adhesive failure. Avoid smoking in the car (smoke residue weakens adhesive). Do not clean the headliner with excessive moisture — spray cleaner on a cloth, not directly on the fabric. If you notice early signs of separation (small bubbles), address them immediately with adhesive before the problem spreads.