How to Fix Car Interior Trim Rattles: Locate and Eliminate Them
Why Interior Trim Rattles
As cars age, plastic clips weaken, foam padding compresses, and screws loosen. This creates gaps between trim pieces that vibrate against each other when driving over bumps or at certain speeds. The fix is almost always: find the gap, fill it, and secure the loose piece.
Step 1: Locate the Rattle
Drive with a friend who can press on different trim pieces while you listen. Common sources:
- Dashboard center stack (where radio/HVAC controls meet the dash)
- Door panels (especially near the speaker and armrest)
- Center console lid and cup holders
- Overhead console / sunglasses holder
- Trunk trim panels
- Seat belt buckle housings
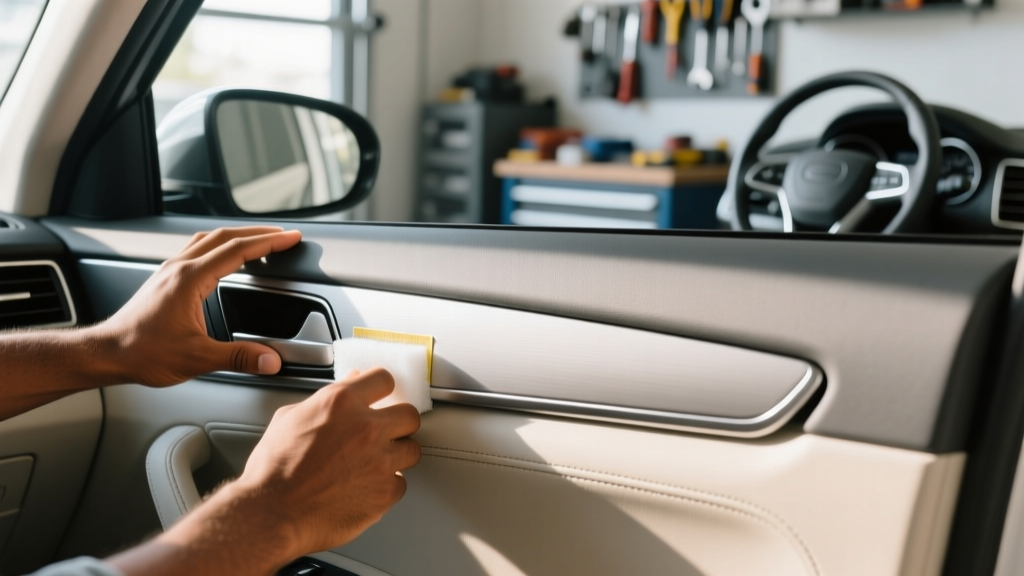
Step 2: Remove and Inspect
Use a trim removal tool (plastic pry tool, $5 for a set) to carefully remove the rattling panel. Inspect the clips — most are push-type plastic clips. Replace any that are broken or deformed. They cost $5-10 for a bag of 50-100 at any auto parts store.
Step 3: Apply Anti-Rattle Material
Felt tape (Tesa 51608 or similar): Apply strips to all edges where the trim panel contacts metal or other plastic. This is the single most effective fix. A $10 roll lasts for an entire car.
Foam tape (closed-cell, 1/16 inch): Apply to larger contact areas. It compresses and eliminates the gap that causes vibration.
Hot glue: For cup holders and small loose items, a small bead of hot glue in the gap can stop rattling without permanent damage.
Step 4: Reassemble and Test
Reinstall the panel, making sure all clips snap into place. Test drive on the same road where the rattle was most noticeable. If it persists, re-check — sometimes the rattle is coming from an adjacent panel, not the one you fixed.
Pro Tips
- Temperature matters — rattles are worse in cold weather when plastic contracts
- Work in a warm garage if possible — clips are less brittle
- Label clips and screws as you remove them — many sizes are used in one car
- Some rattles come from items in the glove box or door pockets — check those first