How to Clean and Restore Car Interior Plastic Trim
Car interior plastic trim degrades over time — it fades from UV exposure, develops a sticky surface from chemical breakdown, or gets scratched from daily use. Unlike leather or fabric, plastic cannot be "conditioned" back to health, but several restoration methods can dramatically improve its appearance.
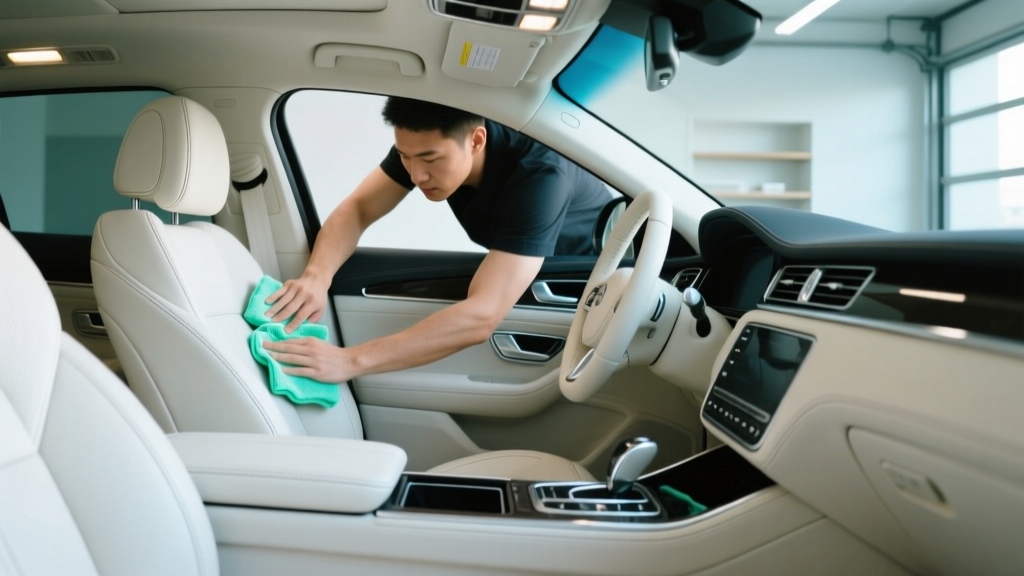
Step 1: Deep Cleaning
Before any restoration, clean the plastic thoroughly. Use a soft brush (a detailing brush or old toothbrush) with diluted all-purpose cleaner (Chemical Guys Nonsense or diluted dish soap) to scrub the textured grain of the plastic. The grain traps dirt, body oils, and product residue that make the plastic look dull and discolored. Rinse with a damp microfiber cloth and dry. You will be surprised how much darker and cleaner the plastic looks after proper cleaning alone.
Step 2: Sticky Plastic Fix
Some car interiors (especially Honda, Toyota, and BMW from 2005-2015) develop a sticky, gooey surface on buttons, door handles, and trim pieces. This is caused by the soft-touch rubberized coating breaking down. Fix it by removing the sticky coating entirely: apply isopropyl alcohol (91%+) to a microfiber cloth and rub firmly. The sticky layer dissolves and comes off, leaving the hard plastic underneath. It will look slightly different (glossier, lighter) but will no longer be sticky. For large areas, Goo Gone works as a less aggressive alternative.
Step 3: Color Restoration (Plastic Dye)
For faded or discolored plastic, a plastic dye (not paint) can restore the original color. SEM Color Coat is the industry standard — it is a flexible dye that bonds to plastic without cracking or peeling. Available in dozens of colors including common interior shades (charcoal, tan, black, gray). Clean the surface with SEM Soap, apply 2-3 light coats of Color Coat (15 minutes between coats), and let cure 24 hours. The result looks factory-original because the dye penetrates the plastic rather than sitting on top like paint. A single can ($20) covers an entire dashboard.
Step 4: Scratch Repair
Light scratches in plastic can be minimized with a heat gun. Set the heat gun to low (200-250°F) and pass it over the scratched area at 4-6 inches distance, keeping it moving constantly. The heat slightly melts the plastic surface, causing the scratch edges to flow and blend. This works best on dark-colored textured plastic. Do not hold the heat gun in one spot — you will create a shiny spot or melt the plastic. Practice on an inconspicuous area first.
Step 5: Trim Dressing
After cleaning and any repairs, apply a trim dressing (like 303 Aerospace Protectant or Meguiar's Quik Interior Detailer) to give the plastic a uniform, matte-to-satin finish. This also provides UV protection that slows future fading. Avoid glossy dressings — they look artificial on interior trim and cause glare on the dashboard.