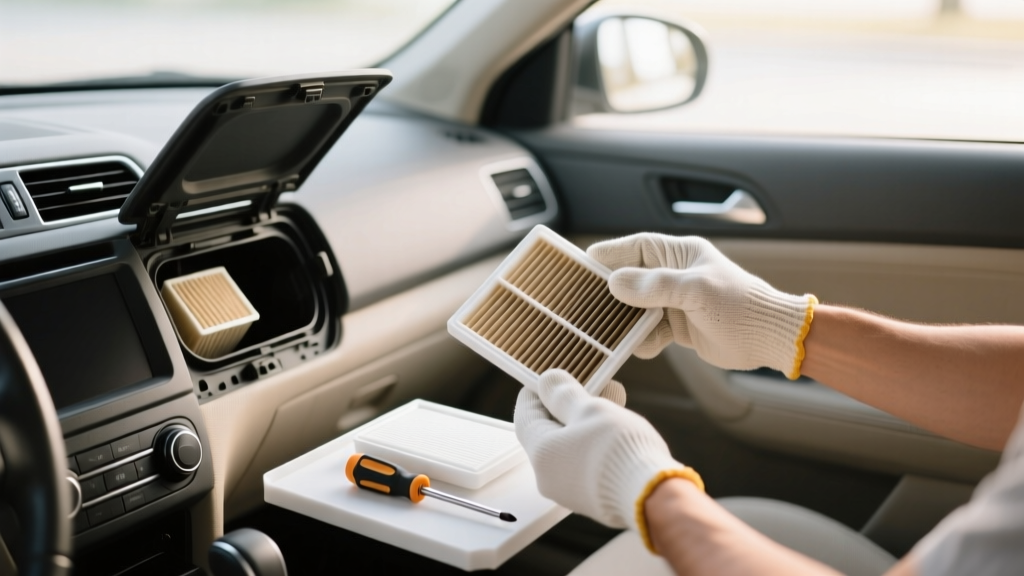
How to Replace Your Cabin Air Filter in Under 10 Minutes
Your cabin air filter cleans the air you breathe inside the car, filtering out dust, pollen, exhaust particles, and odors. A clogged filter reduces AC performance, causes musty smells, and allows pollutants into the cabin. Most manufacturers recommend replacement every 15,000-20,000 miles, but many car owners never replace theirs. The good news is that it is one of the easiest DIY maintenance tasks — it takes under 10 minutes and costs $15-30 versus $50-100 at a dealership.
Finding Your Cabin Air Filter
In most vehicles, the cabin air filter is located behind the glovebox. Some vehicles (particularly European brands) place it under the hood near the windshield base, or under the dashboard on the passenger side. Check your owner's manual for the exact location. If you do not have a manual, search your vehicle make, model, and year plus "cabin air filter location" online.
Tools You Need
Usually none — most glovebox-mounted filters require only your hands. Some vehicles have a small access panel held by one Phillips screw. A new cabin air filter (check your owner's manual for the correct part number or use a filter finder at an auto parts store).
Step-by-Step Replacement (Glovebox Location)
Step 1: Open the glovebox and remove all contents. Look for a stopper or arm on the right side that limits how far the glovebox opens. Unclip or unhook this stopper.
Step 2: Squeeze the sides of the glovebox inward to release the retention tabs. The glovebox will swing down fully, exposing the filter housing behind it.
Step 3: Locate the rectangular filter cover. It typically has clips or a latch — release them and remove the cover.
Step 4: Slide the old filter out. Note the direction of the airflow arrow printed on the filter frame — the new filter must go in the same direction.
Step 5: Insert the new filter with the airflow arrow pointing the same direction (usually downward or toward the blower motor).
Step 6: Replace the cover, swing the glovebox back up, and re-engage the retention tabs and stopper.
Upgrading to an Activated Carbon Filter
Standard filters only trap particles. Activated carbon filters also absorb odors, exhaust gases, and VOCs. They cost $5-10 more but make a noticeable difference in air quality, especially in urban areas with heavy traffic. Look for filters labeled "activated carbon" or "charcoal" — brands like Bosch, Mann, and WIX offer them for most vehicles.
Signs Your Filter Needs Replacing
Reduced airflow from AC/heater vents, musty or moldy smell when the AC is on, visible dirt or debris on the filter when inspected, increased allergy symptoms while driving, or whistling sounds from the vents. If you cannot remember the last replacement, it is time for a new one.