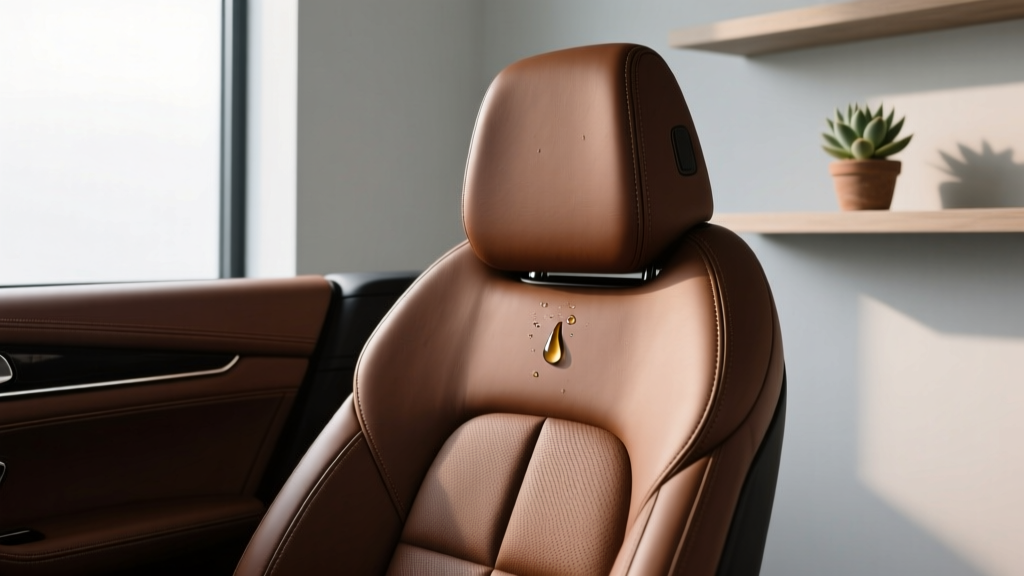
Cleaning for Leather Seats - CarInteriorMix
Cleaning for Leather Seats: Practical Tips That Actually Work
Leather seats make a car feel nicer?until everyday life hits. Coffee drips, sunscreen smears, kid snacks, pet paws, and that mystery grime that builds up on bolsters can make leather look dull and feel sticky faster than you?d think.
The good news: you don?t need a detail shop visit every time. With the right approach (and a couple of cheap tools), you can keep leather car seats clean, soft, and crack-free?without turning your driveway into a detailing lab.
-
1) Vacuum first, or you?ll grind dirt into the leather
Before any leather cleaner touches your seats, vacuum seams, stitching, and the crease between the seat bottom and back. Grit acts like sandpaper?if you scrub without removing it, you can scuff the finish and wear the topcoat faster.
Real-world example: If you notice shiny ?polished? patches on the driver bolster, that?s often dirt and friction. A quick vacuum plus gentle brush pass can prevent that from getting worse.
-
2) Use a pH-balanced leather cleaner (or a safe DIY in a pinch)
For routine cleaning, grab a dedicated leather car seat cleaner that?s pH-balanced?popular picks include Lexol Leather Cleaner or Chemical Guys Leather Cleaner. These are designed to lift body oils and grime without stripping the finish.
If you?re stuck at home, a mild DIY option is a few drops of gentle dish soap in warm water?use it lightly and don?t soak the surface. Avoid vinegar-heavy mixes and harsh all-purpose cleaners; they can dry out leather and damage the protective coating.
-
3) Spray the towel, not the seat (especially on perforated leather)
Spraying directly onto the seat can push cleaner into stitching, perforations, and seat controls?leading to lingering moisture and smells. Instead, mist your microfiber towel and wipe in small sections.
Scenario: If your car has ventilated seats, liquid seeping into perforations can cause funky odors or leave cleaner residue inside the holes. Keep liquids on the towel and use minimal product.
-
4) Use a soft interior brush for grain and stitching lines
A soft horsehair or boar-hair detailing brush helps clean the textured grain where oils and dirt hide?especially on headrests and armrests. Work in gentle circles, then wipe with a clean microfiber towel.
Skip stiff brushes and magic erasers; they can dull the finish and create lighter spots. If you don?t have a detailing brush, a clean, soft toothbrush can work on stitching?just keep pressure light.
-
5) Tackle body-oil ?shine? on bolsters with a two-pass wipe
That slippery shine on the driver seat side bolster isn?t ?well-conditioned leather??it?s usually built-up body oils and dirt. Do one pass with cleaner to loosen grime, wipe dry, then do a second light pass if needed.
Tip: If your towel comes away gray or brown, switch to a fresh microfiber so you?re not smearing grime back onto the leather.
-
6) Treat stains by type: food, ink, dye transfer, and sunscreen
Different stains need different tactics. For food and drink, blot first (don?t rub), then use leather cleaner and a microfiber. For ink, use a leather-safe ink remover (test in a hidden spot) and dab gently?aggressive rubbing can spread it.
Dye transfer from dark jeans is common on light leather; a dedicated leather cleaner plus soft brush usually works if you catch it early. Sunscreen leaves a slick film?use a pH-balanced cleaner, then wipe again with a damp towel to remove residue.
-
7) Don?t over-wet leather?moisture is the enemy of seams and padding
Leather in modern cars is typically coated, so soaking doesn?t ?deep clean? it?it just drives moisture into seams and foam. Use the least amount of liquid needed and dry as you go with a second towel.
Safety note: Be extra careful around seatbelt buckles, power seat switches, airbags in seat bolsters, and heated/ventilated seat areas. If you accidentally over-wet a spot, blot dry and leave doors open to air out.
-
8) Condition lightly (and only when the seat is truly clean)
Conditioner helps keep leather feeling supple, but it works best after cleaning?otherwise you?re sealing in grime. Use a non-greasy leather conditioner like Lexol Conditioner or Meguiar?s Gold Class Leather Conditioner, applied sparingly with a foam applicator or microfiber.
Let it absorb, then buff lightly so the surface isn?t slick. If your seat feels slippery after conditioning, you used too much?wipe down with a clean towel until it feels natural.
-
9) Protect against UV and heat?your fastest route to cracking and fading
Sunlight and heat are brutal on leather car seats, especially on the driver side. Use a windshield sunshade, park in shade when possible, and consider a leather protectant with UV inhibitors (many interior protectants are safe for coated leather?follow the label).
Example: If your car sits outside at work all day, a $15 sunshade can do more for long-term leather care than any fancy product.
-
10) Set a realistic routine: quick wipe weekly, deeper clean monthly
A quick weekly wipe with a slightly damp microfiber keeps dust and body oils from building up. Then do a deeper leather seat cleaning once a month (or every 6?8 weeks) using cleaner + brush for high-touch areas.
If you have kids, pets, or rideshare passengers, bump the schedule up?especially for the rear seats and armrests. The goal is to prevent heavy grime so you never have to scrub aggressively.
-
11) Know when your ?leather? is actually leatherette (and clean accordingly)
Many vehicles have leatherette (synthetic leather) or a mix of real leather and vinyl. Leatherette is usually easier to clean and doesn?t need heavy conditioning?often a gentle interior cleaner and microfiber is enough.
Quick check: Look in your owner?s manual or trim description (e.g., ?leather-appointed? often means some vinyl). When in doubt, use a mild, pH-balanced leather cleaner?it?s typically safe for both coated leather and quality synthetic surfaces.
Quick Reference Summary
- Vacuum seams and creases before wiping to avoid grinding dirt into the leather grain.
- Use a pH-balanced leather cleaner; DIY mild soap-and-water only as a backup.
- Spray the towel?not the seat?especially for perforated and ventilated leather seats.
- Use a soft detailing brush for stitching, grain, and oily shine on bolsters.
- Condition lightly after cleaning, then buff so seats aren?t slick.
- Prevent damage with UV protection: sunshade, shade parking, and protectant if appropriate.
Wrap-Up
Leather seat care doesn?t have to be complicated?you just need the right order (vacuum, clean, dry, then condition) and a light touch. Try a couple of these tips on your driver seat this weekend, and you?ll notice the difference immediately: less shine, less stickiness, and a cleaner look that lasts.