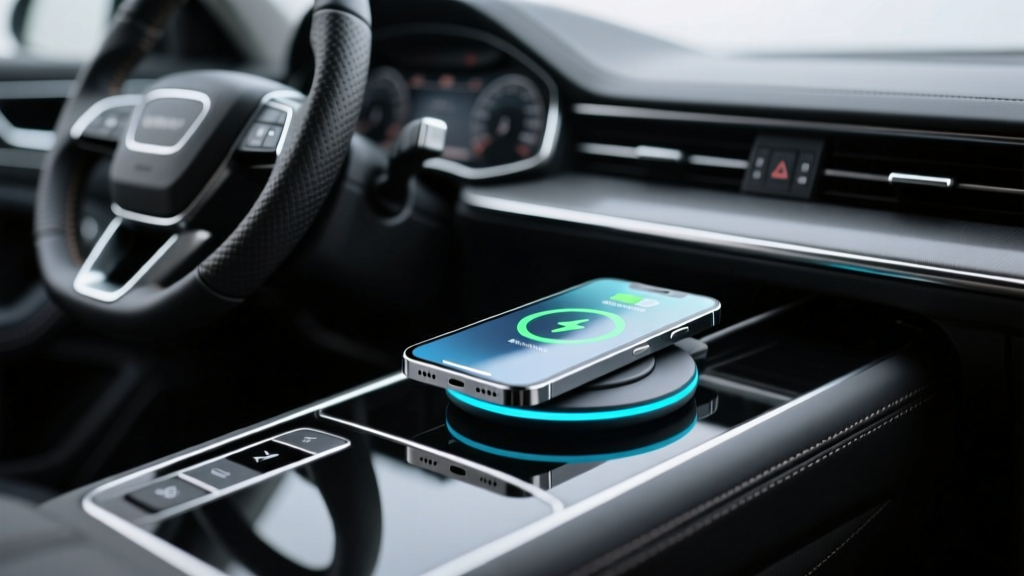
Wireless Charger Care & Cleaning: Car Interior Guide
A factory-style wireless charging pad can make your cabin feel modern and effortless?until it starts acting up. One day your phone charges perfectly, the next it overheats, connects intermittently, or refuses to charge unless you nudge it into a ?sweet spot.? Most of those headaches trace back to a few preventable issues: dirty contact surfaces, heat buildup, poor alignment, and small installation shortcuts that compound over time.
This Part 2 guide focuses on keeping your wireless charger integration reliable long after the install is finished. You?ll learn what to clean (and what to avoid), how to troubleshoot common charging problems, and how to protect your center console and trim while maintaining fast, consistent Qi charging. Whether you?re running a factory charger, an aftermarket pad, or a custom integrated module, the same principles apply.
If Part 1 covered planning and integration basics, think of Part 2 as the ?long-term ownership? playbook?care routines, real-world fixes, and smart habits that keep your charger working like new.
How Wireless Charging Pads Fail Over Time (And Why Cleaning Helps)
Wireless charging in cars isn?t fragile, but it is sensitive. Qi charging relies on close coil alignment and minimal obstruction between the charger and your phone. A thin layer of grime, a tacky protectant, or a warped rubber mat can be enough to turn stable charging into stop-and-go behavior.
The most common long-term culprits
- Surface contamination: body oils, dust, makeup, sunscreen, spilled drinks, and interior dressings form a film that reduces grip and increases heat.
- Heat soak: sun-baked consoles and poor airflow raise pad temperature; phones throttle charging to protect the battery.
- Pad movement or sag: adhesives soften in heat; mounting brackets loosen; the pad shifts and coil alignment worsens.
- Foreign objects: coins, key fobs, and metal plates trigger ?object detected? interruptions (or simply block charging).
- Case-related problems: thick cases, magnetic rings, wallet cases, or metal kickstands interfere with the charging field.
Tools and Products You?ll Actually Use
You don?t need a shelf of detailing chemicals. You need the right few products that won?t haze plastics, degrade rubber mats, or leave slippery residue that makes phones slide around.
Recommended cleaning kit for Qi charging areas
- Microfiber cloths (2?3): one for cleaning, one for drying, one kept ?clean-only? to avoid grit scratches.
- Interior-safe cleaner: a residue-free interior cleaner designed for plastics and vinyl.
- 70% isopropyl alcohol (IPA): good for disinfecting and removing oils?use sparingly and never soak surfaces.
- Soft detailing brush: for seams and textured surfaces around the pad.
- Cotton swabs or foam swabs: for tight edges and LED indicators.
- Compressed air (optional): for blowing dust from crevices; use short bursts.
Product comparison: what to use vs. what to avoid
- Best for routine cleaning: pH-balanced interior cleaner (matte finish, no gloss).
- Best for oily residue: lightly dampened microfiber with 70% IPA, followed by a dry microfiber.
- Best for rubber pad inserts: mild soap and water, fully dried before reinstalling.
- Avoid: silicone-heavy dressings, greasy ?shine? products, glass cleaners with ammonia, strong degreasers, acetone, and abrasive pads.
Why avoid glossy protectants? They leave a slick layer that lets the phone slide, causing coil misalignment. They can also trap heat and collect dust faster, leading to more charging interruptions.
Step-by-Step: Cleaning a Wireless Charger Pad Without Hurting Performance
Most charger pads sit in high-touch, high-spill zones. Cleaning correctly improves charging stability, reduces overheating, and helps the phone stay put during turns.
Step 1: Power down and cool off
- Turn off the vehicle or at least the accessory power feeding the charger.
- If the console is hot from sunlight, let it cool for 5?10 minutes with the doors open or AC running.
Step 2: Remove loose debris
- Lift out any rubber mat insert if your charger uses one.
- Shake out debris and use compressed air or a soft brush around edges and seams.
- Wipe the phone-facing surface with a dry microfiber to pick up dust before using any liquid.
Step 3: Clean the charging surface (plastic, rubber, or faux leather)
- Spray interior cleaner onto a microfiber cloth (not directly on the pad).
- Wipe the surface using light pressure, focusing on shiny spots where oils build up.
- Use a soft brush for textured grain, then wipe again to lift loosened grime.
- Dry immediately with a second microfiber.
Step 4: Spot-treat stubborn residue (only if needed)
- Dampen a corner of a microfiber cloth with a small amount of 70% IPA.
- Lightly wipe the problem area (sticky drink residue, sunscreen film, etc.).
- Follow with a water-damp cloth (very lightly) and then dry.
Step 5: Clean the rubber insert separately
- Wash with mild soap and warm water.
- Rinse thoroughly to avoid leaving a slick film.
- Air dry completely before reinstalling (trapped moisture can fog plastics and cause odors).
Real-world example: the ?sliding phone? problem
If your phone charges for 20 seconds, then stops every time you take a corner, the surface is often the culprit. A glossy protectant or skin oils reduce friction. After a residue-free clean and a fully dried rubber mat, most pads hold the phone steady again and charging becomes consistent.
Care Habits That Prevent Overheating and Charge Dropouts
Heat is the enemy of wireless charging speed. Your phone will protect itself by slowing down or pausing charging if temperatures spike?especially during navigation, streaming, and summer driving.
Simple habits that make a big difference
- Start cool: if the car has been in the sun, run the AC for a few minutes before placing your phone on the pad.
- Remove thick cases on long drives: rugged cases insulate heat; a slim case often charges faster and cooler.
- Avoid stacking: don?t place keys, cards, or another phone on top of the charging area.
- Don?t cover the pad: console organizers, napkins, or even a wallet can trap heat and block alignment.
- Use vent direction strategically: angle a nearby vent toward the console area on hot days.
When ?fast charging? isn?t your friend
Some aftermarket wireless charger integrations advertise higher wattage. In a hot cabin, more wattage can mean more heat, and heat can mean throttling?so the real-world result may be slower, not faster. If your setup allows it, a stable 7.5W?10W can outperform an unstable higher-watt pad in summer conditions.
Troubleshooting: Fixing Common Wireless Charging Problems in the Car
Before replacing the pad or blaming your phone, run through these checks. Many issues are alignment or contamination-related.
Problem: Charging starts and stops repeatedly
- Check alignment: reposition the phone slowly until charging holds steady.
- Clean the surface: oils and glossy residue can cause sliding and misalignment.
- Inspect for movement: gently press around the pad?if it flexes or shifts, mounting may be loose.
- Remove magnetic accessories: MagSafe-style rings and magnetic mounts can interfere on some pads.
Problem: Phone gets hot and charging slows
- Reduce heat load: close unused apps, lower screen brightness, and avoid direct sun on the phone.
- Try a slimmer case: or remove it temporarily.
- Improve cooling: direct AC toward the console and avoid covering the pad.
- Clean for better contact: dust and grime increase heat by reducing efficiency.
Problem: Wireless charging won?t start at all
- Verify power: confirm the charger?s USB/12V feed is active and the fuse (if used) is intact.
- Look for foreign objects: coins can trigger safety shutdown or block the charging field.
- Test with a second phone: to isolate whether it?s the pad or the device/case combo.
- Check compatibility: ensure your phone supports Qi wireless charging (some trims/models don?t).
Problem: The phone charges, but only in one exact spot
- Likely cause: coil alignment mismatch between pad and phone.
- Fixes: add a thin non-slip spacer (if your pad design allows), reposition the phone ?rest,? or adjust the pad mounting position if it?s an aftermarket integration.
Maintenance Schedule: Keep It Working Like New
Wireless charger pads live where crumbs, dust, and spills gather. A light routine beats deep cleaning after problems show up.
- Weekly: quick dry microfiber wipe of pad and surrounding trim.
- Monthly: residue-free interior cleaner wipe-down; remove and wash rubber insert.
- Seasonally (especially before summer): check mounting stability, cable routing, and heat-related wear (warped mats, softened adhesives).
- After any spill: immediate cleanup; remove insert and dry thoroughly.
Common Mistakes to Avoid
- Spraying cleaner directly onto the pad: overspray can seep into seams, LEDs, or electronics.
- Using oily protectants: causes sliding, misalignment, and dust buildup?bad for wireless charging performance.
- Scrubbing with abrasive pads: micro-scratches make the surface look hazy and hold grime.
- Ignoring heat: placing a hot phone on a hot pad in a hot console is a recipe for charging throttles.
- Charging through thick wallet cases: cards and magnets can block charging or trigger safety shutoffs.
- Routing cables near moving parts (aftermarket installs): leads to intermittent power and random disconnects.
Smart Upgrades and Accessories (When Cleaning Isn?t Enough)
If you?ve cleaned the pad, confirmed power, and you still have inconsistency, the issue may be design-related. Some console shapes simply don?t hold phones in the ideal charging position.
Accessories that improve real-world charging reliability
- Non-slip, heat-stable rubber inserts: reduces sliding and helps alignment on bumpy roads.
- Qi-certified charger modules: tend to manage heat and safety better than no-name pads.
- Phone cases designed for wireless charging: slim cases without metal rings, kickstands, or thick padding.
- USB power adapters with stable output (for aftermarket pads): a quality adapter can prevent brownouts and random resets.
Quick comparison: budget pad vs. Qi-certified pad
- Qi-certified: more consistent device compatibility, better thermal management, safer foreign-object detection behavior.
- Budget/unbranded: may work fine initially but can be more sensitive to heat and alignment, and may degrade faster in a hot cabin.
FAQ: Wireless Charger Care and Cleaning
How do I clean a wireless charging pad without damaging it?
Use a microfiber cloth with a residue-free interior cleaner sprayed onto the cloth (not the pad). Wipe gently, then dry immediately. Only use a small amount of 70% isopropyl alcohol for stubborn oily spots, and avoid soaking seams or edges.
Why does my phone stop charging when I drive over bumps or take turns?
The phone is likely sliding off the coil alignment point. Clean off oily residue, make sure the rubber insert is clean and dry, and remove slick protectants. If the console design is slippery, a non-slip insert often fixes it.
Can interior protectants ruin wireless charging performance?
They can. Silicone-heavy and glossy dressings leave a slick film that makes the phone move around and can increase heat retention. If you use a protectant near the charging area, choose a matte, dry-touch product and keep it off the charging surface.
Is it normal for the phone to get warm on a car wireless charger?
Some warmth is normal, especially while running navigation. If the phone gets hot and charging slows or stops, reduce cabin heat, remove thick cases, and make sure the pad surface is clean and not covered by objects.
Why does my wireless charger work with one phone but not another?
Different phones have different coil positions and case thicknesses. One device may align naturally while another sits too high, too low, or too far from the coil due to a camera bump or case design. Testing without the case is the fastest way to confirm.
Should I disinfect my charging pad regularly?
Yes, especially if multiple people use the car. Use a lightly dampened microfiber with 70% IPA for a quick wipe, then dry. Don?t flood the surface or let liquid pool near seams.
Conclusion: Keep Your Charger Reliable With Simple, Consistent Care
A clean, dry, non-slippery charging surface is the difference between ?set it and forget it? convenience and constant fiddling with your phone at stoplights. Build a quick wipe-down into your interior cleaning routine, avoid glossy dressings near the charging area, and stay ahead of heat and alignment issues?especially in summer.
Next steps:
- Do a 5-minute cleaning using a microfiber and residue-free interior cleaner.
- Remove and wash the rubber insert, then reinstall it fully dry.
- Test charging with and without your phone case to check for interference.
- If problems persist, inspect the pad for looseness and consider a Qi-certified module or better non-slip insert.
For more practical car interior care tips, installation guides, and problem-solving walkthroughs, explore the latest articles on carinteriormix.com.