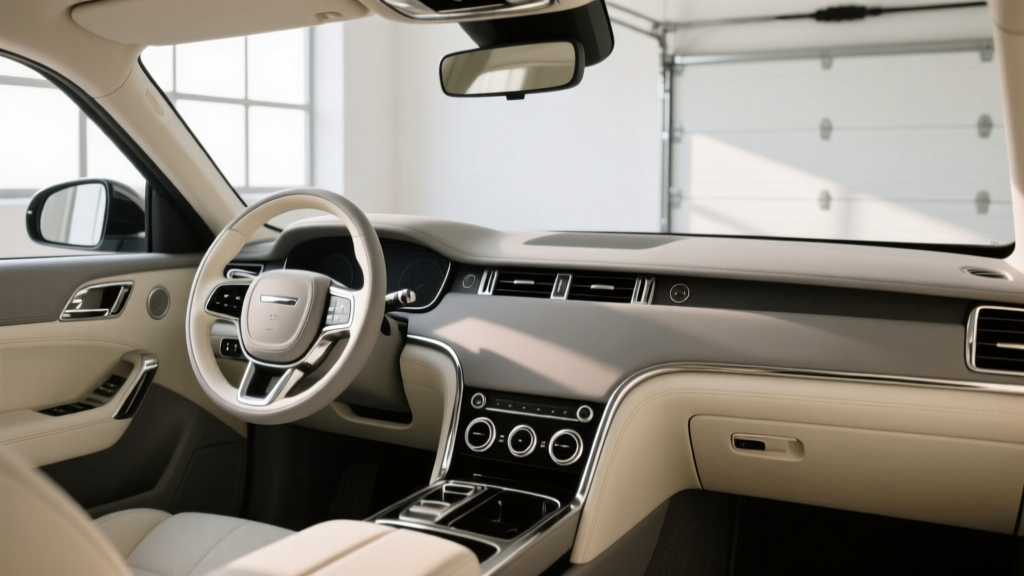
Ultimate Guide to Chrome Accent Removal - CarInteriorMix
Chrome accents can look sharp when they?re factory-fresh, but inside a daily-driven vehicle they often become a magnet for glare, fingerprints, micro-scratches, and that ?too shiny? look that clashes with modern matte and satin interiors. Whether you?re building a cleaner OEM+ cabin, fixing peeling chrome trim, or matching a new head unit and dash theme, chrome accent removal is one of the most satisfying interior upgrades you can do in an afternoon.
The good news: ?Removing chrome? doesn?t always mean ripping parts out or permanently altering your car. Depending on your goal, you can safely de-badge, strip a chrome coating, cover it with vinyl, repaint it, or swap the trim for an OEM alternative. This guide breaks down the best methods for interior chrome delete, step-by-step, with tool lists, product recommendations, and the most common mistakes that lead to broken clips, sticky residue, or uneven finishes.
If you want a more refined cabin with less glare and a more premium look, this is the playbook.
What ?Chrome Accent Removal? Really Means (And Which Method Fits Your Goal)
Before you touch a tool, decide what ?removal? means for your project. Interior chrome can be:
- Solid metal trim (rare inside modern cars)
- Chrome-plated plastic (very common on vents, shifter bezels, door handles, steering wheel trim)
- Vacuum-metalized coating (thin reflective coating on plastic)
- Chrome-look films (less common, but some trims are wrapped from the factory)
Pick your approach
- Temporary / reversible: Vinyl wrap, overlay kits, Plasti Dip (some interior parts)
- Semi-permanent: Paint (satin/matte), hydro-dip, professional refinishing
- Permanent ?true removal?: Stripping the chrome layer (only for specific parts/materials), replacing with OEM non-chrome trim
Best all-around for most owners: A high-quality satin vinyl wrap on cleaned trim. It?s reversible, budget-friendly, and doesn?t risk chemical damage.
Tools and Supplies You?ll Want on Hand
Having the right basics prevents broken clips and messy finishes. Here?s a practical kit for most chrome delete interior projects:
- Trim removal tools: Nylon pry tools (avoid metal screwdrivers)
- Microfiber towels (several?chrome shows lint and smears)
- Interior-safe cleaner (pH-neutral) + isopropyl alcohol (IPA) 70?91% for final wipe
- Adhesive remover (citrus-based or automotive-grade)
- Heat gun (preferred) or hair dryer
- Vinyl tools: Squeegee with felt edge, sharp blade/knife, knifeless tape (optional but helpful)
- Painter?s tape and masking paper
- Nitrile gloves (keeps oils off the surface)
Product recommendations (reliable, commonly available)
- Vinyl wrap: 3M 2080 Series (satin/matte black), Avery Dennison SW900 (satin black). These are forgiving and conform well.
- Cleaning: Meguiar?s Quik Interior Detailer for initial wipe; IPA for final prep.
- Adhesive remover: 3M Adhesive Remover or Goo Gone Automotive (use sparingly and test first).
- Interior trim paint: SEM Color Coat (excellent durability when prepped correctly), Rust-Oleum Automotive (budget option; prep matters more).
If you?re choosing between 3M and Avery: both are excellent, but Avery often stretches and conforms a touch easier for beginners, while 3M has extremely consistent finish and long-term stability. For tight corners and compound curves (shifter surrounds, vent rings), Avery can feel less ?stiff.?
Method 1: Vinyl Wrapping Chrome Accents (Most Popular for Interior Chrome Delete)
Wrapping is the go-to because it looks clean, reduces glare, and is reversible. It also avoids the risk of damaging soft-touch plastics around the trim.
Step-by-step: Wrap chrome trim like a pro
- Remove the trim piece if possible. It?s easier to wrap on a bench than inside the car. Use nylon pry tools and work slowly around clip points. If removal risks breaking tabs (common on older cars), you can wrap in place with careful masking.
- Deep clean. Wash the trim with an interior-safe cleaner, dry it, then wipe with IPA to remove oils and silicone. Pay attention to edges and seams?wrap failures usually start there.
- Measure and pre-cut vinyl. Cut a piece with at least 1?2 inches of extra material on all sides. Extra material gives you control when tensioning around corners.
- Position the vinyl and tack the center. Lightly place the vinyl, then squeegee from the center outward to push air away.
- Use controlled heat for curves. Warm the vinyl until it becomes more pliable, then gently stretch over contours. Avoid overheating?too much heat can thin the film and change the sheen.
- Work edges last. Use a felt squeegee or your thumb wrapped in microfiber to press vinyl into edges and around the backside. Clean edges are what make a wrap look factory.
- Trim carefully. Use a fresh blade and cut on the backside whenever possible. For in-car wrapping, knifeless tape helps avoid cutting near leather, soft-touch dash plastics, or screens.
- Post-heat edges. Gently heat edges and corners and press them down to reduce ?memory? that can cause lifting later, especially around tight radii.
- Reinstall and inspect. Reinstall the piece, check for lifting edges, and press them down while still warm.
Practical tip: match sheen to your interior
- Satin black: Most ?OEM+? looking option; hides fingerprints better than gloss.
- Matte black: Maximum glare reduction; can show scuffs if you rub rings or keys across it.
- Gloss black: Sporty, but it scratches easily?great if you?re willing to maintain it.
Real-world example
If you drive at night and your center console chrome strip catches reflections from the infotainment screen, a satin wrap dramatically reduces glare. Many owners are surprised how much calmer the cabin feels once the ?shiny strips? are toned down.
Method 2: Removing Chrome Coating (When You Want Permanent Change)
Some interior ?chrome? is a thin vacuum-metalized layer on plastic. In certain cases, you can strip it?but this method is easy to get wrong and can permanently damage parts if the wrong chemical touches the base plastic.
When to consider stripping
- The chrome is peeling or bubbling and wrapping would telegraph the texture
- You?re planning to sand and repaint anyway
- You have a spare part to experiment with first
Safer alternative: sand + prime + paint
Instead of chemical stripping, many DIYers get better results by sanding the chrome surface to create tooth for primer. This avoids unpredictable chemical reactions.
Method 3: Painting Chrome Accents (Durable, Clean, More Prep)
Painting can look extremely factory when done right. It?s also a great fix for trim with pitting, peeling chrome, or uneven texture.
Step-by-step: paint interior chrome trim
- Remove the trim piece. Painting in place risks overspray on leather, fabric, or touchscreens.
- Wash and degrease. Clean with interior cleaner, then IPA. If the part has been ?dressed? with shiny protectants, degrease twice.
- Scuff the surface. Use a gray scuff pad or 600?800 grit sandpaper. The goal is to dull the shine and create a uniform surface, not to gouge plastic.
- Apply adhesion promoter (recommended). Especially on slick plastics. Follow the product?s flash times.
- Prime if needed. If you sanded through or the surface is uneven, a plastic-friendly primer helps the finish lay flat.
- Spray light coats. Multiple thin coats beat one heavy coat. Heavy coats lead to runs and ?orange peel.?
- Optional: clear coat. For higher wear areas (door pulls, shifter surrounds), a satin clear can boost durability. Make sure sheen matches your goal.
- Cure fully before reassembly. ?Dry to touch? isn?t cured. If you reinstall too soon, clips can imprint the finish.
Paint product comparison (quick guidance)
- SEM Color Coat: Excellent for interior plastics; strong reputation for adhesion and OEM-like finishes.
- Generic rattle-can paint: Can work, but durability varies. Prep and cure time become even more critical.
Method 4: Replacing Trim with OEM or Aftermarket Alternatives
If you want the most factory-looking result with the least hassle over time, replacement is worth considering. Many models have:
- Higher-trim variants with brushed aluminum or piano black
- Special editions with carbon-look or dark chrome
- Aftermarket options (fitment varies?buy from sellers with strong reviews and return policies)
Tip: Search by your vehicle?s trim code and interior color. The same model may have multiple bezel shapes across model years, even if they look similar in photos.
Common Mistakes to Avoid (And How to Get a Factory-Looking Result)
- Skipping the final IPA wipe: Oils from hands or interior dressings are the #1 reason vinyl edges lift and paint fisheyes.
- Using too much heat on vinyl: Overheating can permanently change the vinyl?s texture or cause future shrink-back at edges.
- Wrapping over peeling chrome: The wrap may look fine for a week, then the failing chrome layer pulls it up. Fix the substrate first.
- Cutting vinyl on the dash without protection: One slip can leave a permanent gouge in soft-touch plastic. Use knifeless tape or remove the piece.
- Rushing clip removal: Broken clips create rattles. Work slowly, use the right pry point, and consider buying a pack of replacement clips for your model.
- Reinstalling painted parts too soon: Fresh paint can dent or stick to adjacent surfaces. Give it real cure time?often 24?72 hours depending on product and temperature.
Extra Practical Tips for a Clean, Long-Lasting Finish
- Warm workspace: Vinyl and paint both behave better around 65?80�F (18?27�C).
- Use a lint-free approach: Microfiber is great, but use clean towels. A towel that touched dressing will sabotage adhesion.
- Plan high-touch zones: Door handle surrounds, window switch panels, and shifter areas get hammered. Choose satin wraps/paints and consider a more durable clear coat if painting.
- Keep edges hidden: When wrapping, tuck edges behind trim lines so you don?t see cut lines from the driver?s seat.
- Test a small area first: Especially with cleaners or adhesive removers. Some interior plastics haze easily.
FAQ: Chrome Accent Removal
Will removing or covering chrome lower my car?s resale value?
If you use reversible methods like vinyl wrap and keep the original trim unbroken, resale impact is usually minimal. Many owners remove the wrap before selling. Permanent paint or stripped chrome can affect resale if the buyer prefers stock.
Is vinyl wrap safe on interior plastics long-term?
Quality vinyl on properly cleaned plastic is generally safe. Avoid applying wrap over soft, rubberized coatings that are already degrading?those coatings can lift and take the vinyl with them.
Why is my vinyl lifting on edges and corners?
Common causes include poor cleaning, too much stretch, not enough post-heating, or edges that weren?t fully wrapped to the backside. Re-clean the edge with IPA, apply gentle heat, and press firmly. If the vinyl is overstretched, you may need to re-wrap with a relief cut or a new piece.
Can I Plasti Dip interior chrome accents?
You can, but it?s not always ideal for interiors. Plasti Dip can rub off on high-touch areas and may look textured. It works best on low-contact trim and when you want a temporary change. For a cleaner interior look, satin vinyl or paint tends to look more OEM.
Do I need to remove trim pieces, or can I wrap/paint in place?
Wrapping can be done in place with careful masking, but removing the trim usually gives better results. Painting should almost always be done off the vehicle to avoid overspray and to allow proper curing.
What?s the easiest chrome delete method for beginners?
Vinyl wrapping flat or mildly curved pieces (like door switch panels or simple bezels) is the most beginner-friendly. Start with a small piece before tackling complex vent rings or shifter surrounds.
Conclusion: Your Next Steps for a Cleaner, More Modern Cabin
Chrome accent removal is one of the fastest ways to make your interior feel more upscale and personalized. Start by choosing the right method for your goals: wrap for reversibility, paint for durability and texture correction, or replace trim for the most OEM-like finish. Whatever route you pick, the best results come from patient prep?clean surfaces, careful heat control, and proper curing time.
Action plan:
- Pick one small, easy trim piece to practice on.
- Decide on a finish (satin is the safest bet for most interiors).
- Gather supplies, clean thoroughly, and work slowly?especially around clips and edges.
- Inspect after a week of driving and address any lifting edges early.
For more interior upgrade how-tos, trim care tips, and practical product guides, explore the latest articles on carinteriormix.com.