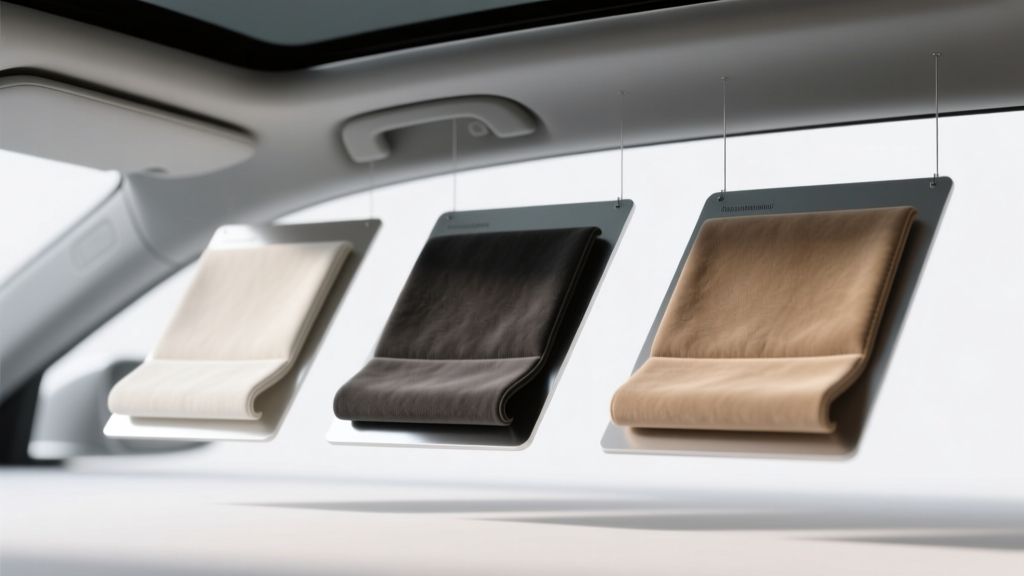
Suede Headliner Material Comparison (2026)
A suede-style headliner is one of those interior upgrades that instantly changes how a cabin feels. It softens reflections on the windshield, adds a premium ?wrapped? look, and can make an older car feel surprisingly modern. But the final result depends less on the color you choose and more on the material you pick and how you apply it.
There are several ?suede? options on the market?real suede, Alcantara, synthetic microsuede, suede-look headliner fabrics, and even faux suede vinyl. They don?t behave the same when you stretch them around curves, expose them to heat, or try to bond them to a headliner board. This guide breaks down the most common materials, compares costs and durability, and walks you through the application process with practical tips you can use right away.
If you?re deciding between microsuede and Alcantara, wondering which adhesive won?t fail in summer heat, or trying to avoid wrinkles around your dome light opening, you?re in the right place.
Why material choice matters for a suede headliner
A headliner lives in a harsh spot: it?s close to the roof (heat), exposed to UV through glass, and it?s often made of fragile backing board. The ?suede? you choose affects:
- Heat resistance: Dark colors + hot climates can stress adhesives and foam backing.
- Stretch and conformability: A-pillars, sunroof openings, grab-handle recesses, and dome light pockets need controlled stretch.
- Long-term sag prevention: The fabric?s weight and backing interact with the headliner board and adhesive.
- Cleaning and wear: Finger marks, dust, and abrasion show differently depending on fiber structure.
- Cost-to-results ratio: Some materials look amazing in photos but are overkill?or hard to work with?on a daily driver.
Suede headliner material options (and how they compare)
1) Genuine suede (natural leather suede)
Best for: Show cars, luxury restorations, small accent panels (not usually full headliners).
- Pros: Authentic texture; rich, natural look; premium prestige.
- Cons: Expensive; heavy; inconsistent thickness; can be difficult to bond; doesn?t like moisture; can stain easily.
- Workability: Limited stretch; seams are often required for large areas.
- Real-world take: A full natural suede headliner can look stunning, but it?s rarely the most practical option in a hot daily driver?especially if the car sits outside.
2) Alcantara (and other premium microfiber suede brands)
Best for: Enthusiasts who want the OEM-exotic look with excellent durability.
- Pros: Consistent quality; strong and stable; excellent wear resistance; cleans well; premium appearance.
- Cons: Higher cost; can show directional ?nap? (shade changes depending on brushing direction); may require careful patterning around complex shapes.
- Workability: Moderate stretch; behaves predictably; typically used without foam backing for a tight, tailored look.
- Tip: Choose the direction of the nap intentionally before you glue. Brush it one way across all pillars and the headliner so it matches in sunlight.
3) Synthetic microsuede (polyester microfiber suede)
Best for: Most DIY headliner projects; strong value; great ?suede? look without premium pricing.
- Pros: Affordable; widely available; durable; easy to clean; plenty of colors; consistent rolls.
- Cons: Quality varies by supplier; some cheaper microsuedes can look flat or shiny; may fuzz if aggressively scrubbed.
- Workability: Generally easy to work with; moderate stretch; can be purchased with or without foam backing.
- Real-world take: For many owners, a good microsuede is the sweet spot?clean look, manageable install, and you won?t panic if you need to re-do a section.
4) Suede-look headliner fabric (foam-backed ?headliner suede?)
Best for: Quick installs, imperfect headliner boards, beginners.
- Pros: Foam backing helps hide minor board imperfections; easier to get smooth; often sold in headliner widths; budget-friendly.
- Cons: Foam can degrade over time (especially low-quality foam); too much heat can accelerate failure; thicker feel may look less ?tailored.?
- Workability: Very forgiving; conforms well; best for vehicles with lots of gentle curves.
- Tip: If you live in a very hot climate, prioritize high-temp adhesive and higher-quality foam-backed fabric?or choose non-foam microsuede with a perfect board surface.
5) Faux suede vinyl (suede-textured vinyl)
Best for: Accents, sun visors, or areas that need wipe-clean durability; not ideal for large headliners.
- Pros: Easy to wipe clean; moisture resistant; stable surface; can be heated and stretched like vinyl.
- Cons: Can look less authentic; can trap heat; may ?drum? or sound hollow; difficult to get a soft, OEM headliner feel.
- Workability: Works best with heat and proper vinyl adhesive; can be challenging around large recessed contours.
Quick comparison table (what to choose for your build)
- Best OEM-like premium finish: Alcantara / premium microfiber suede
- Best DIY value: Quality synthetic microsuede
- Easiest for first-timers: Foam-backed suede-look headliner fabric
- Best for extreme wipe-clean needs: Faux suede vinyl (usually for accents)
- Most ?authentic? material: Genuine suede (rarely the most practical)
Adhesive and backing: the hidden factor in headliner success
The most common reason a headliner fails isn?t the fabric?it?s the adhesive choice and surface prep. A suede headliner is only as strong as the bond between fabric, adhesive, and headliner board.
Recommended adhesive types (and when to use them)
- High-temperature spray headliner adhesive: Best all-around choice for most DIY installs. Look for headliner-specific, high-heat ratings.
- Brush-on contact cement (high heat): Excellent bond strength, but messy and less forgiving. Great for edges and complex areas.
- Industrial trim adhesive sprays: Can work well, but verify heat performance. Some ?general purpose? sprays soften and fail in summer.
Practical recommendation set (common pro picks)
- 3M Headliner & Fabric Adhesive: Popular for headliners; good for foam-backed fabrics and many microsuedes.
- 3M Hi-Strength 90: Strong bond; can work for trims and certain fabrics, but heat performance depends on conditions?test first.
- Permatex High-Strength Headliner Adhesive: Often praised for headliner-specific use; good DIY option.
Tip: If your car spends time outside in a hot climate, prioritize headliner-specific, high-temp adhesives and apply it correctly (both surfaces, proper tack time). A great adhesive applied poorly still fails.
Step-by-step: How to apply suede to a headliner board
This workflow applies to most microsuede, Alcantara-style, and foam-backed headliner fabrics.
Tools and supplies
- Chosen suede material (add extra for mistakes and wrapping edges)
- High-temp headliner adhesive (spray recommended for beginners)
- Plastic trim tools
- Socket set/screwdrivers (varies by vehicle)
- Stiff brush and shop vacuum
- Razor blade/utility knife + fresh blades
- Scissors
- Masking tape and plastic sheeting (to control overspray)
- Gloves and a respirator or quality mask (spray adhesives are intense)
- Optional: heat gun (low setting), seam roller, upholstery brush
1) Remove the headliner carefully
- Disconnect the battery if you?ll touch airbag-related trim or wiring.
- Remove grab handles, visors, dome lights, and pillar trims as needed.
- Lower and slide the headliner out gently (hatchbacks often easier; sedans may require reclining seats or removing a seat).
Real-world tip: Take photos as you go. The order of clips and screws matters more than you think when you?re reassembling at dusk.
2) Strip old fabric and clean the board
- Peel off the old headliner fabric.
- Remove all degraded foam using a stiff brush.
- Vacuum thoroughly until the board feels clean and not dusty.
Don?t rush this step. Leftover foam dust is the enemy of adhesion and a top cause of sagging.
3) Repair the headliner board (if needed)
- For small cracks: reinforce with fiberglass mesh and resin or a suitable repair method for your board type.
- For missing chunks: rebuild with lightweight filler and sand smooth.
- For deep grooves: smooth them out?suede can telegraph imperfections more than you expect, especially under bright sunlight.
4) Test fit and plan nap direction
- Lay the suede over the board without glue.
- Decide which direction the nap should face (front-to-back is common).
- Mark a reference line on the back of the fabric if needed.
5) Apply adhesive in controlled sections
- Mask off areas to prevent overspray.
- Fold half the fabric back like a hinge.
- Spray adhesive on the board and on the back of the fabric (follow your adhesive instructions).
- Wait the recommended tack time (usually 30 seconds to a few minutes).
- Lay the fabric down from the center outward, pressing gently with your hands.
- Repeat for the other half.
Pro tip: Work from the center toward the edges to push air out and prevent trapped bubbles. If you stick the edge first, you?re more likely to fight wrinkles later.
6) Form recesses and contours
- For dome light pockets and sunroof openings, press the fabric into the recess gradually.
- Use relief cuts only when necessary, and keep them small.
- If using a non-foam suede, a little warmth can help it relax?use low heat and keep the gun moving.
7) Trim openings cleanly
- Flip the board over and locate openings by feel.
- Cut an ?X? in the center of each opening.
- Trim outward slowly, leaving enough material to wrap and bond the edges.
Tip: Fresh blades matter. A dull blade will snag microsuede and leave fuzzy edges.
8) Let it cure, then reinstall
- Allow proper cure time (check the adhesive label; longer is safer in cool weather).
- Reinstall trim carefully and avoid dragging pillars across the new fabric.
- Brush the suede lightly for a uniform finish.
Material-specific tips (so you get the best finish)
Alcantara / premium microfiber
- Keep hands clean?oils can mark the nap while you work.
- Use consistent nap direction across pillars and visors for a factory look.
- Consider wrapping sun visors and pillars to match, otherwise the headliner can look ?too custom? compared to the rest of the cabin.
Microsuede
- Buy from a reputable upholstery supplier; the cheapest rolls can vary in thickness and sheen.
- Test adhesive on a scrap first?some backings bond differently.
- Light brushing after install helps blend pressure marks.
Foam-backed suede-look headliner fabric
- Don?t oversaturate foam with adhesive; too much can soak and create lumps.
- Focus on strong edge bonding?edges are where heat and gravity start failures.
- If your board has minor imperfections, foam-backed fabric can hide them better than flat microsuede.
Common mistakes to avoid
- Skipping foam removal: Gluing over old foam almost guarantees sagging later.
- Using low-temp ?craft? spray adhesive: It may look fine for a week, then drop in the first heat wave.
- Applying adhesive to only one surface: Many headliner adhesives are designed for both surfaces for best bond strength.
- Working too large of an area at once: Glue flashes off; sections help you stay in control.
- Not planning for pillars and visors: A suede headliner with mismatched pillars can look unfinished.
- Over-stretching suede: It can distort the nap and create shiny spots or thin patches.
- Rushing cutouts: Dome lights and sunroof openings are where most DIY installs get sloppy.
Product recommendation scenarios (quick picks)
- Daily driver, good budget, clean OEM look: Quality microsuede + headliner-specific high-temp spray adhesive.
- Track car or weekend build with a premium interior theme: Alcantara-style microfiber + strong, heat-resistant adhesive, wrapped pillars to match.
- Older car with a rough board surface: Foam-backed suede-look headliner fabric to hide imperfections (still use high-temp adhesive).
- Convertible or high-humidity use case: Consider premium microfiber and meticulous edge sealing; avoid low-quality foam backing that can deteriorate faster.
FAQ: Suede headliner material and installation questions
How much material do I need for a suede headliner?
Most vehicles need roughly 2 to 3 yards (in headliner width) for the main board, but it varies a lot by vehicle size and whether you?re wrapping sun visors and pillars. Buy extra so you can align nap direction and recover from mistakes?an extra half-yard is cheaper than re-ordering and getting a slightly different dye lot.
Will a suede headliner sag in hot weather?
It can, but sagging is usually an adhesive or prep problem. Use a high-temperature headliner adhesive, remove all old foam, and ensure full coverage on stress areas like edges and recesses. Cars parked in direct sun need the best adhesive you can reasonably get.
Is foam-backed suede better than non-foam microsuede?
Foam-backed suede-look fabrics are more forgiving and can hide minor board flaws. Non-foam microsuede (or Alcantara-style material) can look more tailored and ?tight,? but your board surface needs to be very clean and smooth. Choose based on your board condition and desired finish.
Can I wrap the pillars and visors in the same material?
Yes, and it?s one of the best ways to make a suede headliner look intentional. Pillars typically require more stretch and careful seam planning. Visors can be re-covered, but pay attention to thickness around clips and mirrors so everything snaps back together correctly.
What?s the easiest material for a first-time DIY installer?
A quality foam-backed headliner fabric with a suede look is usually the most beginner-friendly. It lays down smoothly and hides small imperfections. Pair it with a headliner-specific adhesive and work in sections.
Next steps: choose your material, then plan the job like a pro
Start by being honest about your goals and your car?s reality. If it?s a daily driver that sits outside, prioritize heat resistance and proven adhesive over exotic materials. If your build is all about a premium cabin, Alcantara-style microfiber with matching pillars is hard to beat. And if your headliner board is less-than-perfect, a foam-backed suede-look fabric can save the day.
Your best move now:
- Inspect your headliner board condition and decide whether foam-backed fabric makes sense.
- Pick a suede material with a consistent nap and enough yardage for a clean, aligned layout.
- Buy a high-temp headliner adhesive and plan to work in sections with proper tack time.
- Consider wrapping pillars/visors for a cohesive factory-plus finish.
For more interior upgrade walk-throughs, material guides, and detailing tips, explore the latest articles on carinteriormix.com.