Car Interior Detailing: Pro Upgrade Tips (2026)
A truly clean car interior isn?t just about looks. It changes how the car feels to drive, how it smells after a long day, and how confident you feel handing the keys to a friend or pulling up to a client meeting. More practically, interior detailing protects the materials you touch every day?leather, vinyl, plastics, carpet, touchscreens?so they don?t crack, fade, or wear out early.
This guide focuses on a ?detailing upgrade? approach: building a professional-level interior detailing routine using smarter tools, safer chemicals, and a process that works on daily drivers and weekend toys alike. You?ll learn what to buy (and what to skip), how to tackle common messes, and how to avoid the mistakes that lead to shiny dashboards, streaky glass, or stiff leather.
If you?ve ever wondered why your interior still looks dusty after cleaning, why the windshield smears at night, or why your seats don?t feel ?factory fresh? anymore?this is the fix.
What ?Professional? Interior Detailing Really Means
Professional interior detailing isn?t about using the strongest cleaner or spending an entire weekend. It?s about using the right method for each surface, controlling moisture, and finishing with protection that keeps the cabin clean longer.
- Surface-safe cleaning: Match the product?s strength to the material (pH-balanced where needed, no harsh solvents on plastics).
- Deep cleaning where it counts: Carpets, floor mats, seat seams, and high-touch buttons.
- Residue-free finish: No greasy shine, no sticky films that attract dust.
- Protection: UV blockers on vinyl/plastics, conditioning on leather (when appropriate), fabric protectants for cloth.
- Odor control at the source: Not just masking smells with fragrance.
Upgrade Your Interior Detailing Kit (Tools & Products)
You can detail an interior with basic supplies, but a few upgrades make results more consistent and drastically reduce effort.
Must-Have Tools
- Vacuum with strong suction + crevice tools: A compact shop vac or quality car vacuum beats most household units for sand and pet hair.
- Soft interior detailing brushes: One ultra-soft for piano black and screens, one medium for textured plastics.
- Microfiber towels (multiple types):
- Plush towels for dusting and final wipes
- Waffle weave for glass
- Utility microfibers for dirty work (door jambs, pedals)
- Compressed air or an air blower: Perfect for vents, seams, and tight button areas.
- Spray bottles and a dilution chart: Diluting concentrates saves money and prevents over-aggressive cleaning.
- Optional but high-impact: A small upholstery extractor or wet/dry vacuum for cloth seats and carpets.
Product Recommendations (Smart, Safe Choices)
Below are proven categories with common go-to options. Always spot test first, especially on older interiors.
- Interior all-purpose cleaner (APC), dilute as needed: Meguiar?s D101, Koch-Chemie Green Star, or Optimum Power Clean (dilutable). Use lower strength for plastics and higher for heavy grime on mats.
- Dedicated interior cleaner for plastics/dash: P&S Xpress Interior Cleaner is popular for a clean, factory-matte finish.
- Leather cleaner + protectant: Leatherique (deep conditioning system) for neglected leather; Colourlock or Gyeon LeatherCleaner + LeatherCoat for routine care. Avoid ?all-in-one greasy? leather wipes that leave shine.
- Glass cleaner: Stoner Invisible Glass or a quality alcohol-based glass cleaner. Pair with waffle weave towels for less streaking.
- Fabric cleaner: P&S Carpet Bomber or a low-foam upholstery cleaner; follow with extraction for best results.
- Odor treatment: An enzyme-based odor eliminator for organic smells (food, milk, pet accidents). For persistent odors, consider an ozone treatment?used carefully and with proper safety steps.
- Protectants: 303 Aerospace Protectant for UV protection on vinyl/plastics (matte look). Fabric protectants like Gtechniq I1 Smart Fabric can help reduce future staining.
Quick Comparisons: What to Use Where
- Textured plastic door panels: Interior cleaner + brush + microfiber (avoid high-gloss dressings).
- Piano black trim: Gentle cleaner on towel (not sprayed directly), ultra-soft towel, minimal pressure.
- Leather seats: Leather cleaner with soft brush, wipe dry, then apply leather protection/conditioner sparingly.
- Cloth seats/carpets: Vacuum thoroughly, pre-treat stains, agitate lightly, extract or blot until nearly dry.
Step-by-Step: Professional Interior Detailing Process
This process is designed to prevent rework. Work from ?dry to wet? and from ?top to bottom.?
Step 1: Prep the Cabin (5?10 minutes)
- Remove trash, personal items, car seats, and anything in cup holders.
- Take out floor mats.
- Slide seats all the way back, then forward to expose rails and hidden debris.
- Crack doors open for ventilation if you?re using cleaners or odor treatments.
Pro tip: Keep a small tote or bin nearby for everything you remove. It speeds up reassembly and prevents ?where did that go?? frustration.
Step 2: Dry Cleaning First (Vacuum + Blow Out)
- Blow out vents, seams, and crevices with compressed air (optional but effective).
- Vacuum headliner edges, dashboard seams, seat creases, and carpet.
- Use a crevice tool for seat rails and the gap between seat and console.
- For pet hair, use a rubber pet hair brush or pumice-style tool gently on carpet (test first).
Real-world example: If you clean stains before vacuuming, you?ll create muddy ?grit paste? that spreads and dulls carpet fibers. Dry removal first keeps your interior from looking permanently dusty.
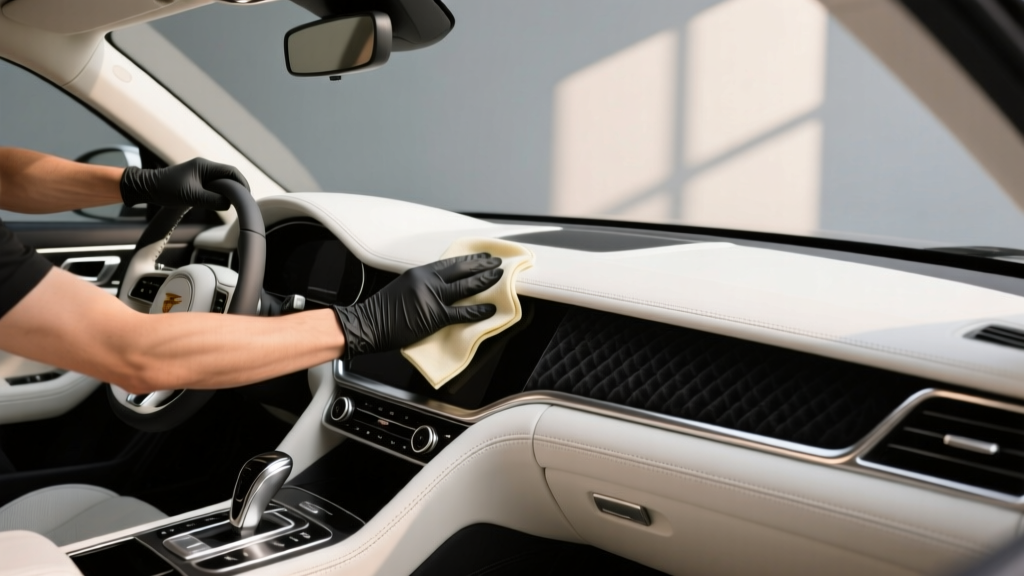
Step 3: Clean the Dashboard, Console, and Door Panels
- Spray cleaner onto a microfiber towel or brush?not directly onto switches or screens.
- Agitate textured plastics gently with a brush.
- Wipe away loosened grime with a clean microfiber towel.
- Use cotton swabs or a small detailing brush for tight seams and badge edges.
- Steering wheel: This is often the dirtiest part of the car. Use a dedicated interior cleaner and a microfiber. If it?s leather, keep moisture controlled and don?t soak seams.
- Buttons and infotainment controls: Minimal liquid, light brushing, immediate wipe dry.
Step 4: Seats (Leather, Vinyl, or Cloth)
Leather Seats: Clean + Protect
- Vacuum seams with a soft brush attachment.
- Apply leather cleaner to a soft brush or applicator.
- Work in small sections (seat bottom, bolsters, backrest).
- Wipe residue off with a dry microfiber towel.
- Apply a leather protectant or conditioner sparingly; buff to a natural finish.
Pro tip: If your leather feels slick or shiny after ?conditioning,? it?s usually product residue. A factory look is typically matte or satin, not glossy.
Cloth Seats: Deep Clean Without Over-Wetting
- Pre-treat stains with fabric cleaner (follow label directions).
- Agitate gently with a soft upholstery brush.
- Extract with an extractor or wet/dry vacuum. If you don?t have one, blot with clean towels repeatedly.
- Speed drying with airflow (fans, open doors, or HVAC running).
Real-world example: Over-wetting cloth seats can cause lingering odors and, in some cases, mildew. The goal is ?damp-clean,? not ?soaked.?
Step 5: Carpets and Floor Mats
- Vacuum thoroughly, including under the pedals.
- For rubber mats: APC + brush + rinse, then dry completely.
- For carpet mats: pre-spray cleaner, agitate, extract/blot, then groom with a carpet brush for a uniform finish.
- Salt stains: Use a 1:1 mix of white vinegar and water (spot test), lightly agitate, then blot/extract and rinse with clean water.
- Grease spots: Use a dedicated interior degreaser sparingly, agitate, extract, and rinse to avoid re-soiling.
Step 6: Interior Glass (Streak-Free Method)
- Use two towels: one for cleaning, one for final buffing.
- Spray glass cleaner onto the towel, not the glass (reduces overspray on dash).
- Wipe in a crosshatch pattern (horizontal then vertical).
- Finish with a dry waffle weave towel for clarity.
Night driving test: If you see haze from oncoming headlights, re-buff with a dry towel. Most ?bad glass cleaner? complaints are actually leftover residue or a saturated towel.
Step 7: Deodorize the Right Way
Odors come from bacteria and trapped residues. Treat the cause, not the scent.
- Remove the source (spilled drink, damp mats, food under seats).
- Use an enzyme cleaner on affected fabric areas (especially milk, pet accidents).
- Replace the cabin air filter if smells persist?often overlooked and surprisingly effective.
- If needed, use an ozone machine carefully (only in an unoccupied vehicle, follow device instructions, ventilate thoroughly afterward).
Step 8: Protect and Finish (The Upgrade Step)
- Dash/trim protection: Apply a UV protectant (matte finish) to plastics and vinyl. Buff off excess to avoid glare.
- Fabric protection: Apply fabric protectant to clean, fully dry seats and mats for easier maintenance.
- Touchscreen protection: Use a screen-safe cleaner and consider a quality screen protector to reduce fingerprints and micro-scratches.
Upgrade Packages: Choose Your Level
Level 1: Maintenance Detail (30?60 minutes)
- Quick vacuum
- Wipe down high-touch areas (steering wheel, shifter, door pulls)
- Glass clean
- Light protectant on dash
Level 2: Deep Clean Reset (2?4 hours)
- Thorough vacuum + blow-out
- Full plastics/trim clean with brushes
- Seat cleaning (leather or cloth)
- Carpet/mats deep clean
- Odor treatment + cabin filter check
- Protectants applied
Level 3: Professional Upgrade (4?8 hours)
- Extractor pass on seats/carpets (where applicable)
- Steam use on hard surfaces (carefully) for crevices
- Leather deep clean + protection system
- Spot correction on interior plastics (very light polishing on piano black if experienced)
- Fabric protectant + long-term UV protection regimen
Common Mistakes to Avoid
- Using glossy dressings on the dashboard: They attract dust and can create windshield glare.
- Spraying product directly onto electronics: Overspray can seep into buttons and cause failures.
- Over-wetting seats and carpet: Leads to odors, slow drying, and potential mildew.
- Using harsh degreasers everywhere: Strong cleaners can discolor plastics and strip protective coatings.
- Skipping the final wipe: Residue is what makes interiors look smeary and feel sticky.
- Dirty towels: Reusing a towel loaded with grime causes streaks and micro-scratches, especially on piano black and screens.
Practical Tips That Make Results Look ?Pro?
- Work in sections: Finish one door panel or one seat at a time to avoid product drying on surfaces.
- Use light, consistent pressure: Let the cleaner and brush do the work.
- Color-code towels: Example: blue for glass, gray for plastics, black for dirty jobs.
- Mind the weather: High humidity slows drying?plan extraction work on a dry day when possible.
- Don?t ignore the ?in-between? areas: Seat belt webbing (clean gently), door jambs, and the trunk lip are what people notice up close.
FAQ: Professional Car Interior Detailing Upgrades
How often should I detail my car interior?
For most daily drivers, a maintenance clean every 2?4 weeks and a deep clean every 3?6 months works well. If you have kids, pets, or heavy commuting, bump up the vacuuming and wipe-down frequency.
What?s the best cleaner for a modern dashboard and door panels?
A dedicated interior cleaner that leaves a factory-matte finish is the safest bet. Products like P&S Xpress Interior Cleaner are popular because they clean effectively without leaving greasy shine.
Can I use steam to clean my interior?
Yes?carefully. Steam is great for cracks and crevices on hard surfaces, but avoid prolonged heat on screens, delicate trim, and areas with adhesives. Use minimal moisture, keep the nozzle moving, and wipe immediately.
Why does my interior glass keep streaking?
Usually it?s towel saturation, leftover interior dressing film, or using too much product. Switch to a two-towel method, spray cleaner onto the towel, and finish with a dry waffle weave towel.
Do leather seats need conditioner?
Many modern coated leathers don?t ?absorb? conditioner the way older leather did. They benefit most from gentle cleaning and a quality leather protectant that reduces wear and dye transfer. If leather is dry or neglected, a deeper conditioning system can help, but residue should always be buffed away.
What?s the fastest upgrade for a noticeably cleaner interior?
Clean the steering wheel and driver touch points, deep vacuum the seat creases and center console edges, then finish with a matte UV protectant on the dash. It changes the feel immediately without taking all day.
Actionable Next Steps
If you want professional results, start with the basics done exceptionally well: a thorough vacuum, a residue-free interior wipe-down, and streak-free glass. Then upgrade your process with two key moves: control moisture during fabric cleaning and add real protection (UV for plastics, protectant for leather, optional fabric guard for cloth).
- Build a small, dedicated interior kit (towels, brushes, interior cleaner, glass towels).
- Choose one upgrade: compressed air for crevices, or an extractor for cloth interiors.
- Set a simple schedule: quick clean monthly, deep clean seasonally.
Want more practical interior care tips, product breakdowns, and step-by-step detailing routines? Explore more guides on carinteriormix.com.