Premium Coat Hooks for Cars | CarInteriorMix
A good car interior isn?t only about leather, ambient lighting, or the perfect detailing routine?it?s also about daily usability. If you?ve ever watched a suit jacket slide off the back seat, picked up a handbag that spilled onto the floor, or wrestled with a garment bag that keeps tipping over, you already understand why coat hooks matter.
Factory coat hooks (when your vehicle has them) are often small, oddly placed, or missing entirely in trims focused on ?clean design.? Adding premium coat hooks is one of those low-cost upgrades that makes your cabin feel more organized and more upscale?especially for families, commuters, rideshare drivers, and anyone who wears business attire.
This guide breaks down the best premium coat hook addition solutions, from OEM-style grab-handle hooks to hidden headrest posts and adhesive luxury hooks. You?ll learn which option fits your vehicle and lifestyle, how to install them properly, what to avoid, and how to keep your cabin looking factory-finished.
What Makes a ?Premium? Coat Hook Upgrade?
Not all add-on hooks are created equal. A premium solution is less about price and more about how it looks, how it holds up, and how safely it integrates into your interior.
Key traits of high-quality coat hook solutions
- OEM-like fit and finish: tight tolerances, clean lines, and materials that match interior trim.
- Load strength: sturdy enough for coats, bags, and garment bags without flexing or rattling.
- Interior-safe contact points: soft-touch edges, felt pads, or rubberized contact areas to prevent scuffs.
- Rattle-free design: no loose hinges or metal-on-plastic squeaks.
- Safe placement: avoids airbag zones and doesn?t create head-strike hazards for rear passengers.
Common use cases (real-world examples)
- Commuter: hangs a blazer to reduce wrinkles and keep it off the seat.
- Family driver: uses hooks for backpacks, lunch bags, and diaper bags to free floor space.
- Rideshare: gives passengers a place to hang purses or jackets, reducing clutter and improving ratings.
- Outdoor enthusiast: hangs light gear bags or a wet shell jacket to keep the cargo area clean.
Choosing the Right Coat Hook Style for Your Vehicle
Your best solution depends on your cabin layout, headliner/handle design, and how ?factory? you want it to look. Below are the most popular premium coat hook add-on styles, with pros, cons, and who they suit.
1) Grab handle coat hook add-ons (OEM-style)
These attach to the rear passenger grab handles (the ?oh-no? handles). Some clip on; others replace an end cap for a cleaner look.
- Pros: looks close to OEM; easy access; usually strong; no adhesives required.
- Cons: not all vehicles have rear grab handles; some clip-ons can rotate if undersized.
- Best for: sedans/SUVs with solid rear grab handles and owners wanting a factory vibe.
2) Headrest post hooks (front seat-mounted)
These slip onto the metal posts of your front-seat headrests, creating a hook behind the seat.
- Pros: quick install; very common fitment; great for bags and groceries.
- Cons: can interfere with tall passengers? knees if placed low; cheap versions can squeak or scratch posts.
- Best for: daily drivers who want the easiest install and use hooks for handbags/backpacks.
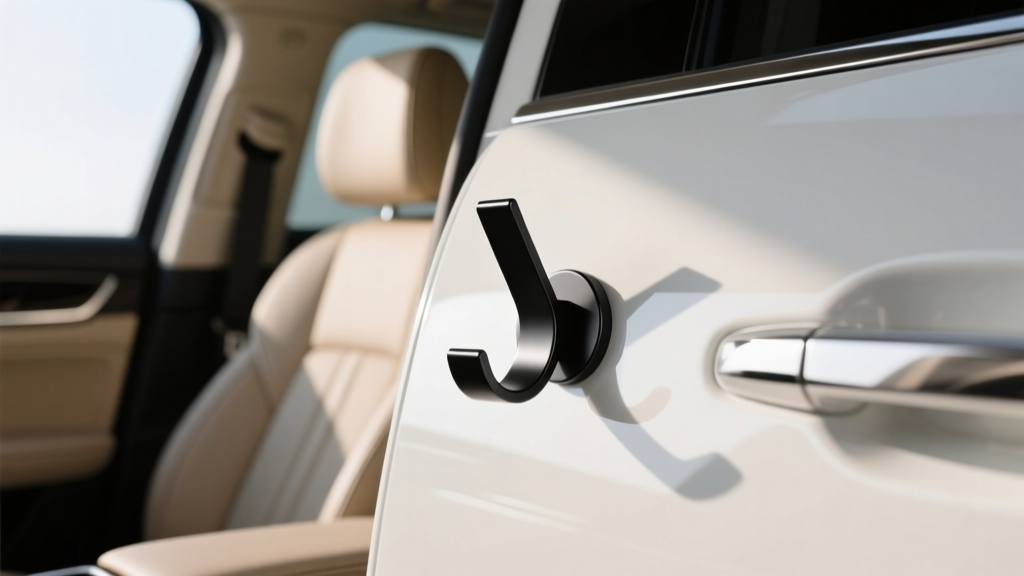
3) Adhesive-mounted premium hooks (hidden or designer style)
These mount to trim panels using automotive-grade adhesive (often VHB-style tape). Premium versions have broad bases, soft pads, and clean aesthetics.
- Pros: works where handles/headrest hooks don?t; can be positioned exactly where you want.
- Cons: surface prep is critical; removal can damage delicate trim if done incorrectly; not ideal on textured plastics.
- Best for: vehicles without rear handles; owners who want a ?custom-installed? look.
4) Visor/overhead console hooks (limited cases)
Some solutions clip near visors or overhead trim. They can work, but premium options are rarer and placement is more sensitive due to airbags and visibility.
- Pros: can be discreet; useful for light items.
- Cons: higher risk of interference; often not recommended for heavy items; can affect visor movement.
- Best for: very light garments or masks?only when the product is designed for your vehicle?s geometry.
Safety First: Airbags, Visibility, and Passenger Comfort
Before you install anything, do a quick safety check. Modern cars hide airbags in places that aren?t obvious.
- Side curtain airbags: often deploy from the headliner along the roof edge. Avoid mounting hooks to the A/B/C pillar trim or headliner near the roofline unless you?re 100% sure it?s outside the deployment path.
- Rear passenger head strike risk: avoid sharp metal hooks or any protruding hardware at head level.
- Visibility: don?t hang items that block mirrors or rearward visibility. A long coat behind the driver seat can create a blind spot.
- Projectile risk: heavy items (laptops, tool bags) should not be hung where they can swing forward in a hard stop.
Premium Installation Options (With Step-by-Step Instructions)
Option A: Installing grab handle coat hook add-ons
This is one of the cleanest-looking upgrades when compatible with your vehicle.
- Confirm fitment: measure grab handle width and thickness. Check if the hook is designed for your handle style (fixed vs. spring-loaded).
- Clean contact points: wipe the handle with a microfiber towel and a mild interior cleaner. If the product includes pads, install them.
- Test placement: clip the hook loosely first to ensure it doesn?t interfere with handle movement.
- Secure the hook: press until fully seated. If there?s a set screw (less common in premium interior-safe designs), tighten gently?avoid marring plastic.
- Load test: start with a light jacket, then a heavier coat. Listen for creaks and check for rotation.
Practical tip: If a clip-on hook rotates on the handle, it?s usually a size mismatch. Don?t ?make it work? by overtightening; upgrade to a handle-specific model or a cap-replacement style.
Option B: Installing headrest post hooks (most universal)
Headrest hooks are popular because they require no tools and work on many vehicles.
- Check headrest post type: most are round metal posts; some integrated headrests won?t work.
- Raise the headrest slightly: just enough to create space to slide the hook onto the post. Avoid forcing it.
- Install protective sleeves (if included): premium kits often include silicone sleeves to prevent squeaks and scratches.
- Slide the hook onto the post: position it so the hook faces rear passengers and sits level.
- Re-seat the headrest: lower to a safe position and confirm the headrest locks properly.
- Test with your typical load: hang a handbag or jacket and take a short drive to confirm it doesn?t swing into trim panels.
Real-world example: If you carry groceries, a headrest hook is ideal for loop-handled bags?hang two bags on each hook to reduce tipping. For paper bags, use a hook with a wider, rounded profile to avoid tearing handles.
Option C: Installing adhesive-mounted premium hooks (best for custom placement)
Adhesive hooks can look very ?built-in? when installed thoughtfully. The downside is that prep work matters.
- Pick the right surface: choose a flat, non-textured area such as a smooth trim panel. Avoid soft-touch rubberized coatings that may peel.
- Check clearance: make sure the hook won?t interfere with seat travel, door seals, child-seat anchors, or folding seats.
- Clean and decontaminate: wipe with interior cleaner, then use 70% isopropyl alcohol on a clean microfiber to remove oils and protectants.
- Warm the adhesive (optional but helpful): in cool weather, gently warm the tape and the panel with a hair dryer on low. Don?t overheat plastic.
- Mark alignment: use painter?s tape to create a level guide line so the hook sits straight.
- Apply firm pressure: press for 30?60 seconds, focusing on the entire base, not just the center.
- Allow curing time: avoid hanging items for 12?24 hours (follow the product instructions). Full bond strength often takes a day or two.
Practical tip: If your interior is dressed with a shiny protectant, adhesive won?t bond reliably. Alcohol prep is the difference between ?premium? and ?falls off on day three.?
Material and Design Details That Separate Premium from ?Just a Hook?
- Hook profile: rounded edges protect garment fabric and leather bag straps. Thin, sharp hooks chew through handles over time.
- Base footprint: larger bases distribute load and reduce pressure marks, especially for adhesive hooks.
- Finish matching: satin black, matte black, brushed aluminum, and dark chrome are common. Pick a finish that matches seat trim hardware and door pulls.
- Noise control: felt pads and rubber inserts prevent squeaks on rough roads.
- Multi-function designs: some premium headrest hooks include a phone holder or small organizer ring. Useful, but only if it doesn?t add bulk or wobble.
Product Recommendations and Quick Comparisons
Rather than pushing one brand, here are dependable ?types? of products and what to look for when shopping. Use these comparisons to shortlist the right premium coat hook accessory for your cabin.
Best OEM-look: Handle-mounted cap replacement hooks
- Look for: vehicle-specific fitment, color-matched plastic, solid latch action, and no visible gaps.
- Ideal use: coats, garment bags, light backpacks.
- Why it feels premium: it reads like factory equipment instead of an add-on.
Best universal value: Reinforced headrest hooks with silicone sleeves
- Look for: glass-fiber reinforced nylon or thick ABS, a wide hook throat, anti-rattle sleeves, and a smooth radius.
- Ideal use: handbags, grocery bags, kids? backpacks.
- Avoid: thin plastic hooks with mold lines and no padding (they squeak and can snap).
Best custom install: Wide-base adhesive hooks with automotive-grade tape
- Look for: genuine automotive adhesive (often 3M-style), a broad mounting plate, and a design that doesn?t snag fabric.
- Ideal use: vehicles with no rear handles or integrated headrests.
- Best practice: buy hooks with replacement adhesive pads available, so you can refresh them later.
Common Mistakes to Avoid
- Mounting near side curtain airbags: hooking into pillar trim or headliner edges can be unsafe. If you?re unsure, don?t mount there.
- Skipping surface prep for adhesive hooks: dressings and interior oils are adhesive killers.
- Overloading hooks: coat hooks are for garments and light bags, not heavy tool bags or large water jugs.
- Choosing sharp or narrow hooks: they damage bag straps and can leave pressure marks on leather.
- Blocking seat movement: hooks behind the front seat can interfere with sliding seats or pinch items against the console.
- Ignoring passenger comfort: a hook placed where knees or shoulders contact it will quickly become an annoyance.
Pro Tips for a Factory-Finish Result
- Match textures: matte hooks suit most modern interiors better than glossy plastic, which can look cheap.
- Use symmetrical placement: if you install two hooks, measure so both sit at the same height and angle.
- Add anti-swing control: for bags, use a small strap or elastic band around the seatback to reduce swinging on turns.
- Protect leather seatbacks: if bags rub the seat, add a clear interior protection film or a seatback protector.
- Seasonal swap: keep one hook for winter coats and switch to a smaller, lower-profile hook in summer for a cleaner look.
FAQ: Premium Coat Hook Additions
Will adding coat hooks damage my car?s interior?
Quality handle-mounted and headrest post hooks generally won?t damage anything when properly fitted. Adhesive hooks can mark or lift delicate coatings if removed aggressively. Use interior-safe materials, avoid sharp edges, and follow proper prep and removal methods.
How much weight can a coat hook hold?
It depends on the design and mounting point. Headrest post hooks and robust handle-mounted hooks often handle typical coats and medium bags well. Adhesive hooks vary widely?treat them as lighter-duty unless the manufacturer specifies a tested load rating. When in doubt, keep it to garments and light bags.
Are headrest hooks safe with whiplash protection headrests?
Most headrest hooks mount to the posts and don?t interfere with the headrest mechanism, but clearance matters. Make sure the headrest still locks and adjusts normally. If your headrest is integrated (no exposed posts), choose handle-mounted or adhesive solutions instead.
Where?s the best place to hang a suit jacket to avoid wrinkles?
A rear grab-handle hook is often the best spot because the jacket can hang more naturally without folding over a seatback. If using a headrest hook, keep the jacket on a proper hanger and ensure it doesn?t bunch against the seat.
Can I install hooks on the A-pillar or near the roofline?
It?s not recommended unless you?re certain there are no airbags in that area and the product is designed for that mounting location. Many vehicles have curtain airbags along the roof edge, and adding hardware there can be unsafe.
What?s the cleanest way to remove adhesive hooks later?
Warm the adhesive gently with a hair dryer, peel slowly using steady pressure, then remove residue with an adhesive remover that?s safe for interior plastics. Avoid metal tools. Test any chemical in a hidden spot first.
Your Next Steps: Pick, Place, Install
If you want the most ?factory? look, start with a vehicle-specific grab handle hook or cap replacement style. If you want the simplest upgrade with broad compatibility, choose reinforced headrest post hooks with anti-rattle sleeves. If your cabin layout is tricky, a premium wide-base adhesive hook can be the right move?just take prep seriously and keep placement away from airbag zones.
Once installed, do a quick weekly check for looseness, squeaks, or scuffs, especially after temperature swings. A small adjustment early keeps the upgrade feeling premium for the long haul.
Want more practical interior upgrades like this? Browse more guides and comparisons on carinteriormix.com and keep building a cabin that looks great and works even better.