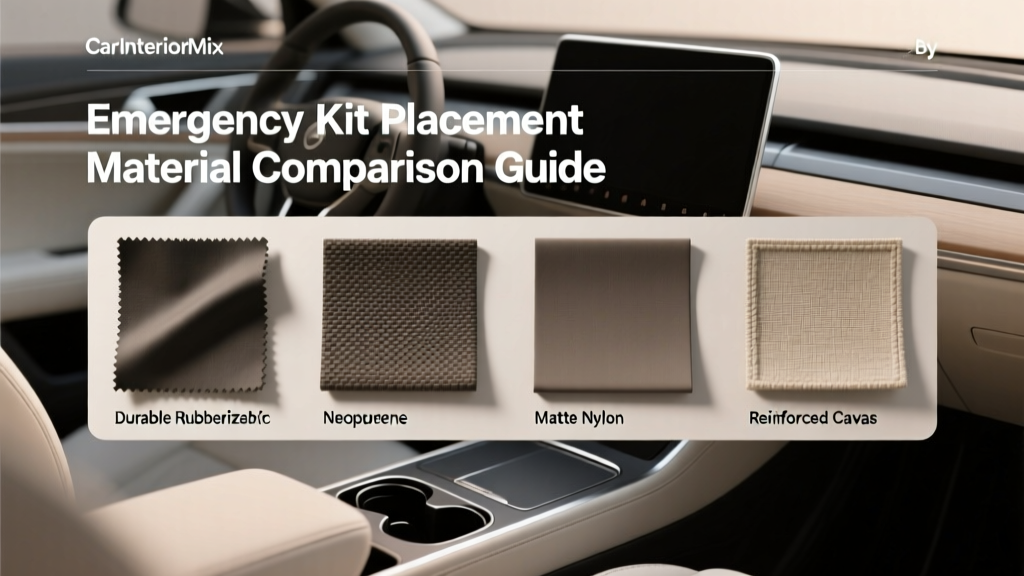
Emergency Kit Placement: Best Materials for Cars (2026)
An emergency kit is one of those car accessories you only think about when you need it?then it suddenly becomes the most valuable ?upgrade? in your interior. A dead battery at night, a flat tire in the rain, a sudden snow squall, or a minor fender bender on a busy shoulder all share one thing: you need key items fast, without digging through clutter or unloading half your trunk.
Placement matters just as much as what?s inside the kit. A well-stocked kit that?s buried under luggage or sliding around the cargo area can be slow to reach and can even become a safety hazard in a crash. Material matters, too. The right bag or box protects contents from heat, moisture, and impact?while fitting your vehicle layout and your driving habits.
This guide breaks down the best places to store an emergency kit in your vehicle and compares common kit materials so you can choose a setup that?s secure, durable, easy to access, and realistic for daily driving.
What Your Emergency Kit Needs to Do (Before You Pick a Location or Material)
Before comparing placement and material, get clear on your kit?s job. Most drivers benefit from two ?layers?:
- Quick-access roadside layer: Items you may need on the shoulder within 60 seconds.
- Extended-wait layer: Items for comfort and safety if you?re stuck for an hour or more.
Quick-access examples:
- Reflective triangles or LED road flares
- High-visibility vest
- Flashlight/headlamp
- Basic first-aid kit
- Work gloves
- Window breaker/seatbelt cutter
Extended-wait examples:
- Water pouches, non-melting snacks
- Warm blanket or compact sleeping bag
- Phone power bank + charging cable
- Rain poncho, hand warmers
- Small tool kit, duct tape, zip ties
This ?two-layer? approach affects both placement and material: the quick-access kit goes where you can reach it fast; the extended kit can live in a more secure cargo location.
Best Emergency Kit Placement Options (And When Each Makes Sense)
1) Trunk / Rear Cargo Area
Best for: Sedans, hatchbacks, SUVs, wagons; larger kits; seasonal items.
Why it works: It?s out of the way, doesn?t eat cabin space, and can hold bulky gear like a compressor, tow strap, or winter blanket.
Placement tips:
- Keep the kit near the rear opening, not buried under groceries or luggage.
- Use anchor points or cargo hooks so it doesn?t slide.
- If you drive a hatch/SUV, avoid placing it high and loose?items can become projectiles in a sudden stop.
Real-world example: If you often carry strollers, sports gear, or shopping bags, a trunk-mounted kit works best when it?s strapped to one side using a cargo organizer, rather than sitting in the center where it?s constantly displaced.
2) Under the Front Seats
Best for: Compact cars; quick-access kits; drivers who want a discreet setup.
Why it works: Easy access from the driver?s seat, protected from direct sun, and less likely to be buried by cargo.
Watch-outs:
- Check airbag wiring, seat motors, and HVAC vents under the seat.
- Make sure the kit can?t slide into pedals or seat rails.
- Keep height low?soft, flat bags work better than rigid boxes here.
3) Behind the Driver or Passenger Seat (Seatback Area)
Best for: Families, rideshare drivers, frequent road-trippers.
Why it works: Accessible to front and rear passengers, and easy to organize with pouches.
Placement tips:
- Use a seatback organizer with secure straps rather than dangling bags.
- Store only soft or lightweight items here to reduce injury risk in a crash.
4) Spare Tire Well / Under-Floor Cargo Compartment
Best for: ?Set-and-forget? kits, theft reduction, harsh climates.
Why it works: Protected from sunlight and temperature swings, hidden from casual view, and less likely to shift.
Tradeoff: Access speed. If you need triangles quickly, you don?t want to unpack your trunk to reach under-floor storage.
Best use: Put the extended-wait layer here and keep the quick-access layer somewhere reachable.
5) Door Pockets / Center Console / Glove Box
Best for: Micro essentials only.
These locations are ideal for a small first-aid pouch, mini flashlight, or seatbelt cutter, but they?re usually too small for a full emergency kit.
Safety note: Avoid overloading glove boxes with heavy items. In a crash, loose items can become hazards.
Emergency Kit Material Comparison: Bag vs Box vs Case
Once you?ve chosen a general placement, the kit?s container material decides how well it survives heat, moisture, crushing, and daily wear.
Soft Nylon/Polyester Bag (Most Common)
Pros:
- Flexible fit for under-seat and tight cargo spaces
- Lightweight and easy to carry to a roadside spot
- Usually includes pockets for organization
Cons:
- Less crush protection (snacks and plastic items can deform)
- Zippers can fail over time
- Not inherently waterproof
Best placement: Under-seat, behind seat, trunk side cubbies.
Choose it if: You want quick access and a kit that conforms to your interior.
Hard Plastic Box (Polypropylene/ABS)
Pros:
- Better impact/crush protection
- Typically easier to stack with other cargo
- Wipes clean after spills
Cons:
- Can rattle in the trunk if not secured
- Rigid shape may waste space
- Basic models aren?t airtight or waterproof
Best placement: Trunk/cargo area, under-floor compartments (if it fits).
Choose it if: You want a ?toolbox-style? kit that protects contents and stays tidy.
Metal Case (Aluminum/Steel)
Pros:
- Excellent durability and crush resistance
- Premium feel and long service life
Cons:
- Heavier; can become a dangerous projectile if unsecured
- Can get very hot/cold depending on climate
- May dent or rattle
Best placement: Only in secured trunk/cargo setups with straps or brackets.
Choose it if: You have a dedicated, tied-down cargo system and want maximum durability.
Waterproof/Dry Bag (PVC/Tarpaulin Roll-Top)
Pros:
- Excellent moisture protection (great for coastal/humid regions)
- Helps isolate items from spilled groceries or wet gear
Cons:
- Less internal organization unless you add pouches
- Roll-top access is slower than zippers
Best placement: Trunk, truck bed (inside), rear cargo area for outdoor drivers.
Choose it if: Rain, snow gear, wet dogs, or beach trips are part of your routine.
Molded EVA ?Clamshell? Case (Semi-Rigid)
Pros:
- Better protection than a soft bag without the bulk of a hard box
- Usually compact with good organization
Cons:
- Limited capacity
- Can crack if repeatedly crushed by heavy cargo
Best placement: Under-seat, trunk side storage, behind-seat setups.
How to Choose the Right Placement + Material (Quick Decision Guide)
If You Commute in a City
- Placement: Under-seat or trunk near the opening
- Material: Soft nylon bag or EVA case
- Focus items: Jumper solution (compact jump starter), flashlight, reflective vest, basic first aid
If You Road-Trip Often
- Placement: Split kit: quick-access under-seat + larger kit in cargo
- Material: Soft bag for quick-access; hard plastic box for trunk
- Focus items: Tire inflator, plugs, blanket, water, power bank, basic tools
If You Live in Hot or Cold Extremes
- Placement: Under-floor compartment or under-seat (more temperature stable)
- Material: Hard box or dry bag depending on humidity
- Focus items: Climate-appropriate supplies (hand warmers, insulated blanket, sun protection)
If You Drive a Pickup or SUV with Lots of Gear
- Placement: Secured in cargo area using straps or a cargo barrier
- Material: Hard plastic box or dry bag
- Focus items: Recovery strap, gloves, first aid, lighting, rain gear
Step-by-Step: Set Up Your Emergency Kit Placement the Right Way
Step 1: Inventory Your Kit and Separate ?Fast? vs ?Long? Items
- Lay everything out on the garage floor.
- Create two piles: fast-access and extended-wait.
- Put ?fast-access? in a smaller pouch you can reach quickly.
Step 2: Test Access With Your Seatbelt On
- Sit in the driver?s seat with the belt buckled.
- Try reaching the quick-access pouch (under-seat or center console area).
- If you can?t grab it in 10?15 seconds, rethink the spot.
Step 3: Secure the Main Kit So It Can?t Move
- Use cargo hooks, trunk tie-downs, or a trunk organizer with straps.
- For hard boxes, add a non-slip mat underneath to prevent sliding.
- Keep heavy items low and toward the seatbacks, not near the liftgate.
Step 4: Heat/Leak-Proof the Contents
- Put liquids (water pouches, windshield washer concentrate) in sealed zip bags.
- Use small pouches to group items: lighting, medical, tools, warmth.
- Avoid aerosol cans if your vehicle bakes in the sun.
Step 5: Add a Reminder to Check It Twice a Year
- Set a calendar reminder around daylight saving time changes.
- Replace expired meds, dead batteries, and crushed snacks.
- Update seasonal gear (ice scraper in winter, sunscreen in summer).
Product Recommendations and Smart Comparisons (What to Look For)
Rather than chasing a specific brand, shop for features that match your placement plan. Here are practical ?buying targets? that work well for most vehicles:
Best for Under-Seat Quick Access: Compact Soft Bag or EVA Case
- Size target: roughly a laptop bag footprint; low-profile height
- Features: strong zipper pulls, internal dividers, reflective strip
- Nice-to-have: a grab handle you can pull with one hand
Best for Trunk Organization: Hard Plastic Box or Trunk Organizer System
- Features: latching lid, flat bottom, tie-down points
- Nice-to-have: modular compartments so tools don?t rattle
- Bonus tip: choose a box that fits your trunk width so it doesn?t rotate and bang around
Best for Wet/Outdoor Lifestyles: Roll-Top Dry Bag + Internal Pouches
- Features: welded seams, durable buckle, easy-clean exterior
- Setup tip: use color-coded pouches inside so you?re not ?dumping the bag? roadside
Common Mistakes to Avoid
- Storing the kit loose: Even a small tool can become dangerous if it flies forward in a collision.
- Burying essentials under cargo: Reflective triangles and vests should be reachable without unloading the trunk.
- Using a flimsy bag for heavy tools: Handles and zippers fail when overloaded.
- Ignoring heat damage: Cheap batteries leak, some plastics warp, and certain snacks melt into a mess.
- One-kit thinking: A single big kit in the spare tire well is secure, but it?s slow. Split your kit if you can.
- Never checking expiration dates: First-aid items, medications, and even some water pouches have shelf lives.
FAQ: Emergency Kit Placement and Material
Where is the safest place to keep an emergency kit in a car?
The safest place is secured in the trunk/cargo area using tie-down points or an organizer, with heavy items kept low. For quick roadside needs, keep a small pouch under a front seat or another reachable spot, but secure it so it can?t slide.
Is it okay to keep an emergency kit in the spare tire well?
Yes?especially for extended-wait supplies?because it?s hidden and protected. The downside is speed: if you need reflective triangles immediately, a spare-tire-well kit can be frustrating. Many drivers store the ?big kit? under-floor and a small safety pouch in the cabin.
Do hard plastic boxes or soft bags work better in hot climates?
Both can work, but heat management depends more on location and contents than container. Under-floor or under-seat spots are generally cooler than the rear deck or near a window. Use heat-tolerant gear, avoid aerosols, and keep batteries in good-quality holders.
How do I stop my emergency kit from sliding around in the trunk?
Use a non-slip trunk mat, strap the kit to cargo hooks, or place it inside a trunk organizer with Velcro-backed feet (works best on carpeted cargo floors). Hard cases benefit most from straps or wedges to prevent rattles.
Should I keep my first-aid kit separate from my roadside kit?
Often, yes. A small first-aid pouch in the cabin is quicker to grab for minor cuts or passenger needs, while a more complete medical kit can live in the trunk. If you only keep one, make sure it?s accessible without unloading cargo.
What items should never be stored loosely with an emergency kit?
Avoid storing metal tools, glass items, or heavy hardware loose. Put them in zipped pouches or a compartmented box. Also keep liquids double-bagged to prevent leaks onto electronics and fabrics.
Actionable Next Steps
- Pick your primary kit location (trunk/cargo) and your quick-access location (under-seat or cabin).
- Choose a container material that matches that spot: soft/EVA for under-seat, hard box for trunk, dry bag for wet climates.
- Secure everything using tie-downs, organizers, and non-slip mats.
- Set a twice-yearly reminder to refresh batteries, meds, and seasonal gear.
If you want more practical interior organization tips?everything from trunk layouts to smart storage upgrades?explore more guides on carinteriormix.com.