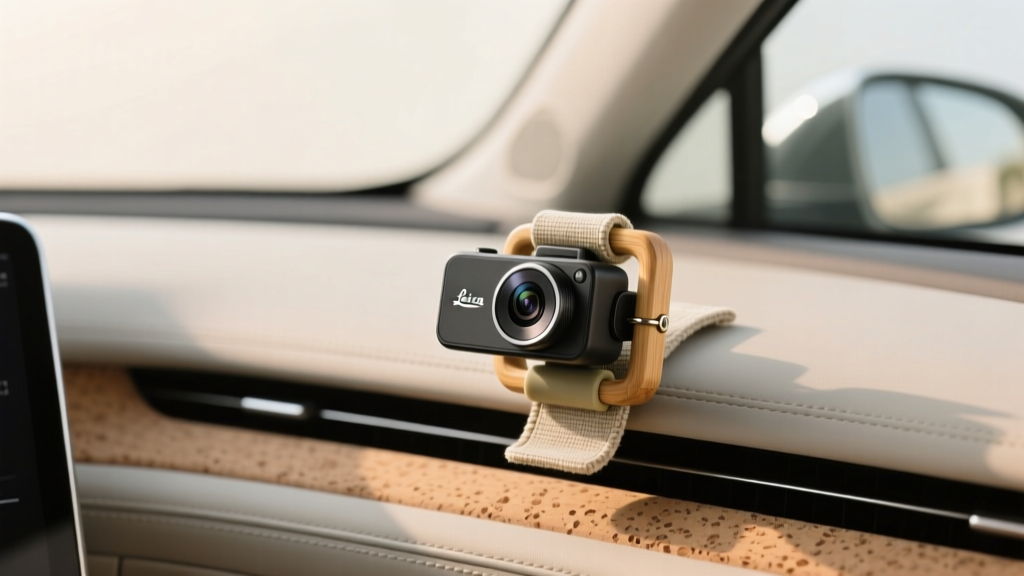
Eco-Friendly Dash Cam Mounting Alternatives - CarInteriorMix
A dash cam is one of those small upgrades that pays off big?whether you?re documenting a fender bender, capturing a hit-and-run, or just recording a scenic road trip. The catch is how most dash cams get mounted: disposable adhesive pads, plastic suction cups that fail in heat, and single-use wipes or primers that create extra waste.
If you care about keeping your car interior clean, minimizing damage to glass and trim, and reducing what ends up in the trash, it?s worth rethinking the mount itself. Eco-friendly dash cam mounting doesn?t mean ?less secure? or ?more complicated.? It usually means choosing reusable hardware, using longer-lasting materials, and avoiding consumables you?ll replace every few months.
This guide covers practical, lower-waste dash cam mounting alternatives?what works best for different vehicles and climates, how to install each option step-by-step, and which common mistakes cause mounts to fail. You?ll also find product-style recommendations, real-world examples, and a FAQ to help you choose confidently.
What ?Eco-Friendly? Means for Dash Cam Mounting
For dash cam mounts, eco-friendly is less about a ?green? label and more about smart choices that reduce waste, avoid interior damage, and last longer.
- Reusable over disposable: A mount you can remove and reinstall without new tape or pads.
- Durable materials: Metal or high-quality polymers last longer than cheap plastics.
- Low-residue removal: Fewer solvents, fewer wipes, less cleanup.
- Interior-safe: No torn tint film, no damaged dash texture, no stressed trim clips.
- Efficient cable routing: Less need for extra clips, sticky anchors, or replacement trim pieces.
Quick Comparison: Eco-Friendly Mounting Options at a Glance
Use this as a starting point before you dive into the step-by-step sections.
- Static cling pad + adhesive mount: Low waste, easy removal, great for renters or leased cars.
- Mirror stem / mirror mount bracket: Very durable, clean look, minimal adhesive use.
- Sun visor clip mount: Reusable and simple, but angle and vibration control matter.
- Headliner/trim tuck mount (no adhesive cable clips): More about eco-friendly cable management; pair with another mount.
- Reusing OEM-style 3M VHB properly: Not ?no-adhesive,? but it reduces rework and repeat waste.
Option 1: Static Cling Film Pads (A Smart Alternative to Direct Adhesives)
Why it?s eco-friendlier
A static cling pad is a clear film that adheres to glass without glue. Your dash cam?s standard adhesive mount sticks to the pad instead of the windshield. When you remove the camera, you typically remove one film (sometimes reusable) rather than scraping adhesive off glass and replacing tape repeatedly.
Best for
- Leased vehicles or frequent windshield replacements
- Drivers who move a dash cam between cars
- Hot climates where suction cups fail
Step-by-step: Installing a static cling pad
- Choose the location: Ideally high on the windshield, near the rearview mirror, within the wiper sweep. This improves clarity in rain and reduces glare.
- Clean the glass: Use a washable microfiber cloth and a small amount of glass cleaner (or diluted isopropyl alcohol). Skip single-use wipes when possible.
- Dry thoroughly: Any moisture traps bubbles and reduces cling strength.
- Apply the static pad: Peel backing, align carefully, and press from center outward to push out air.
- Mount the dash cam bracket: Stick your dash cam?s adhesive mount to the static pad (not directly to the glass).
- Let it set: Give it time to bond?especially if you?re using VHB on the pad. Avoid driving immediately on rough roads.
Real-world tip
If you live where summers are brutal, place the pad slightly behind the mirror area. The mirror shadow reduces direct sunlight exposure, which helps many adhesives hold longer and keeps the camera cooler.
Option 2: Rearview Mirror Mounts (Clean, Durable, and Minimal Waste)
Why it?s eco-friendlier
Mirror mounts clamp to the rearview mirror stem or attach via a fitted bracket. This avoids repeated adhesive pads and makes the camera easier to reposition. Done right, it?s a ?buy once, use for years? solution.
Best for
- Drivers who want a factory-clean look
- Vehicles with limited windshield mounting space (sensor clusters, big frit bands)
- Owners who want maximum stability with minimal vibration
Step-by-step: Installing a mirror stem clamp mount
- Measure the mirror stem: Clamp mounts come in different sizes. Check diameter and shape (round vs. tapered).
- Test the camera position: Sit in the driver?s seat and ensure the camera won?t block visibility or interfere with mirror adjustment.
- Attach the clamp: Tighten evenly. Don?t overtighten?some stems have plastic covers that can crack.
- Attach the dash cam: Use the correct ball joint or adapter plate for your camera model.
- Set the angle: Level the horizon in the app/display; confirm the hood isn?t taking up too much frame.
- Route the cable cleanly: Tuck it into the headliner seam and down the A-pillar (more on eco-friendly cable routing below).
Product-style recommendations
- Universal mirror stem clamp mounts: Look for aluminum construction, a locking ball joint, and replaceable rubber shims. These features reduce vibration and extend service life.
- Vehicle-specific mirror brackets: Pricier, but often the cleanest and most stable. Great for enthusiasts who want an OEM-like install.
Option 3: Sun Visor Clip Mounts (Reusable, No Adhesive, Easy Swap)
Why it?s eco-friendlier
Clip mounts are reusable and typically require no tape. They?re a simple choice if you frequently park in high-theft areas and want to remove the camera quickly without leaving adhesive traces.
Trade-offs to consider
- Vibration: Some visors flex on rough roads.
- Angle limitations: Your camera may sit lower than ideal, increasing glare.
- Airbag safety: Avoid routing cables near curtain airbags in a way that could interfere with deployment.
Step-by-step: Installing a visor clip mount
- Confirm visor stiffness: If your visor is soft or loose, a clip mount may wobble.
- Clip near the hinge: This area is typically the most stable.
- Position the camera: Aim through the windshield without the visor edge in frame.
- Route the cable: Leave enough slack to flip the visor without tugging the power plug.
Real-world example
Urban street parking: a visor mount lets you pop the camera off in seconds and store it in the glovebox. That reduces the chance of a broken window and avoids constantly replacing adhesive mounts after theft attempts.
Option 4: Eco-Friendly Cable Management (Often More Wasteful Than the Mount)
Many installs create the most waste with cable clips and sticky anchors. The cleaner approach is to use the seams your car already has?headliner, A-pillar trim edges, and door weatherstripping?without adding adhesives everywhere.
Step-by-step: Low-waste cable routing
- Start at the camera: Run the cable toward the headliner and gently tuck it into the headliner seam using a reusable trim tool (plastic pry tool).
- Move to the A-pillar: Route along the edge where the headliner meets the pillar trim.
- Respect airbags: If your A-pillar houses a curtain airbag, route the cable behind existing wiring channels or along the edge away from the airbag path. If unsure, check your owner?s manual or a vehicle-specific guide.
- Run down to power: Continue along the dash edge to the 12V socket, or to the fuse box if hardwiring.
- Secure only where needed: If you must use clips, choose reusable silicone ties or removable clips rather than foam adhesive anchors.
Practical tip
A reusable trim tool and a handful of small hook-and-loop cable ties can replace a whole pack of adhesive cable mounts?and they make future upgrades much easier.
Option 5: Using Adhesive the Eco-Friendly Way (When Adhesive Is Still the Best Choice)
Sometimes the most reliable dash cam mounting solution is still a quality adhesive pad?especially for cameras with a wedge mount designed for the windshield. The eco-friendly angle here is reducing redo installs: choose the right adhesive once, prep correctly, and avoid cheap pads that fail and create more waste.
What to look for
- 3M VHB or equivalent automotive-grade tape (the same style used for exterior trim and badges)
- Proper surface prep using a reusable microfiber cloth
- Correct placement so you don?t rip it off and re-stick
Step-by-step: Long-lasting adhesive mounting
- Pick the spot carefully: High, centered (or slightly passenger side) behind the mirror is common for best visibility.
- Clean the glass thoroughly: Remove oils, fog film, and silicone residue from interior protectants.
- Warm the tape if it?s cold: Adhesives bond better around room temperature. If it?s winter, warm the cabin first.
- Press firmly: Apply steady pressure for 30?60 seconds.
- Wait before stressing it: Avoid adjusting the camera repeatedly for the first day if possible.
Product Recommendations and Comparisons (What?s Worth Buying Once)
Rather than pushing a single brand, here?s what tends to deliver the best long-term value and least waste for dash cam mounting alternatives.
Best for low-waste and flexibility
- Static cling pad + your camera?s existing mount
- Pros: easy removal, clean glass, great for swaps
- Cons: depends on adhesive quality between mount and pad
Best for a clean OEM-style install
- Aluminum mirror stem clamp mount
- Pros: very stable, reusable, minimal glass contact
- Cons: compatibility varies by mirror stem size and shape
Best for quick removal in high-risk parking areas
- Sun visor clip mount
- Pros: no adhesive, fastest removal
- Cons: can introduce vibration; may sit lower than ideal
Common Mistakes to Avoid (These Cause Mount Failures and Extra Waste)
- Mounting on dusty or oily glass: Interior dressings and smoker?s film are silent adhesive killers.
- Ignoring heat cycling: Cheap suction cups and low-grade tape often fail after repeated hot-cold cycles, especially on steep windshields.
- Placing the camera outside the wiper sweep: Rain and road grime reduce video quality, leading to re-mounting and frustration.
- Routing cables across airbag zones: Besides safety concerns, you may need to redo the entire install later.
- Constantly re-aiming the camera by twisting the mount: This loosens joints and shortens mount life. Set angle once, then fine-tune in small adjustments.
- Using household glues or permanent epoxies: They can damage glass, tint, and interior trim?turning a simple install into a costly repair.
FAQ: Eco-Friendly Dash Cam Mounting Alternatives
Are static cling pads safe for tinted windshields?
Generally yes for factory tint (which is in the glass). For aftermarket tint film, be cautious: removing any film or adhesive product can lift edges if the tint is low quality or old. If your tint is aftermarket, test on a small corner area first and avoid aggressive pulling.
Do mirror mounts fit every vehicle?
No. Some cars have large sensor housings, unusual mirror stems, or fully integrated mirror assemblies. Measure your mirror stem and check whether your camera can attach via a standard 1/4-20 adapter, a ball joint, or a model-specific plate.
Is suction mounting eco-friendly if I reuse it?
It can be, but performance is the issue. Many suction mounts fail in heat, prompting replacements. If you choose suction, look for a high-quality lever-lock suction cup and clean the glass well. For most drivers, a mirror mount or static cling solution is more reliable long-term.
What?s the most eco-friendly way to remove adhesive residue?
Start with the least aggressive method: warm the area slightly, peel slowly, and use a reusable microfiber cloth with a small amount of isopropyl alcohol. Avoid harsh solvents that can haze plastics or damage tint film. The goal is minimal chemicals and no scraping tools on glass.
Can I mount a dash cam to the dashboard instead of the windshield?
You can, but it?s often less ideal. Dash textures, heat exposure, and airbags can complicate things, and reflections in the windshield may worsen. If you must use the dash, consider a weighted, reusable friction mat base or a mount designed for dashboards with minimal adhesive?then verify it won?t interfere with passenger airbag deployment.
What?s the best option for extreme heat climates?
Mirror mounts tend to handle heat best because they don?t rely on a suction seal and often use mechanical clamping. If you prefer windshield mounting, use a quality adhesive with proper prep or a static cling pad with a proven tape interface, and place the camera in the mirror?s shade when possible.
Conclusion: Choose a Mount You Won?t Have to Replace
If you want a greener dash cam setup, focus on longevity and removability. For many car owners, the best balance is a static cling pad (easy, clean, low-waste) or a mirror mount (durable, OEM-like, reusable). Pair either one with low-waste cable routing using existing trim seams and reusable ties to keep your interior tidy without a pile of sticky clips.
Next steps:
- Check your windshield layout: Identify sensor areas, frit bands, and the wiper sweep zone.
- Pick your mounting style: Static cling for flexibility, mirror mount for permanence, visor clip for quick removal.
- Plan cable routing before sticking anything: A 2-minute plan prevents a 2-hour redo.
Want more practical interior upgrades and install guides? Explore more articles on carinteriormix.com for smart, clean, car-owner-friendly solutions.