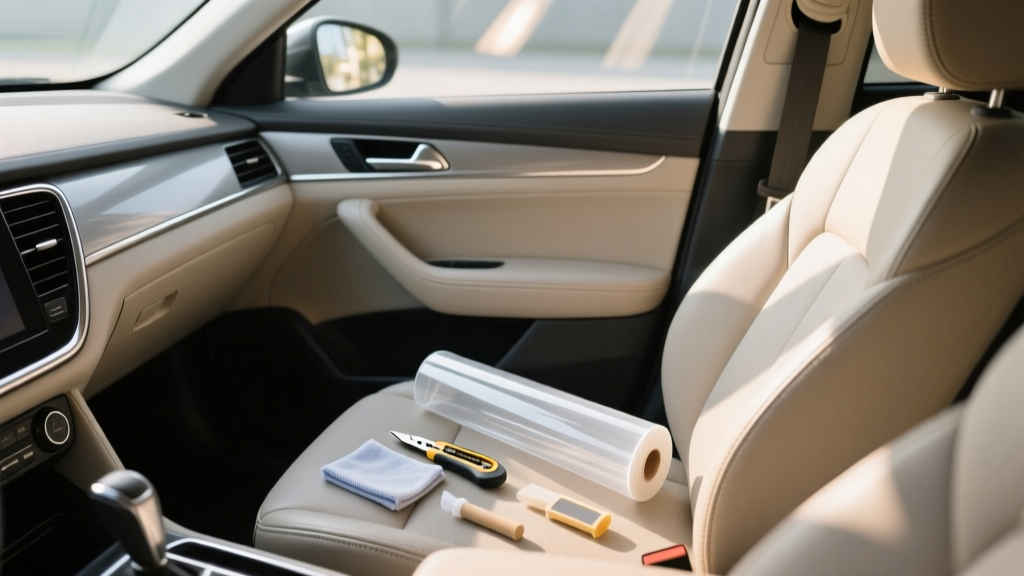
UV Protection for Cars: DIY Strategies (2026)
Sunlight is one of the few ?silent? forces that can age your car?s interior faster than mileage. UV rays don?t just fade fabric and leather?they dry out dashboards, weaken plastics, and speed up cracking on high-touch surfaces like steering wheels and door pulls. If you?ve ever noticed a once-deep black dash turning gray, or leather seats looking chalky and stiff, you?ve seen UV damage at work.
This is Part 2 of our DIY UV protection replacement tutorial series, focusing on the upgrades and replacements you can do after you?ve already started protecting your interior. Think of it as the next step: replacing worn UV defenses (old tint, scratched screen protectors, tired protectants), upgrading to better materials, and tightening up your routine so the protection stays consistent.
Whether you drive a daily commuter, a weekend sports car, or a family SUV that bakes in a parking lot for hours, these strategies help you preserve resale value, keep your cabin looking newer, and make the interior more comfortable year-round.
Quick UV Reality Check: What You?re Protecting (and Why It Fails)
UV protection in a car interior isn?t one thing?it?s a system. Most cabins rely on multiple layers of defense:
- Glass filtration: Windshields block a lot of UV, but side windows vary widely unless tinted with UV-rejecting film.
- Physical barriers: Sunshades, window shades, and covers prevent direct radiation and heat load.
- Chemical protection: UV protectants for vinyl, plastic, leather, and trim.
- Material upgrades: Seat covers, dash mats, ceramic window films, and UV-resistant coatings.
Where people get stuck: they add protection once, then forget that many solutions are consumable or degrade over time. Films can bubble, protectants wear off, and accessories lose fit. Part 2 is about replacement and upgrading those layers so they keep doing their job.
Before You Replace Anything: Inspect and Diagnose UV Damage
Interior UV Damage Checklist
- Dash/top of door panels: Fading, chalky residue, hairline cracks, warped areas near vents.
- Seats: Dry feel, loss of color, creases turning white, stitching weakening, hot spots on bolsters.
- Steering wheel & shifter: Shine turning to slickness, peeling, rough texture, discoloration.
- Touchscreens & gauge clusters: Micro-scratches, haze, yellowing edges (on older plastics).
- Trim & rubber seals: Whitening, brittleness, squeaks, shrinkage.
Real-world example
If the driver-side door panel is noticeably lighter than the passenger side, you?re likely seeing UV exposure through the side glass?especially common in vehicles parked outdoors with the driver side facing the sun. That?s a sign that UV-blocking window film (or a film upgrade) should be high on your replacement list.
Strategy 1: Replace or Upgrade Your Window Tint for Better UV Rejection
Old tint isn?t always bad, but failing film is worse than none: bubbling edges and purple discoloration reduce visibility and look cheap. More importantly, older dyed films may not block as much UV/IR as modern ceramic or carbon films.
What to look for in a UV-protective tint film
- UV rejection: Aim for 99% UV (often listed as UV-A/UV-B blockage).
- IR (heat) rejection: Ceramic films typically outperform dyed films for comfort.
- Clarity: Low haze and good night visibility matter more than aggressive darkness.
- Warranty: Reputable brands offer lifetime warranties against bubbling and discoloration.
DIY or pro installation?
Professional tinting is usually the smart move?especially on curved rear glass?because a bad install wastes film and can leave contamination. If you?re DIY-inclined, consider starting with a flat side window on an older vehicle as practice.
Step-by-step: Removing failing tint (DIY overview)
- Choose a warm day or use a heat gun/steamer to soften adhesive.
- Protect interior surfaces with towels, especially door switches and speakers.
- Lift a corner with a plastic razor blade (avoid metal blades on glass edges).
- Peel slowly while applying heat to keep adhesive on the film, not the glass.
- Remove adhesive using an automotive-safe glass adhesive remover and a microfiber towel.
- Clean glass thoroughly (alcohol-based glass cleaner works well) before any re-tint.
Product comparison: Ceramic vs. carbon vs. dyed film
- Dyed film: Cheapest; decent glare reduction; weaker heat performance; more likely to discolor.
- Carbon film: Better longevity and heat control than dyed; good value for daily drivers.
- Ceramic film: Best heat rejection and clarity; typically premium cost; excellent for protecting interiors long term.
Strategy 2: Replace Worn UV Protectant with a Repeatable ?Set-and-Forget? Routine
Interior protectants work, but only if they?re applied correctly and refreshed. Over-application can create greasy shine that attracts dust. Under-application leaves high-exposure areas vulnerable.
Where protectant matters most
- Dash top and instrument hood
- Upper door panels and armrests
- Center console sides (sun hits through angled glass)
- Steering wheel (use products approved for wheel materials)
Step-by-step: Replacing your protectant layer (vinyl/plastic)
- Dry dust first with a soft interior brush and microfiber to prevent scratching.
- Deep clean using an interior cleaner diluted as directed. Focus on textured plastics where old dressing hides.
- Wipe down with a damp microfiber to remove cleaner residue.
- Apply UV protectant to an applicator pad, not directly to the surface (reduces overspray on glass).
- Work it in evenly, section by section, then buff lightly for a natural finish.
- Cure time: keep windows up and avoid touching for 20?30 minutes (or per product label).
Leather seats: protect without making them slick
Modern coated automotive leather needs gentle cleaning and a protectant that won?t leave oily residue. If your seat feels slippery after treatment, you used too much product or the wrong one.
Recommended product types (choose based on finish preference)
- OEM-matte UV protectants: Great for dashboards and modern interiors that should look factory, not shiny.
- Leather-specific protectants with UV inhibitors: Better for coated leather; avoid heavy oils.
- Interior ceramic/protective coatings: Longer-lasting, but require meticulous prep and careful application.
Strategy 3: Replace Sunshades and Add Targeted Physical Barriers
A windshield sunshade is still one of the best bang-for-buck UV and heat reducers. The trick is replacing flimsy, poorly fitting shades with vehicle-specific options that actually seal the glass area.
What works best
- Custom-fit reflective windshield shades: Best coverage; faster setup; less light leakage.
- Foldable accordion shades: Quick, but varies in fit; good for daily use.
- Rear window and side window shades: Useful if kids ride in the back or if rear seats fade faster.
- Dash mats: Excellent for older vehicles prone to dash cracking; reduce glare too.
Step-by-step: Setting up a ?UV barrier kit? for daily parking
- Windshield shade first: install every time you park outdoors for more than 20?30 minutes.
- Side shade on the sun-facing side: keep one compact shade in the door pocket.
- Rotate parking direction: if possible, alternate which side faces the sun each day.
- Use a light-colored towel as an emergency dash cover if you forget the shade.
Strategy 4: Replace Screen Protectors and Add UV/Heat Defense for Displays
Infotainment screens and gauge clusters can haze or scratch during cleaning, and heat cycling can accelerate wear. A quality screen protector is a simple replacement that pays off.
Choosing a screen protector
- Tempered glass: Best scratch resistance and clarity; usually easiest to clean.
- Matte film: Reduces glare and fingerprints; can slightly soften image sharpness.
- UV-stable adhesive: Reduces yellowing and edge lift over time.
Step-by-step: Installing a screen protector without dust bubbles
- Clean the screen with a dedicated screen-safe cleaner and microfiber.
- Use a dust sticker (or painter?s tape) to lift micro-dust.
- Align before peeling: test-fit and note reference points.
- Apply slowly from one edge, using a card wrapped in microfiber to push air out.
- Let it set for a few hours before heavy use, especially in heat.
Strategy 5: Replace Seat Covers and Steering Wheel Covers the Right Way
Seat covers can be a legitimate UV strategy if your car lives outdoors. The key is picking covers that fit tightly and don?t interfere with airbags or seat functions.
Seat cover safety and fit checklist
- Airbag compatibility: Look for covers designed for side airbag seams.
- Breathable materials: Helps reduce heat soak and sweat (especially in summer).
- Color choice: Lighter colors reflect heat better; darker colors hide stains but absorb heat.
- Attachment method: Straps and anchors beat ?universal slip-on? for long-term fit.
Real-world example
If your driver bolster is fading while the rest of the seat looks fine, a targeted bolster cover or a fitted driver-seat cover can slow the damage dramatically?especially if you often drive with the sun hitting your left side.
Common Mistakes to Avoid (These Cause Most DIY UV Failures)
- Using glossy silicone dressings on dashboards: They can create glare, attract dust, and sometimes leave uneven blotches.
- Applying protectant to dirty surfaces: You end up sealing in grime, leading to streaking and accelerated wear.
- Ignoring side windows: Windshields often block UV well; side glass is where protection varies.
- Overheating tint during removal: Excess heat can damage defroster lines on rear glass?use controlled heat and patience.
- Spraying product directly onto panels: Overspray lands on glass and screens, causing smears that are tough to remove.
- Assuming one treatment lasts a year: Most protectants need refreshing every 4?12 weeks depending on sun exposure and cleaning frequency.
Recommended Replacement Plan: A Simple 30-Day Upgrade Path
If you want results without tackling everything at once, follow this practical schedule:
Week 1: Fix the biggest UV leak
- Replace failing tint or schedule a ceramic/carbon tint install
- Add a custom-fit windshield sunshade
Week 2: Reset surfaces
- Deep clean dash, door tops, and console
- Apply a matte UV protectant
Week 3: High-touch and high-wear areas
- Treat leather (clean + protect)
- Assess steering wheel condition; consider a quality cover or professional re-wrap if peeling
Week 4: Screens and finishing touches
- Install screen protectors
- Add rear/side shades if passengers or rear seats are exposed
FAQ: DIY UV Protection and Replacement Questions
How often should I reapply interior UV protectant?
For a daily driver parked outdoors, every 4?6 weeks is a good rhythm. If you garage park most days, you can often stretch to 8?12 weeks. High-touch areas (steering wheel, armrests) may need more frequent attention.
Does ceramic tint really help protect my car interior?
Yes. Quality ceramic film typically blocks nearly all UV and also reduces heat load, which slows drying and cracking on plastics and leather. The interior feels cooler, and materials stay more stable over time.
Is a dashboard cover (dash mat) worth it?
If your vehicle is known for dash cracking, or it sits in direct sun regularly, a dash mat is one of the most effective physical barriers you can add. It also reduces windshield glare, which some drivers find immediately noticeable.
Can I use the same product on leather and plastic?
Some interior protectants are labeled safe for multiple surfaces, but leather generally benefits from leather-specific cleaners and protectants designed for coated automotive leather. When in doubt, test a small hidden area first and avoid oily products that leave slickness.
Why does my interior still fade even though I use a sunshade?
Common reasons include UV entering through side windows, inconsistent shade use (short stops add up), and surfaces not being cleaned before protectant application. Upgrading side window UV protection and sticking to a maintenance cadence usually fixes this.
What?s the easiest upgrade with the biggest payoff?
A custom-fit windshield sunshade plus a modern UV-rejecting tint (especially on side windows) delivers the most noticeable improvement in both protection and comfort for most drivers.
Next Steps: Build a UV Protection System That Stays Effective
Start by replacing what?s clearly failing?peeling tint, worn-out sunshades, greasy dressings that attract dust?then upgrade the ?core? defenses: side-window UV rejection and a repeatable protectant routine. Take a few photos now (dash, driver seat bolster, door tops) and compare them every couple of months. That simple habit makes it easy to see what?s working and where you need to adjust.
If you want more DIY interior protection walkthroughs, product breakdowns, and restoration tips, explore the latest guides on carinteriormix.com.