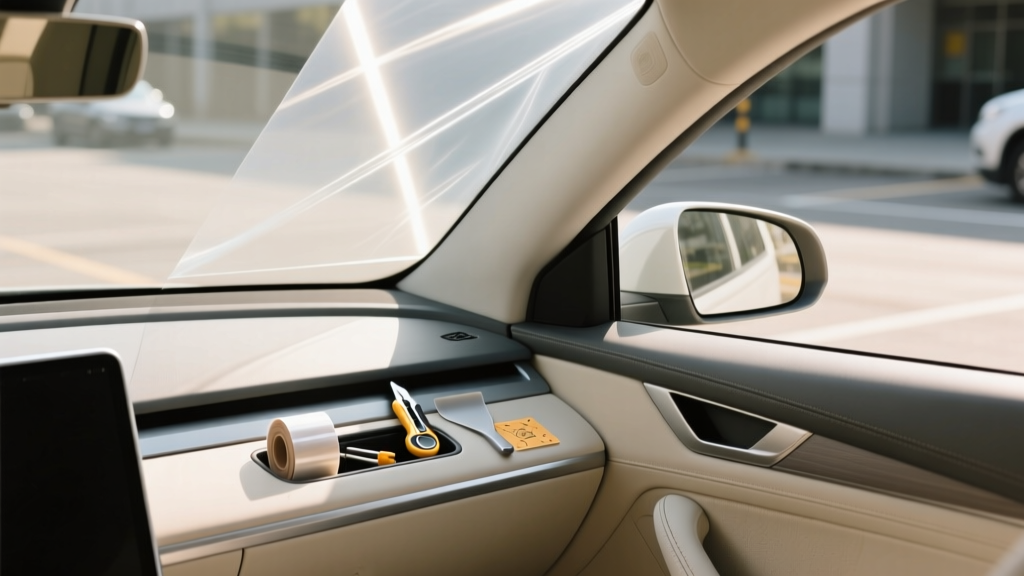
UV Protection for Car Interiors: DIY Strategies (2026)
Sunlight is one of the fastest ways to make a car interior look older than it is. UV rays fade leather and fabric, dry out dashboards, weaken plastics, and can even cause sticky buttons or peeling trim over time. If you?ve ever noticed your steering wheel getting slick, your black dash turning gray, or your seats losing their ?new car? richness, UV exposure is usually the culprit.
The good news: you don?t need a full interior restoration to fight back. With a few smart DIY UV protection strategies?and a simple ?replacement? mindset (replace worn protection layers before the damage spreads)?you can keep your cabin looking sharp for years. This guide walks you through practical, proven steps: tint and film options, protectants, covers and shades, plus how to replace or refresh UV barriers that have stopped doing their job.
Whether you daily-drive, road-trip, or keep a weekend car in the driveway, these techniques help preserve resale value, comfort, and that clean, cared-for look enthusiasts love.
How UV Damage Shows Up Inside Your Car
Before you buy products or start installing anything, it helps to recognize what you?re trying to prevent. UV damage often looks like ?normal aging,? but it?s usually accelerated by sun exposure through glass.
Common UV-related symptoms
- Fading: Dark plastics turn chalky; leather loses depth and color; fabrics bleach unevenly.
- Drying and cracking: Dash tops and door caps develop fine cracks, then larger splits.
- Brittleness: Plastic trim becomes fragile and more prone to breaking clips.
- Haze and distortion: Instrument cluster lenses and infotainment screens can develop a hazy look from heat/UV cycles.
- Adhesive failure: Headliners sag, trim wraps peel, and badges loosen as heat repeatedly softens glue.
Real-world example
A common scenario: a car parked outside at work every day, angled so the sun hits the passenger side. After a year or two, the passenger seat and door panel look noticeably lighter than the driver side. This isn?t just cosmetic?materials are literally breaking down, which means they?ll wear faster and be harder (and more expensive) to restore later.
UV Protection Basics: What Actually Works
There?s no single ?magic? product. The best results come from layering strategies: block UV at the glass, reduce heat load, and maintain interior surfaces so they stay resilient.
The 4-layer approach
- Layer 1: UV-blocking film on glass (tint or clear UV film)
- Layer 2: Physical barriers (sunshades, window shades, seat covers when parked)
- Layer 3: Surface protection (UV protectants for vinyl, plastic, leather)
- Layer 4: Parking strategy (shade, garage, windshield facing away from afternoon sun)
Think of it like paint protection on the exterior: you don?t just wax once and hope for the best. You refresh and replace protective layers as they wear out.
DIY ?Replacement? Mindset: Replace Protection Before You Replace Parts
The word ?replacement? matters because most UV defenses are consumables. Films age, protectants wear off, shades warp, and covers tear. Replacing those protective layers on a schedule is far cheaper than replacing a cracked dash, reupholstering seats, or hunting down discontinued trim pieces.
What to refresh or replace regularly
- Interior protectant layer: refresh every 4?8 weeks (more often in intense sun)
- Windshield sunshade: replace when it warps, delaminates, or no longer fits tightly
- Window shades: replace suction cups/adhesive mounts when they stop holding
- Cabin air management: replace cabin air filter as scheduled so HVAC can cool efficiently (reduces heat stress)
- Window film: replace if it bubbles, turns purple, scratches easily, or loses clarity
Step-by-Step: Install a Windshield Sunshade (Fastest UV Win)
If you do nothing else, start here. A quality windshield sunshade dramatically cuts UV exposure and heat on the dashboard and steering wheel.
What you?ll need
- Vehicle-specific or universal windshield sunshade
- Microfiber towel (to wipe glass)
- Optional: dash mat (extra layer for dash protection)
Instructions
- Clean the inside of the windshield with a dry microfiber. Dust reduces grip and fit.
- Unfold and test-fit the shade. Ensure it covers the full windshield width, especially the dash top area.
- Seat it low so the bottom edge rests against the dash. This is where the sun hits hardest.
- Use visors to lock it in place. Flip both visors down to press the shade tight to the glass.
- Check side gaps near the A-pillars. If there are large gaps, consider a vehicle-specific model.
Pro tip
If your shade is ?close but not perfect,? a dash mat can cover the remaining exposed dash corners. It also reduces glare while driving.
Step-by-Step: Apply an Interior UV Protectant (Plastics, Vinyl, Rubber)
Interior protectants don?t block UV like a film does, but they slow oxidation and drying, and they keep surfaces conditioned. The key is choosing a non-greasy product and applying it correctly so it looks factory, not shiny.
What you?ll need
- Interior cleaner (pH-balanced, non-harsh)
- UV protectant (water-based preferred for a natural finish)
- 2?3 microfiber towels
- Soft detailing brush (for textured plastics)
Instructions
- Start with a cool interior. Park in shade and let the cabin cool down. Hot surfaces can cause streaking.
- Clean first. Mist cleaner onto a towel (not directly on electronics) and wipe surfaces. Use a brush for textured areas, then wipe dry.
- Apply protectant to a towel or applicator. Avoid spraying directly onto the dash to prevent overspray on glass.
- Work in small sections. Spread evenly across dash, door tops, center console plastics, and trim.
- Buff to a natural finish. Use a clean microfiber to remove excess. The goal is satin, not slippery gloss.
- Let it cure. Give it 10?20 minutes before driving if possible.
Where to be extra careful
- Steering wheel and pedals: Avoid leaving anything slick. Buff thoroughly or skip these areas.
- Infotainment screens and cluster lenses: Use screen-safe products only; many protectants can haze clear plastics.
Step-by-Step: UV Protection for Leather Seats (Condition Without Overdoing It)
Modern automotive leather is typically coated (pigmented leather with a protective topcoat). That means leather ?conditioning? is more about keeping the coating healthy and preventing drying than soaking oils into raw hide.
What you?ll need
- Leather-safe cleaner
- Leather protectant/conditioner with UV inhibitors
- Soft microfiber towels
- Soft brush (optional for perforated leather, use gently)
Instructions
- Vacuum first to remove grit that can abrade the leather coating.
- Clean with light agitation. Apply cleaner to a towel or brush, work gently, then wipe dry.
- Apply protectant sparingly. A thin, even layer is better than a heavy coat that attracts dust.
- Buff for a factory feel. Seats should feel clean and matte, not oily.
- Repeat periodically. Every 2?3 months is typical; more often if parked outside daily.
Real-world tip for perforated seats
Spray product onto your towel, not the seat. Direct spraying can push liquid into perforations and create residue around the holes.
Window Film Options: Tint vs Clear UV Film (DIY vs Pro)
Glass is your first line of defense. Most windshields already block a lot of UVB, but UVA (the aging/fading culprit) can still penetrate depending on the glass and vehicle. Side and rear glass vary widely by model.
Option comparison
- Ceramic tint (popular for heat + UV): Excellent heat rejection and strong UV protection; darker shades reduce visible light. Often best installed professionally for clean edges and longevity.
- Carbon tint: Good performance for the money, better color stability than dyed films.
- Dyed tint: Affordable, but typically less heat rejection and may fade or turn purple over time.
- Clear UV film (great for windshields): Minimal change in appearance, helps block UVA; excellent for drivers who want protection without darkening.
DIY or professional installation?
- DIY makes sense for flat rear glass on some vehicles and experienced installers with patience, proper tools, and a clean workspace.
- Professional install is worth it for curved rear windows, complex quarter glass, or if you want a warranty against bubbling and peeling.
What to look for in a film
- High UV rejection (look for UVA/UVB claims and reputable testing)
- Low haze and good optical clarity for windshields
- Color stability warranty (reduces risk of purple tint)
- Legal compliance with your local tint laws
Product Recommendations: Practical Picks by Use Case
Rather than naming one ?best? product for everyone, here are reliable categories and what typically works well. Choose based on your climate, parking situation, and the finishes you prefer.
Interior UV protectants (dash, door tops, plastics)
- Water-based, non-greasy protectants for a natural OEM finish and less windshield glare.
- UV-inhibiting trim protectants for older vehicles with already-drying plastics (great for door caps and dash tops).
Leather protection
- Leather protectant with UV blockers that dries matte and doesn?t make seats slick.
- Dedicated leather cleaner (avoid all-purpose cleaners that can strip coatings over time).
Sunshades and physical barriers
- Vehicle-specific windshield shades for the tightest fit and best coverage.
- Dual-layer reflective shades (reflective outer layer, insulating inner layer) for hot climates.
- Rear window shades if you regularly carry passengers or park with the rear facing the sun.
Window films
- Ceramic film if heat is your biggest issue (hot summers, lots of highway driving).
- Clear UV film if you want maximum protection with minimal appearance change.
Common Mistakes to Avoid
- Using shiny, greasy dressings on the dash. They attract dust, can cause glare, and sometimes leave uneven blotches.
- Skipping the cleaning step. Protectant over dirt locks in grime and creates streaking.
- Overspraying near glass and screens. This leads to hazy windshields and smeared infotainment displays.
- Assuming factory glass is enough. Some vehicles provide decent UV protection; others don?t. Side glass is often the weak link.
- Buying the cheapest tint film. Low-quality film can fade, bubble, or distort, making night driving worse and forcing an early replacement.
- Not replacing worn sunshades. A warped shade with gaps is basically a decorative accessory, not protection.
Maintenance Schedule: Keep UV Protection Working
Consistency beats occasional ?big detailing days.? Here?s a simple schedule most owners can follow.
- Weekly (or every wash): Quick interior wipe-down of dash top and door caps; use a dry microfiber to remove dust that can bake into surfaces.
- Monthly: Apply interior UV protectant to plastics/vinyl; check windshield shade fit and condition.
- Every 2?3 months: Clean and protect leather; inspect high-exposure areas (dash top, steering wheel, seat bolsters).
- Twice per year: Evaluate window film for bubbling/discoloration; deep-clean interior and refresh protection.
FAQ: DIY UV Protection for Car Interiors
1) Does window tint really protect my interior, or is it mostly for looks?
Quality tint (especially ceramic or carbon) can significantly reduce UV and heat, which slows fading and drying. Cheap dyed tint is more about darkening the window and may offer less heat performance and shorter lifespan.
2) What?s the difference between UVA and UVB for interior damage?
UVB is often associated with sunburn and is commonly blocked by laminated glass. UVA penetrates deeper and is a major contributor to fading and material degradation inside the cabin, especially through side windows.
3) Are UV protectant sprays safe for all interior materials?
Not always. Many are fine for vinyl and plastic, but some can haze clear plastics or leave residue on screens. Use material-specific products for infotainment displays and cluster lenses, and always test on a small hidden area first.
4) How can I protect my interior if I can?t tint my windows due to local laws?
Use a high-coverage windshield sunshade, consider clear UV film where legal (often allowed on windshields depending on region), apply a matte UV protectant to exposed plastics, and prioritize shaded parking whenever possible.
5) How do I know when to replace window film?
Replace it if you see bubbling, peeling edges, purple discoloration, visible scratches that affect clarity, or distortion that?s noticeable at night. Those are signs the film is failing and no longer providing consistent protection.
6) Will a dash cover or dash mat trap heat and make things worse?
A quality dash mat typically reduces direct UV exposure and can lower surface temps by shading the dash. Avoid thick, poorly fitted covers that block vents or sit unevenly, and keep the windshield shaded for best results.
Next Steps: Build Your UV Protection Kit
If you want a simple plan, start with the biggest impact items and work down the list:
- Buy a properly fitting windshield sunshade and use it daily.
- Apply a water-based interior UV protectant once a month (more in peak summer).
- Protect leather seats every few months with a UV-aware leather protectant.
- Upgrade your glass protection with ceramic tint or clear UV film (pro install if you want perfect results).
- Replace worn protection layers before you?re shopping for replacement dashboards and seat covers.
Keep these habits consistent and you?ll notice it: less glare, cooler touch points, richer color, and a cabin that stays ?enthusiast clean? even with daily use.
Want more practical interior care guides? Browse the latest DIY tutorials and product deep-dives on carinteriormix.com and keep your interior looking fresh mile after mile.