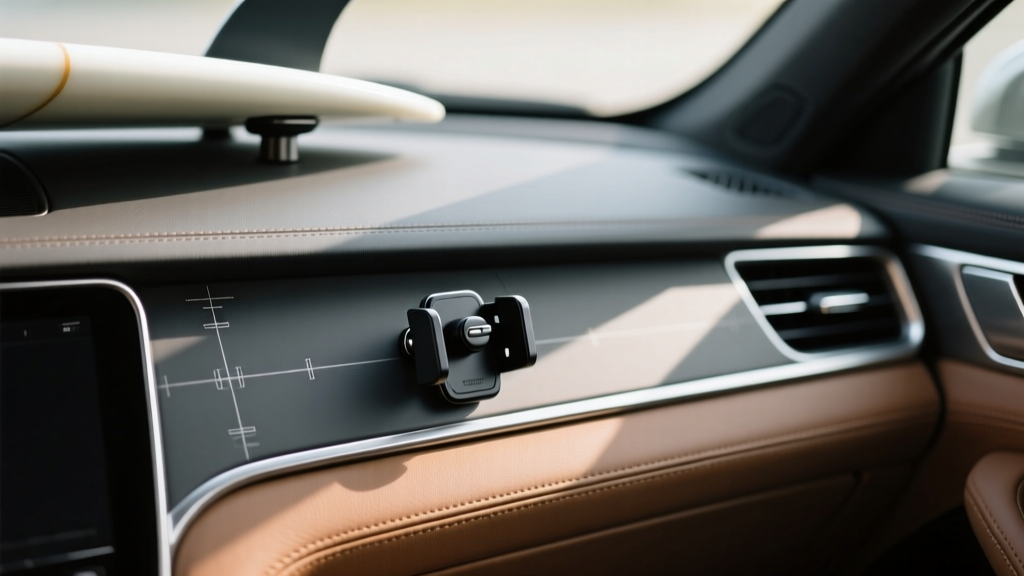
Surfboard Interior Mount Replacement (2026)
If you?ve ever tried to toss a surfboard in the back seat ?just this once,? you already know how quickly wax ends up on upholstery, rails get dinged by door frames, and a sudden stop turns your board into a missile. A proper interior surfboard mount solves those problems?but only if the mount is secure, sized correctly, and in good condition.
Interior surfboard mounts take a beating: UV through the windshield, heat cycling, vibration, salty wet boards, and the occasional over-tighten. Straps fray, adhesive pads let go, suction cups crack, and hardware loosens. Replacing a worn or outdated mount is one of the best DIY upgrades for anyone who drives to the beach regularly, especially if you?re trying to protect both your car interior and your board.
This guide walks through how to replace an interior surfboard mount the right way?cleanly, safely, and with a factory-neat finish. Whether you?re upgrading from suction cups to a crossbar-style strap system, replacing sagging webbing, or relocating anchor points to fit a new vehicle, you?ll find practical steps, product comparisons, and common pitfalls to avoid.
What Counts as an ?Interior Surfboard Mount? (and What You?re Replacing)
Interior surfboard mounts typically fall into a few categories. Knowing what you have helps you choose the best replacement and understand how it should be installed.
1) Headrest-to-headrest strap systems
- How they work: Two straps wrap around the front and rear headrests to create ?crossbars.? Boards strap to the bars.
- Best for: Sedans, hatchbacks, SUVs?almost anything with removable/adjustable headrests.
- Common failure points: Frayed webbing, slipping buckles, weak padding that compresses and scratches boards.
2) Suction cup ceiling/window mounts
- How they work: Suction cups attach to glass or smooth interior surfaces; straps hold the board.
- Best for: Temporary setups, rentals, occasional transport.
- Common failure points: Heat softens cups, cups age and crack, release tabs get brittle, sudden humidity changes cause slow leaks.
3) Hard-mounted anchor points (tracks, D-rings, bolts)
- How they work: You install anchors into the vehicle (often cargo area, roof liner zones, or existing threaded points), then strap boards in.
- Best for: Frequent surfers who want a more permanent, tidy solution.
- Common failure points: Incorrect hardware, drilling into hidden airbags/wiring, loose fasteners, rattles.
Before You Start: Safety and Fit Checks
A surfboard mount inside a vehicle must be secure not only for convenience but for crash safety. Take a few minutes to plan the layout and verify that you?re not interfering with safety systems.
Critical safety checks
- Airbags: Avoid routing straps over side curtain airbags (usually in the roofline above doors). Never hard-mount into pillars without confirming what?s behind them.
- Driver visibility: Boards should not block mirrors or your view through the windshield.
- Projectile risk: A loose board can cause serious injury in a sudden stop. Use straps with locking cam buckles and strap ends secured.
- Headrest strength: If using headrest straps, confirm the headrests lock firmly and don?t wobble excessively.
Measure your setup (quick and practical)
- Measure the distance between front and rear headrests (or mounting points).
- Confirm board length fits without pressing hard into the windshield or tailgate glass.
- Plan whether fins will be forward or rearward:
- Fins up often reduces pressure on fins and helps avoid puncturing upholstery.
- Fins down may stabilize certain shapes but needs padding and clearance.
Tools and Supplies Checklist
You can replace most interior mounts with basic tools. Gather everything first so you?re not halfway through with straps dangling and nowhere to drive.
Common tools
- Trim tool or plastic pry tool (helps remove clips or tuck straps neatly)
- Scissors or a hot knife for webbing (optional)
- Socket set or Torx drivers (only for hard-mount anchors)
- Measuring tape
- Marker or painter?s tape (for positioning)
Supplies that make the job cleaner
- Isopropyl alcohol (70?90%) and microfiber towels (for cleaning surfaces)
- Adhesive remover (if you?re removing old sticky pads)
- Felt tape or anti-rattle tape (great for quieting buckles and hardware)
- Neoprene sleeves or foam padding (protects board rails and interior plastics)
Choosing a Replacement Mount: What to Look For
When shopping for a replacement interior surfboard rack, focus on durability, buckle quality, and how it fits your interior layout.
Key features worth paying for
- Cam buckles with rubberized or coated housings: reduces dents in board rails and protects trim.
- Wide webbing (1? to 1.5?): spreads load and resists twisting.
- Non-slip pads: keeps ?crossbars? from migrating during turns.
- Quick-release design: makes it realistic to remove the rack when not surfing.
- Salt- and UV-resistant materials: especially if your car sits outside.
Product style comparison (practical overview)
- Budget headrest strap kits: Affordable and fast to install. Best if you transport 1?2 boards occasionally. Expect to replace straps sooner if you surf every week.
- Midrange padded strap systems: Better buckles, thicker pads, and stronger stitching. Ideal for most car owners who surf regularly.
- Premium modular systems: Often include extra tie-down points, fin clearance solutions, and quieter hardware. Worth it if you carry multiple boards or drive longer distances.
Step-by-Step: Replacing a Headrest Strap Surfboard Mount
This is the most common interior mount replacement for sedans and SUVs. The goal is a tight, level ?bar? at the front and rear with the board strapped securely between them.
Step 1: Remove the old straps and inspect contact areas
- Unbuckle the board straps and remove the board.
- Loosen headrest loops and slide straps off the headrests.
- Check for:
- Scuffed leather/vinyl at headrest posts
- Indentations in headrest upholstery
- Any melted or sticky residue from padding
- Clean the areas with a microfiber and light interior-safe cleaner.
Step 2: Set the front strap ?bar? height and position
- Wrap the front strap around the two front headrests (or front passenger and rear headrest depending on kit design).
- Position the padded section where the board will rest?typically centered, slightly above shoulder height.
- Tighten gradually and evenly so the bar stays level.
Real-world tip: In many cars, the front bar sits best just behind the B-pillars, where it won?t interfere with the driver?s mirror view and won?t rub the roof liner.
Step 3: Install the rear strap ?bar? and match alignment
- Wrap the rear strap around rear headrests.
- Align the rear bar parallel to the front bar. Use painter?s tape on the headrest posts if you want repeatable placement.
- Pull both straps tight so there?s minimal sag.
Step 4: Load the board correctly (and protect your interior)
- Put the board in a sock or use a towel under rails if you have delicate trim or leather seats.
- Place the board deck-side down or up depending on fin clearance and your rack design:
- Deck down can sit more stable on padding.
- Deck up sometimes keeps fins from snagging seatbacks.
- Center the board so weight is balanced between the two bars.
Step 5: Strap down?tight, but not crushing
- Run the tie-down straps over the board at the front and rear bar.
- Snug both straps evenly. The board should not slide when you tug it side-to-side.
- Secure loose strap tails so they don?t whip, rattle, or slap the headliner while driving.
Practical rule: Tight enough that the board can?t move, but not so tight that you?re denting rails or deforming the foam. If you see the pad compressing aggressively, back off slightly.
Step 6: Road-test for noise and movement
- Drive around the block and take a few turns and a firm stop (in a safe area).
- Listen for rattles at buckles or strap hooks.
- Re-tighten once after the first drive?webbing often settles.
Step-by-Step: Replacing a Suction Cup Interior Mount
Suction mounts can work well when installed correctly, but surface prep is everything.
- Remove old suction cups: Lift release tabs gently. If they?re stuck, warm the area slightly (not hot) and use a plastic pry tool.
- Clean the mounting surface: Use glass cleaner first, then wipe with isopropyl alcohol to remove film and oils.
- Inspect the new cups: Look for any nicks on the sealing edge. A tiny defect can cause slow release.
- Mount and pre-load: Press firmly, engage the lock, and pull lightly to confirm suction.
- Strap the board: Keep straps straight (no twists) and re-check suction after 5?10 minutes.
Hot-weather tip: If your car has been sitting in the sun, let the cabin cool a bit before installing suction cups. Extreme heat can make suction less reliable.
Step-by-Step: Replacing a Hard-Mounted Anchor System (Without Regrets)
Hard mounts are the cleanest long-term solution, but they?re also the easiest to get wrong. If your replacement uses the same anchor locations, you?re in good shape. If you?re adding new holes, slow down and confirm what?s behind every panel.
Basic process (generalized)
- Find factory mounting points first: Many SUVs and wagons have threaded cargo tie-down points you can adapt with the right hardware.
- Remove trim carefully: Use plastic trim tools to avoid marring panels.
- Test-fit hardware: Confirm bolt length and thread pitch before final installation.
- Use backing plates where needed: A thin panel needs load spreading to avoid pull-through.
- Torque properly: Tighten snugly?over-tightening can crack plastic trim or strip threads.
Best practice: If you?re unsure about airbags, wiring, or structural members, stop and reference a vehicle-specific service guide. A ?quick drill? can turn into an expensive SRS warning light?or worse.
Common Mistakes to Avoid
- Over-tightening straps: This can crush rails, crease soft tops, and stretch webbing so it loses tension later.
- Mounting across airbag zones: Side curtain airbags deploy fast and forcefully. Keep straps away from roofline airbag seams.
- Skipping surface prep (suction mounts): Dust and interior protectants cause slow suction failure.
- Letting buckles contact paint or trim: Buckles can tap and scuff door panels and pillar plastics. Add felt tape where needed.
- Transporting wet, sandy boards uncovered: Sand acts like sandpaper on seats and plastics; saltwater can stain and smell.
- Ignoring strap tail management: Loose ends slap, fray, and distract you while driving.
Practical Tips for a Cleaner, Quieter Setup
- Add a board sock: It?s one of the easiest ways to protect both the board and your interior from wax and grit.
- Use a small towel at pinch points: Especially where the board might touch a seatback corner or door panel.
- Keep a ?surf interior kit? in the trunk:
- Microfiber towel
- Small brush for sand
- Alcohol wipes
- Spare cam strap
- Felt tape
- Mark your preferred strap locations: A tiny piece of tape on headrest posts makes reinstalling quick and consistent.
- Check tension monthly: Webbing relaxes over time, especially with temperature swings.
FAQ: DIY Surfboard Interior Mount Replacement
How many surfboards can I safely carry on an interior strap rack?
Most headrest-style interior racks are comfortable with 1?2 boards, depending on thickness and vehicle width. If you stack boards, place a towel or foam spacer between them and tighten evenly. If the stack blocks visibility or forces the board against glass, it?s time to rethink the setup.
Will an interior surfboard rack damage my headrests or seats?
It can if straps are overtightened, buckles rub, or sand gets trapped. Use padded straps, keep buckles off upholstery, and wipe down headrest posts occasionally. A board sock and a small towel at contact points go a long way.
Are suction cup interior mounts reliable for long drives?
They can be, but they?re more sensitive to heat, surface contamination, and age. For frequent long highway trips, a headrest-strap system or a hard-mounted anchor solution is typically more consistent.
Which direction should my surfboard face inside the car?
A common setup is nose forward, fins up, centered between the straps. That said, the best orientation is the one that avoids pressure on fins, doesn?t block visibility, and keeps the board from contacting glass or hard trim. Always do a tug test before driving.
Can I replace just the straps instead of the whole mount?
Often yes?if the padding and anchor loops are still in good shape. Replace any frayed webbing, slipping buckles, or cracked hardware immediately. If multiple components are worn, a full replacement is usually the safer (and quieter) fix.
What?s the fastest way to stop strap noise and buckle rattles?
Secure strap tails with elastic keepers or a simple wrap-and-tuck. Add felt tape where buckles touch plastic. Also ensure the ?bar? straps are tight enough that they don?t oscillate over bumps.
Conclusion and Next Steps
Replacing an interior surfboard mount is a straightforward DIY job that pays off every time you drive to the beach: fewer dings, less interior mess, and a board that stays put when traffic gets unpredictable. Start by choosing the right mount style for your vehicle and surf routine, then focus on clean installation?level bars, even tension, protected contact points, and secure strap tails.
Your next steps:
- Inspect your current mount for frayed webbing, cracked suction cups, and slipping buckles
- Pick a replacement with padded contact points and quality cam buckles
- Install, road-test, and re-tension after the first drive
- Keep a towel and quick-clean kit in the car to protect your interior long-term
For more practical car interior how-tos, product breakdowns, and DIY-friendly upgrades, explore the latest guides on carinteriormix.com.