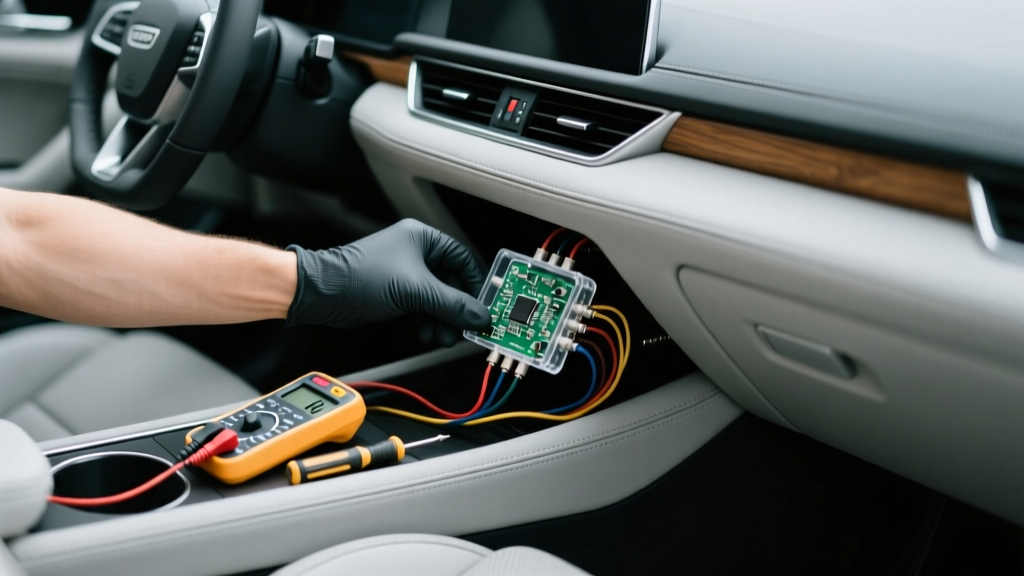
DIY DSP Tuning Guide Replacement Tutorial - CarInteriorMix
A good car audio system doesn?t fail because the speakers are ?bad.? Most of the time, it fails because the signal going to those speakers is messy: uneven frequency response, time delays between left and right channels, factory EQ baked into the head unit, or a subwoofer that?s loud but disconnected from the front stage. That?s exactly what a DSP (Digital Signal Processor) fixes?when it?s tuned correctly.
This guide walks you through a realistic DIY DSP tuning workflow and also covers what to do when you?re replacing a DSP or swapping to a new one. Whether you?re building a clean daily driver sound stage or trying to squeeze competition-level imaging from your interior, learning to tune (and re-tune after replacement) is the skill that makes your gear worth the money.
You don?t need a studio engineering background. You do need a plan, patience, and the right approach. The steps below are written for car owners and enthusiasts who want better sound without paying for a full professional tune every time they change a component.
What a DSP Does (and Why Replacement Changes Everything)
A car audio DSP sits between your source (factory radio, aftermarket head unit, Bluetooth streamer) and your amplifiers. It manipulates the signal so each speaker gets the right frequencies at the right level at the right time.
Core DSP functions you?ll tune
- Crossovers: Send bass to the sub, mids to midrange, highs to tweeters?cleanly.
- Time alignment: Delays closer speakers so sound reaches your ears together, improving imaging.
- EQ (equalization): Smooths peaks and dips caused by cabin acoustics, speaker placement, and factory tuning.
- Level matching: Balances output across channels so one side doesn?t dominate.
- Phase/polarity control: Prevents cancellation, especially at crossover points.
When you replace a DSP?maybe you upgraded models, your unit failed, or you bought a different brand?you?re effectively resetting the ?brain? of your system. Even if the speakers and amps are unchanged, the tuning profile, input sensitivity, routing, and default filters may be totally different. Treat a DSP replacement as a full retune.
Before You Touch the DSP: Tools and Prep
Minimum tools for a solid DIY tune
- Laptop/PC (most DSPs require Windows software; some support mobile apps)
- DSP tuning software for your model + correct USB cable
- Test tones and pink noise (download reputable files in WAV/FLAC)
- Basic hand tools for mounting and wiring checks
Recommended tools for better results (worth it)
- Measurement mic: miniDSP UMIK-1 or Dayton Audio UMM-6
- RTA software: REW (Room EQ Wizard) is popular and free
- Digital multimeter (DMM): for verifying voltage and diagnosing noise issues
- Polarity tester (optional but helpful)
Real-world prep tip: lock down your ?baseline?
Before changing anything, write down your current settings (or export your tune). If your DSP is dead and you can?t export, take photos of amp gain positions and any crossover switches. This gives you a sanity check later.
DSP Replacement Tutorial: Step-by-Step (Hardware + Initial Setup)
If you?re replacing an existing DSP, the goal is to install it cleanly and confirm signal integrity before you start tuning.
Step 1: Confirm compatibility and plan your routing
- Count your channels: front L/R tweeter, front L/R mid, rear fill, sub, center, etc.
- Confirm the DSP has enough outputs and the right input type (RCA, high-level/speaker-level, digital).
- If keeping a factory radio, decide how you?ll handle factory EQ:
- DSP with OEM integration features (auto EQ flattening, summing, de-EQ), or
- Use a clean digital source (if available), or
- Manually correct with measurement and EQ.
Step 2: Disconnect power and protect the vehicle
- Disconnect the negative battery terminal.
- Wait a few minutes before unplugging factory modules (prevents fault codes in some vehicles).
- Work in a clean area and avoid pinching wiring under seats or trim panels.
Step 3: Swap the DSP (wiring and mounting)
- Label each input and output before removing the old DSP.
- Mount the new DSP in a dry, ventilated location (under-seat is common?avoid moisture-prone areas).
- Connect:
- Power/ground/remote (use proper gauge; ground to bare metal)
- Inputs from head unit or factory integration
- Outputs to amplifier channels
- Double-check: no loose strands, tight set screws, and strain relief on cables.
Step 4: Initial software connection and configuration
- Reconnect battery.
- Connect laptop to DSP and open the tuning software.
- Set the DSP to a known starting point:
- Reset to default (or load a ?blank? tune)
- Turn off EQ, time alignment, loudness, bass boost, and special effects
- Set crossovers to safe starting values (see next section)
- Verify each channel plays the correct speaker using a test tone or balance/fader checks.
DIY DSP Tuning: A Proven Workflow
The most reliable tuning order is: set gains ? set crossovers ? time alignment ? EQ ? fine-leveling ? verify with music.
Step 1: Set amplifier gain and DSP output levels (clean headroom)
This step prevents distortion and protects speakers. If you skip it, you?ll chase problems forever.
- Set head unit volume to about 75?85% of max (your ?reference volume?).
- Set DSP output levels low to start.
- With a 1 kHz test tone (for mids/highs) and a 40?60 Hz tone (for sub), raise amp gains until just before audible distortion, then back off slightly.
- Use the DSP to balance relative levels between channels rather than cranking amp gains unevenly.
Practical tip: If you hear harshness on vocals or cymbals at moderate volume, you may already be clipping. Clean gain structure often sounds ?less loud? at first but becomes clearer and louder when pushed.
Step 2: Set crossovers (protect speakers and clean up transitions)
Crossovers are your foundation. Start conservative, then refine.
Common starting points (daily driver-friendly)
- Subwoofer: Low-pass 70?90 Hz, 24 dB/oct
- Front midbass (door speaker): High-pass 70?90 Hz, 24 dB/oct; low-pass 2?3.5 kHz (if running active)
- Tweeters: High-pass 2.5?4 kHz, 24 dB/oct (depends on tweeter and slope)
- Rear fill: High-pass 120?180 Hz, keep level low
Real-world example: If your doors rattle and midbass sounds ?flabby,? raising the midbass high-pass from 70 Hz to 90 Hz can tighten the front stage instantly?especially in cars with thin door metal or weak deadening.
Step 3: Time alignment (lock the image to the dash)
Time alignment corrects for the driver sitting closer to the left speakers than the right. Done right, vocals move from the left door to the center of the dash.
Quick method (tape measure)
- Measure distance from your driver head position (approx. center of headrest) to each speaker.
- Enter distances into your DSP (some take inches/cm and calculate delay automatically).
- Start with front stage only (tweeters + mids). Add sub last.
Fine-tuning by ear
- Use a well-recorded vocal track. Center vocal should feel centered and high, not in a door.
- If the center image pulls left, add a tiny bit more delay to the left channels (or reduce delay on the right).
Tip: Small changes matter. A few tenths of a millisecond can shift the image noticeably.
Step 4: EQ tuning (measure first, then make small corrections)
EQ is where many DIY tuners go too far. The goal is a smooth, natural response?not a dramatic graph.
Best practice approach
- Measure with pink noise using an RTA (REW + measurement mic is ideal).
- Focus on fixing peaks more than boosting dips.
- Use narrow cuts for sharp peaks, wider gentle changes for broad trends.
- Keep boosts minimal (often 0 to +3 dB max) to preserve headroom.
What to listen for
- Harshness/ice-pick highs: often 3?6 kHz peak
- Muddy vocals: often 200?400 Hz buildup
- Hollow sound: dip around 500?1,000 Hz or phase issues
- Boomy bass: peak around 50?80 Hz or poor sub integration
Step 5: Integrate the subwoofer (phase, delay, and crossover blending)
The sub should sound like it?s part of the front stage?not like it?s playing from the trunk.
- Set sub crossover (start 70?90 Hz LPF).
- Match sub level to front stage at your reference volume.
- Adjust sub delay/time alignment so kick drums feel ?up front.?
- Check polarity/phase:
- Flip polarity and choose the setting with stronger, tighter bass around the crossover region.
- If your DSP supports phase rotation, fine-tune for maximum blend rather than maximum boom.
Product Recommendations: DSPs and Tuning Tools Worth Considering
DIY-friendly DSP brands (popular with enthusiasts)
- Helix (Match/Helix DSP series): Excellent software, strong OEM integration options, great for sound staging.
- AudioControl: Solid integration features; good choice for factory radios and high-level inputs.
- miniDSP (car-capable models): Strong flexibility if you?re comfortable with measurement-based tuning.
- Rockford Fosgate DSR1 (Maestro integration): Convenient for compatible vehicles; app-based control.
Measurement gear (big impact for the money)
- miniDSP UMIK-1: USB mic that pairs well with REW for consistent results.
- Dayton Audio UMM-6: Often more budget-friendly; great entry point.
Comparison tip: If you?re replacing a DSP and want an easier time, prioritize software usability and input/output flexibility over exotic features. The best DSP is the one you can confidently tune and re-tune.
Common Mistakes to Avoid (These Cause 90% of ?Bad DSP Tunes?)
- EQ-ing before setting crossovers and time alignment: You end up ?fixing? problems that aren?t EQ problems.
- Over-EQ with big boosts: Boosting dips eats headroom and can cause distortion.
- Ignoring gain structure: Clipping upstream makes even expensive speakers sound cheap.
- Tuning at low volume only: The system may fall apart at real listening levels.
- Chasing a perfectly flat curve: Cars aren?t studios; target a smooth, natural response and a stable image.
- Forgetting polarity checks: One reversed speaker can destroy midbass and pull the image.
- Making too many changes at once: Change one variable, listen/measure, then proceed.
Practical Tips for Better Results (Even Without Fancy Tools)
- Use reference tracks you know well: Pick 5?10 songs with clean vocals, tight bass, and natural cymbals.
- Keep rear speakers subtle: Rear fill should support, not drag the stage behind you.
- Do basic sound deadening: Even partial door treatment can improve midbass more than a speaker upgrade.
- Create two presets: One ?driver-focused? and one ?all seats? tune if your DSP supports it.
- Save versions: Name files by date and change (e.g., ?05-SubDelay+0.3ms?).
FAQ: DIY DSP Tuning and Replacement
Do I need a measurement mic to tune a DSP?
No, but it helps a lot. You can get decent results by ear with careful steps (crossovers, time alignment, level matching). A measurement mic + REW makes EQ decisions faster and more accurate, especially in difficult cabins.
What?s the best order to tune after replacing a DSP?
Verify routing and channel assignment first, then set gains, crossovers, time alignment, EQ, and finally sub integration. Replacing a DSP often changes defaults, so treat it like a full fresh tune.
Why does my system sound good at low volume but harsh at higher volume?
Usually gain structure or clipping?either the DSP input is too hot, the amp gain is too high, or EQ boosts are pushing the signal into distortion. Reduce boosts, lower input sensitivity, and re-check gains at your reference volume.
How do I know if my subwoofer is out of phase with the front speakers?
You?ll often hear weak midbass around the crossover region (70?100 Hz), with bass that feels separated from the front stage. Flip sub polarity and choose the setting that produces tighter, stronger punch at the same volume, then refine sub delay.
Should I use 12 dB/oct or 24 dB/oct crossover slopes?
24 dB/oct is a common safe starting point because it protects speakers and reduces overlap. Some systems sound more natural with 12 dB/oct, but it requires more careful phase and driver capability considerations.
Can I keep my old tune when upgrading to a new DSP?
You can use it as a reference, but don?t assume it will translate perfectly. Different DSPs have different filter types, EQ behavior, and routing. Expect to re-check every step?especially levels, crossovers, and time alignment.
Your Next Steps: A Simple Plan for This Weekend
- Replace/install the DSP and confirm every channel plays the correct speaker.
- Set clean gains using a reference volume and test tones.
- Apply conservative crossovers to protect drivers and clean up transitions.
- Dial time alignment until vocals lock to the dash.
- Measure and EQ with small cuts, minimal boosts, and plenty of listening checks.
- Save presets and document changes so future upgrades are painless.
If you want to keep improving, start with the biggest ?multiplier? upgrades: door sealing/deadening, better speaker mounting, and careful sub integration. Those changes make DSP tuning easier and more rewarding.
Thanks for reading?explore more practical car interior and audio guides on carinteriormix.com to keep your build clean, comfortable, and dialed in.