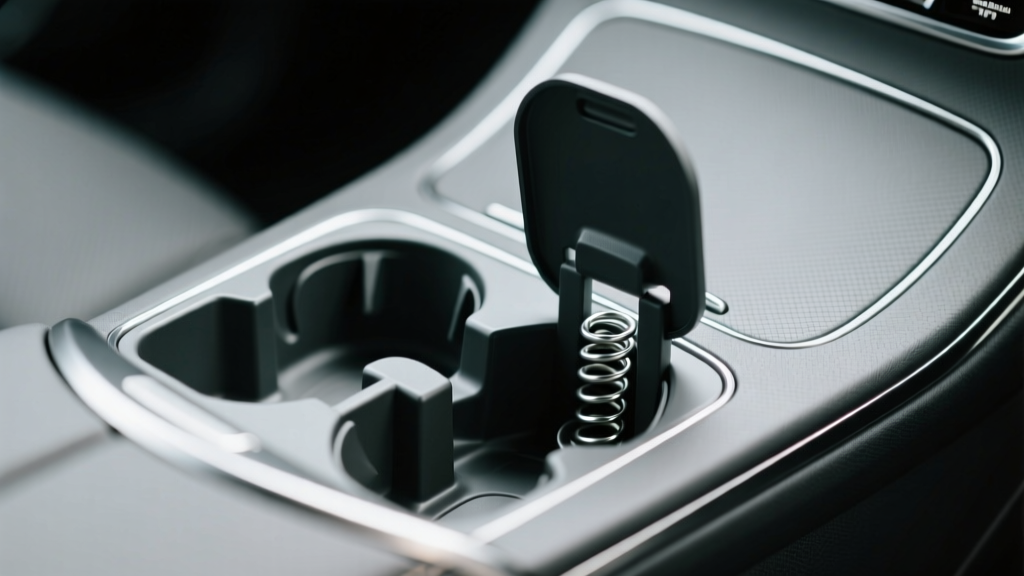
Cup Holder Expansion Maintenance (2026)
Cup holder expanders are one of those small interior upgrades that make daily driving noticeably easier. Whether you?re trying to keep a wide insulated bottle from tipping, add a second slot for a passenger, or stabilize a travel mug that never quite fits, a good expander quickly becomes something you rely on.
But after the install, most owners stop thinking about maintenance?until the expander starts wobbling, squeaking, or collecting sticky residue from spilled drinks. A little ongoing care keeps your cup holder expansion solution secure, clean, and looking factory-fresh. It also helps prevent damage to the original cup holder liner and surrounding trim, especially on vehicles with gloss black or soft-touch plastics.
This Part 2 guide focuses on keeping your cup holder expander (and the surrounding area) performing like new for the long haul, with real-world tips, product suggestions, and easy routines you can do in minutes.
What ?Maintenance? Really Means for Cup Holder Expanders
Cup holder expander maintenance isn?t complicated, but it?s more than a quick wipe. Done right, it covers:
- Cleanliness: removing sugars, oils, coffee, and milk residue before it hardens or smells
- Grip integrity: keeping rubber fins, expanding bases, and foam collars from slipping
- Noise control: preventing squeaks and rattles from plastic-on-plastic contact
- Fit accuracy: ensuring the expander still locks into your vehicle?s cup well
- Surface protection: avoiding scratches, haze, and wear on OEM trim
Know Your Cup Holder Expander Type (Maintenance Differences)
Not all expanders are built the same, and the best care routine depends on what you have.
1) Twist-to-Expand / Cam-Lock Bases
These use rotating fins or a cam mechanism to press against the cup holder walls.
- Maintenance focus: keep the moving parts clean so they don?t bind
- Common issue: sticky spills make the twist action gritty or stiff
2) Rubber Sleeve / Compression Fit Inserts
These rely on rubberized outer sleeves to grip the cup holder.
- Maintenance focus: preserve rubber tackiness and prevent hardening
- Common issue: rubber becomes slick from interior dressings or skin oils
3) Add-On Adapters (Top Rings, Spacers, Reducers)
Often used to fit specific bottle diameters or add height.
- Maintenance focus: prevent rattles and keep seams clean
- Common issue: coffee drips and condensation collect between stacked parts
Routine Maintenance Schedule (Simple and Realistic)
Most drivers don?t need a complicated regimen. Use this practical schedule:
- Weekly (2 minutes): quick wipe of the expander?s top rim and inside cup area
- Monthly (10 minutes): remove expander, wash, inspect grip surfaces, clean OEM cup well
- Seasonally (15 minutes): deep clean, deodorize, check for wear, re-seat for perfect fit
Real-world example: If you carry iced coffee daily, do the ?monthly? routine every two weeks. Sugars and dairy odors don?t wait for a calendar.
Step-by-Step: Monthly Cleaning for Long-Lasting Fit and Finish
What you?ll need
- Microfiber towels (at least 2)
- Mild dish soap and warm water
- Soft detail brush or old toothbrush
- Cotton swabs (for seams and tight corners)
- Optional: interior-safe all-purpose cleaner (APC) diluted properly
1) Remove the expander safely
- Take out any bottles and loose accessories.
- If your unit twists to expand, loosen it first before pulling upward.
- Pull straight up with steady pressure to avoid stressing the OEM cup holder trim.
2) Wash the expander
- Rinse with warm water to remove loose debris.
- Add a small drop of dish soap to a damp microfiber.
- Wipe the cup cavity, top ring, and outer grip surfaces.
- Use a soft brush for grooves, fins, and textured plastics.
- Rinse thoroughly so soap doesn?t dry into a slippery film.
3) Clean the vehicle?s original cup holder
- Vacuum crumbs and grit first (this prevents scratches).
- Lightly spray cleaner onto a microfiber (not directly into the cup well).
- Wipe the inner walls and bottom, then follow with a dry towel.
- Use cotton swabs to clean the corners where grime builds up.
4) Dry completely before reinstalling
- Air-dry for a few minutes or towel-dry thoroughly.
- Make sure rubber fins and foam collars are dry?moisture can cause slipping.
5) Reinstall and re-lock the fit
- Set the expander in place without forcing it.
- Twist/expand until snug, then stop when it feels secure.
- Test with your heaviest bottle (full) and check for rocking.
Dealing With Sticky Spills, Odors, and ?Mystery Gunk?
Cup holders are ground zero for sugar, condensation, and fast-food debris. Here?s how to handle the common offenders without damaging plastics or rubber.
Sticky soda, energy drinks, and syrupy coffee
- Use warm water first to soften residue.
- Follow with mild soap and a soft brush.
- If residue remains, use a diluted interior APC on a microfiber (avoid harsh degreasers).
Milk-based coffee smell or protein shake odor
- Wash normally, then wipe with a 50/50 mix of water and white vinegar on a cloth (avoid soaking foam parts).
- Let it air out completely before reinstalling.
- For persistent odors, place the expander in a ventilated area with baking soda nearby (not packed into moving parts).
Gravel-like grit that causes scratches
- Vacuum before wiping.
- Don?t ?scrub? dry debris?this is how gloss trim gets swirls.
Protecting OEM Trim and Preventing Wear Marks
Many cup holder expansion solutions are hard plastic. If grit gets trapped between the expander and the factory cup holder, it can grind away at the surface over time.
Practical protection tips
- Keep the contact area clean: this matters more than adding padding.
- Avoid greasy interior dressings: they reduce grip and attract dust.
- Consider a thin non-slip liner: if your expander doesn?t lock tightly, a quality liner can reduce movement.
Real-world example: Gloss black console trim shows micro-scratches quickly. A monthly vacuum-and-wipe routine around the cup well often makes a bigger difference than any product ?fix.?
Step-by-Step: Fixing Wobble, Rattles, and Poor Fit
If your cup holder expander used to feel solid and now moves around, don?t automatically blame the product. Most fit issues come from buildup, misalignment, or worn grip surfaces.
1) Diagnose the movement
- Rocks side-to-side: expander base isn?t fully seated or is too small for the cup well
- Spins easily: grip fins are dirty, wet, or worn
- Rattles over bumps: top ring or adapter pieces have play
2) Quick fix checklist (10 minutes)
- Remove and clean both the expander and OEM cup holder.
- Check for missing rubber pads, cracked fins, or flattened foam collars.
- Reinstall, ensuring the base sits flat (no crumbs underneath).
- Tighten gradually; don?t over-expand (this can deform fins and reduce grip).
- Add a thin non-slip liner only if needed and only if it doesn?t interfere with the lock mechanism.
3) When to replace instead of repair
- Cracked expanding fins or a stripped twist mechanism
- Rubber grip surfaces that stay slick even after cleaning
- Persistent wobble because the expander?s minimum/maximum range doesn?t match your cup holder size
Product Recommendations: What?s Worth Using (and What to Skip)
You don?t need many products to maintain a cup holder expander, but choosing the right ones prevents slip, haze, and premature wear.
Recommended cleaning and care products
- Mild dish soap: best all-around for food/drink residue without leaving protectant films
- Interior-safe APC (dilutable): ideal for deep cleaning textured plastic and crevices
- Microfiber towels: reduces scratching on glossy trim and clear plastics
- Soft detailing brush: lifts grime from knurled surfaces and adjustment mechanisms
Optional add-ons (use with purpose)
- Non-slip cup holder liners: helpful for loose-fitting expanders or smooth OEM cup wells
- Felt tape (automotive): can reduce rattle where plastic parts touch, applied sparingly and kept away from moving parts
What to avoid
- Shiny silicone-based interior dressings: they can make rubber grips slippery and attract dust
- Harsh solvents (acetone, lacquer thinner): can cloud plastic and weaken rubber
- Overly aggressive degreasers: may dry out rubberized coatings
Common Mistakes to Avoid (That Shorten Expander Life)
- Over-tightening twist expanders: can crack fins, strip threads, or stress OEM cup holder walls
- Cleaning without removing grit first: causes scratches and dull spots on console trim
- Letting spills sit for weeks: sugar residue becomes adhesive, attracts dirt, and creates odors
- Using protectants on grip surfaces: great for dashboards, bad for anything that needs friction
- Ignoring condensation: water trapped under an expander can lead to mildew smells and slipping
- Assuming ?one size fits all? forever: switching to a heavier bottle may require re-seating or a different adapter ring
Long-Term Care: Seasonal Checks That Prevent Surprise Failures
Every few months (or before a long road trip), do a quick inspection. It?s the easiest way to avoid the annoying mid-drive moment where your bottle tips and soaks your console.
- Check rubber parts: look for hardening, cracks, or shiny slick areas
- Inspect the mechanism: make sure it expands smoothly without binding
- Confirm clearance: ensure the expander doesn?t interfere with nearby buttons, shifters, or sliding covers
- Test with your ?worst-case? drink: a full, tall, heavy bottle is the real stability test
FAQ: Cup Holder Expander Maintenance
How often should I clean my cup holder expander?
If you use it daily, a quick weekly wipe and a monthly wash is a solid baseline. If you frequently carry sugary drinks, clean it more often to prevent sticky buildup and odors.
Why does my cup holder expander keep slipping?
The most common causes are moisture (condensation), residue on rubber grip surfaces, or a slightly mismatched size range. Clean and fully dry the expander and cup well, then re-seat and tighten gradually.
Can I use interior protectant on my expander?
Use caution. Protectants can reduce friction and make the expander less stable. If you want UV protection, apply it lightly to non-grip areas only and buff thoroughly so no slick film remains.
What?s the best way to remove odor from spills?
Wash with mild soap first. For lingering smells, wipe with a light vinegar-and-water solution and let it air-dry completely. Odors usually persist because liquid is trapped in seams or under the base.
Will a cup holder liner help or hurt?
It can help if your expander relies on friction and your OEM cup holder is smooth. It can hurt if it prevents a twist-to-expand base from locking properly. Test stability with a full bottle before committing.
My expander rattles?what should I do?
Clean and re-seat it first. If the rattle comes from adapter rings or stacked parts, a small amount of automotive felt tape on contact points (not moving parts) can quiet things down.
Next Steps: Keep Your Cup Holder Setup Solid and Clean
A cup holder expander should feel like a factory feature?stable, quiet, and easy to live with. The winning routine is simple: remove it occasionally, wash it with mild soap, keep the OEM cup well free of grit, and avoid slippery dressings on anything that?s supposed to grip. If wobble shows up, treat it like a fit-and-cleanliness issue first, and replace worn components before they start damaging your trim.
- Set a monthly reminder to remove and wash your expander
- Keep a microfiber in the console for quick weekly wipe-downs
- Test stability with your heaviest bottle before a road trip
For more practical interior care tips and smart upgrade guides, explore the latest articles on carinteriormix.com.