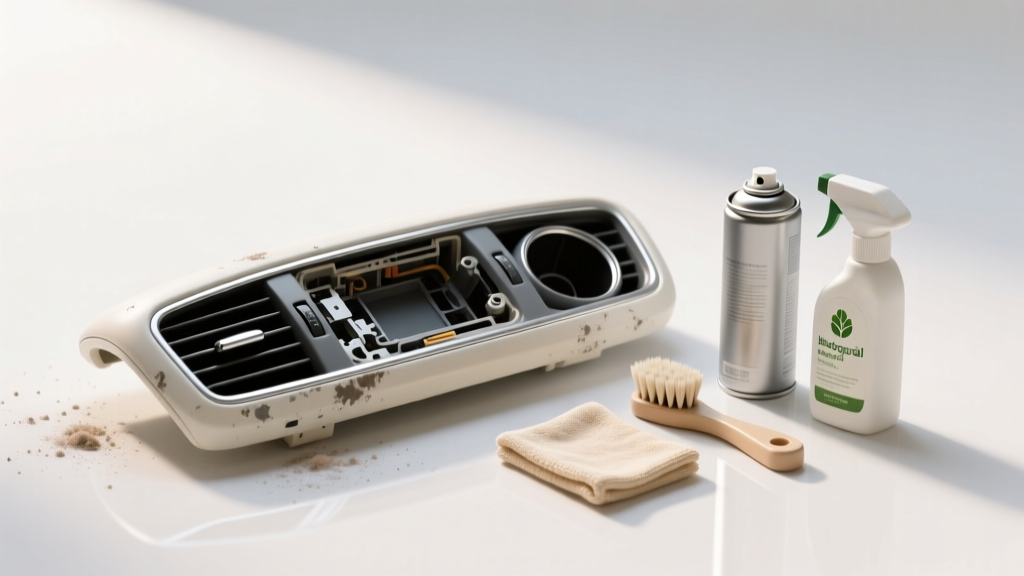
Vent Cover Cleaning: Beginner’s Guide (2026)
By the time most car owners notice dirty vent covers, the buildup has usually been happening for months: fine dust, skin oils from fingers, pet hair, pollen, and the occasional mystery residue from an air freshener. It?s not just a cosmetic issue. Dirty vents can hold onto odors, blow dust back into the cabin, and make your interior feel ?tired? no matter how clean the rest of the dash looks.
This second part of the handbook goes beyond the basics. You?ll learn how to deep clean vent covers safely, handle different vent designs, remove stubborn grime, and avoid the common mistakes that crack plastic fins or push debris deeper into your HVAC system. If you want that crisp, like-new interior feel?and cleaner air circulation?vent cover cleaning is one of the highest impact, lowest cost habits you can build.
Whether you drive a commuter sedan, a weekend truck, or a family SUV, these methods are beginner-friendly and realistic with products you can find locally or order online.
What Makes Vent Covers Get So Dirty?
Vent covers sit at the intersection of airflow and human contact. They collect what the cabin air carries and what hands leave behind. Understanding the ?why? helps you choose the right approach.
- Airborne dust and pollen: Drawn in through the HVAC intake and deposited on louvers and surrounding trim.
- Skin oils and lotion: Finger adjustments leave oily patches that attract more dust.
- Cabin humidity: Moisture from breath, wet coats, or A/C condensation can help dust stick.
- Interior protectants overspray: Shine products can create a tacky film that turns into grime.
- Pet hair and lint: Especially in vehicles that regularly carry pets or kids.
Real-world example: If your vents look ?fuzzy? around the edges and the louvers have a gray outline, that?s often dust trapped in a light oily film from hands or interior dressing. Dry brushing alone won?t fully remove it?you?ll need a gentle cleaner step.
Tools and Products: What You Actually Need
You don?t need a cabinet of detailing chemicals. The goal is to loosen debris, remove it without pushing it inward, and leave the plastic clean (not greasy).
Beginner-Friendly Toolkit
- Soft detailing brush: A small boar?s hair brush or soft synthetic brush for vent slats.
- Microfiber towels: At least 3?5 (one for cleaning, one for wiping, one for drying).
- Cotton swabs or foam swabs: For corners and tight edges.
- Vacuum with a crevice tool: Ideal for catching debris as you agitate it.
- Compressed air (optional): Useful, but best paired with a vacuum to avoid ?dust storms.?
- Mild interior cleaner: Dilutable, plastic-safe cleaner that leaves a natural finish.
- Interior protectant (optional): Non-greasy, UV protection for surrounding trim (use sparingly).
Product Recommendations (Practical Picks)
These are widely used, beginner-safe options. Choose based on the finish you want and your sensitivity to scent.
- For general cleaning: Meguiar?s Quik Interior Detailer (easy, low-risk for most plastics, quick wipe down).
- For deep cleaning and dilution control: CarPro Inside (stronger cleaning ability; dilute appropriately and avoid soaking).
- For sensitive interiors and matte finishes: Griot?s Garage Interior Cleaner (tends to leave a clean, natural look).
- For odor control (after cleaning): A cabin air filter replacement plus a light odor neutralizer works better than masking scents.
Quick comparison tip: If your vents feel sticky or look shiny from past products, use a dedicated interior cleaner (not a quick detailer) for the first pass. Once the surface is ?reset,? maintenance becomes much easier.
Step-by-Step: Deep Cleaning Vent Covers (No Disassembly Needed)
This method covers most vehicles and is safe for beginners. The key is controlling moisture and removing debris instead of relocating it.
Step 1: Set the Vent Position
- Turn the car off (or at least turn the blower off).
- Adjust vent louvers to a more open position so you can reach the edges.
- If your vents rotate or close fully, work in sections: open for cleaning between fins, then close slightly to reach the front faces.
Step 2: Dry Dust Removal (Vacuum + Brush Combo)
- Place the vacuum crevice tool near the vent opening (not jammed inside).
- Use a soft detailing brush to lightly agitate dust from top to bottom.
- Keep the vacuum close so loosened dust gets captured immediately.
- Tip: Brush with gentle strokes. Aggressive scrubbing can snap thin louvers, especially on older vehicles with brittle plastic.
Step 3: Controlled Cleaning (Microfiber Wrapped Tool)
- Lightly mist your interior cleaner onto a microfiber towel (not directly into the vent).
- Wrap the towel around a foam swab, plastic trim tool, or even a butter-knife-shaped detailing tool designed for vents.
- Slide it carefully between vent slats to wipe the hidden surfaces.
- Flip to a clean section of towel frequently to avoid smearing grime.
Real-world example: If you?ve ever cleaned vents and they looked ?better,? but a day later you saw gray streaks again, that?s usually residue that got redistributed. The fix is using more clean towel sections and doing a final dry buff.
Step 4: Detail the Edges and Corners
- Use a cotton swab or foam swab lightly dampened with cleaner.
- Trace around the perimeter where the vent bezel meets the dash.
- Wipe immediately with a dry microfiber to prevent cleaner from creeping into seams.
Step 5: Final Drying and Finish Check
- Use a clean, dry microfiber towel to buff the vent faces.
- Check for streaking under different angles of light.
- Reposition the louvers and repeat quickly if you spot remaining buildup.
Cleaning Different Vent Designs (Round, Hidden, and Turbine-Style)
Round ?Eyeball? Vents
- Rotate the vent fully to expose the inner ring.
- Use a microfiber-wrapped swab to clean the circular edges.
- A soft brush works well on the inner lip where dust collects.
Turbine-Style Vents (Common in Modern Vehicles)
- These have deeper channels that trap dust.
- Use vacuum + brush first, then microfiber-wrapped tool to reach the recesses.
- Avoid soaking?liquid can pool inside turbine fins and drip later.
Long, Thin ?Hidden? Vents (Across the Dash)
- Work in short sections to keep track of progress.
- Use a slim detailing brush and keep the vacuum running near the area.
- For tight slots, a foam swab is often more effective than a thick microfiber.
When Compressed Air Helps (and When It Backfires)
Compressed air can be useful, but it?s easy to turn your interior into a dust tornado if you?re not careful.
Best Practices for Compressed Air
- Hold the vacuum nozzle near the vent while blowing air to capture debris.
- Use short bursts, not a continuous blast.
- Angle the air outward, not deeper into the duct.
- Wear eye protection if you?re sensitive to dust.
Skip Compressed Air If:
- You have asthma/allergies and don?t want dust airborne.
- The vent has visible sticky residue (air alone won?t remove it).
- You can?t vacuum simultaneously.
Advanced Option: Removing the Vent Cover (Only If You?re Comfortable)
Some vent covers can be removed for a thorough cleaning, but this varies by model. If you?re not sure, stop?broken clips and scratched trim aren?t worth it.
General Guidance (Model-Specific Steps Vary)
- Search for ?your vehicle year make model vent removal? to confirm clip locations.
- Use a plastic trim removal tool, never a metal screwdriver.
- Protect surrounding trim with painter?s tape.
- Gently pry at the clip points?do not force one side aggressively.
- Clean the removed vent with a mild cleaner and a soft brush, then dry fully before reinstalling.
Pro tip: If the vent has an electrical connector (illumination, sensors, or active vent motors), disconnect the battery if recommended by the manufacturer and avoid pulling on wires.
Common Mistakes to Avoid
- Spraying cleaner directly into vents: Excess liquid can drip into ducts, trap dust, or cause odor over time.
- Using harsh chemicals: Household degreasers and strong solvents can discolor plastics or remove coatings.
- Overusing shiny dressings: Glossy products attract dust and can make vents feel greasy.
- Scrubbing with stiff brushes: Stiff bristles can scratch vent faces and weaken louvers.
- Skipping the vacuum: Brushing without vacuuming often pushes debris deeper.
- Cleaning while the blower is on: You?ll drive dust further into the system and back into the cabin.
Maintenance Routine: Keep Vents Clean Longer
Once you deep clean, maintenance becomes fast?usually under five minutes.
Weekly or Biweekly (Quick Maintenance)
- Light vacuum near vents
- Quick brush of the vent faces
- Dry microfiber wipe
Monthly (Light Cleaning)
- Microfiber lightly dampened with interior cleaner
- Clean edges and the vent bezel perimeter
Every 6?12 Months (HVAC Support)
- Replace the cabin air filter (especially if you notice dust returning quickly)
- Inspect vents for sticky residue from protectants or air fresheners
Real-world example: If you replace your cabin air filter and suddenly vents stay clean longer, that?s a sign the old filter was overloaded or poorly fitted, letting fine dust bypass.
FAQ: Vent Cover Cleaning for Beginners
How often should I clean my car?s vent covers?
For most drivers, a quick dusting every 1?2 weeks and a deeper wipe-down monthly keeps vents looking clean. If you drive with windows down often, park under trees, or have pets, you may need to clean more frequently.
Is it safe to use disinfectant wipes on vent covers?
Occasionally, yes?if the wipes are plastic-safe and not overly wet. Avoid bleach-based wipes or anything that leaves a slick residue. Follow up with a dry microfiber to prevent streaking and moisture creep into seams.
Why does my car smell musty when the air turns on even after I clean the vents?
Vent covers are just the visible part. Musty odor is often from a damp cabin air filter, mold/mildew on the evaporator core, or moisture trapped in the HVAC box. Start with a cabin air filter replacement and consider an HVAC odor treatment designed for automotive systems.
Can I use a steam cleaner on vents?
It?s risky for beginners. Steam can force moisture into ducts and behind dash trim, and it can soften adhesives or stress older plastics. If you do use steam, keep it at a distance, use minimal bursts, and immediately wipe and dry?never saturate the area.
What?s the best brush for cleaning vent slats without scratching?
A soft detailing brush (boar?s hair or very soft synthetic) is the safest choice. Avoid stiff nylon brushes meant for tires or carpets, which can leave micro-scratches on glossy or piano-black trim around vents.
My vent louvers feel sticky. What removes that safely?
Use a dedicated interior cleaner on a microfiber towel and do multiple gentle passes rather than one aggressive scrub. Sticky buildup is often old dressing or airborne oils, and it typically needs a ?reset? cleaning before maintenance wipes work well.
Conclusion: Your Next Steps for Cleaner Vents and Cleaner Cabins
If you want the fastest ?fresh interior? upgrade, put vent cover cleaning on your regular routine. Start with the vacuum-and-brush method to remove loose dust, then use a controlled microfiber wipe to lift grime without flooding the vents. If you?re chasing recurring dust or odors, support your work by replacing the cabin air filter and avoiding greasy dressings that attract buildup.
- Today: Do a quick vacuum + brush pass and wipe the vent faces with a lightly damp microfiber.
- This weekend: Deep clean between slats using a microfiber-wrapped tool and detail the edges.
- This month: Check and replace your cabin air filter if it?s dirty or overdue.
For more beginner-friendly interior detailing how-tos, product guides, and real-world cleaning routines, explore the latest articles on carinteriormix.com.