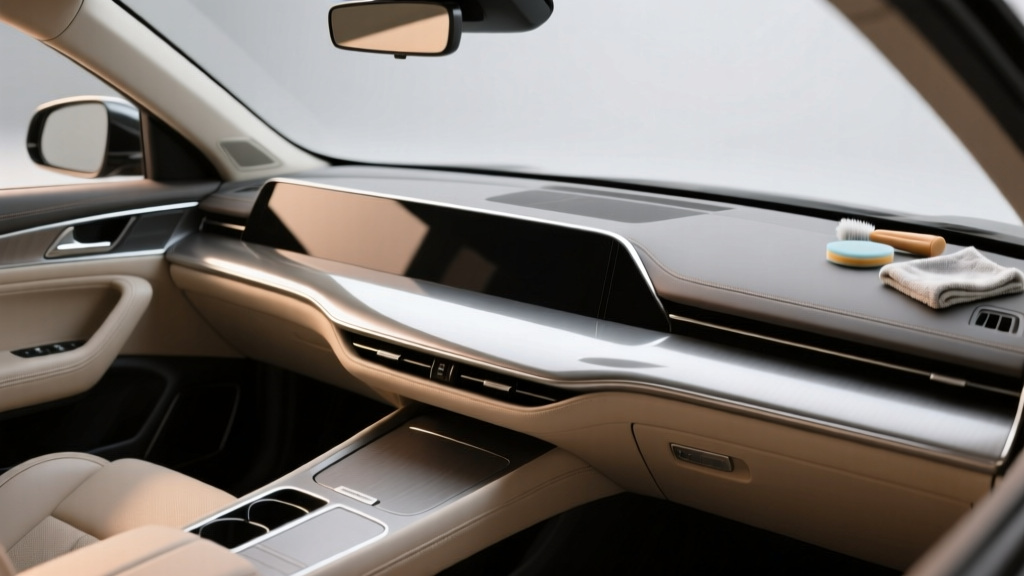
Dashboard Polishing for Beginners | CarInteriorMix
A clean, well-finished dashboard changes the entire feel of your cabin. It?s the part of the interior you see every time you drive, and it?s also one of the first things passengers notice?dusty vents, faded plastic, and greasy shine can make an otherwise well-kept car feel older than it is.
Dashboard polishing (done correctly) isn?t about making everything glossy. It?s about cleaning safely, restoring an even factory-like finish, adding UV protection, and keeping the surface from cracking, fading, or turning sticky over time. The best results come from using the right products for your dashboard material and following a repeatable process.
This beginner handbook walks you through tools, product choices, and a step-by-step method that works for most modern interiors. You?ll also learn what to avoid?because the quickest way to ruin a dashboard is with the wrong chemical, the wrong towel, or too much shine.
What ?Dashboard Polishing? Actually Means
In car interior care, ?polishing? a dashboard usually refers to:
- Deep cleaning to remove dust, skin oils, stains, and residue from old dressings
- Finishing/dressing to restore an even appearance (typically satin or matte)
- Protection from UV rays and oxidation that cause fading and brittleness
Unlike paint correction, you are not abrading the dashboard. You?re cleaning and applying a protectant/dressing designed for vinyl, plastic, rubber, or leather (depending on what you have).
Know Your Dashboard Material First
Before you buy products, identify what you?re working with. Most dashboards are primarily vinyl or textured plastic, often with soft-touch coatings. Some trims may be leather, piano black plastic, or brushed aluminum-look pieces.
Common materials and what they need
- Textured plastic/vinyl: Needs a gentle interior cleaner and a non-greasy UV protectant.
- Soft-touch (rubberized) coatings: Needs extra care?avoid strong solvents and harsh scrubbing to prevent peeling or shiny spots.
- Leather dash panels (luxury cars): Use leather-safe cleaner and leather protectant (not an all-purpose dressing).
- Piano black/clear plastic cluster lenses: Treat like delicate plastic?use a dedicated plastic cleaner and ultra-soft microfiber to avoid micro-scratches.
Quick real-world example
If your dashboard feels slightly ?rubbery? and shows glossy patches after wiping, you likely have a soft-touch coating. That?s a sign to reduce pressure, use a softer brush, and avoid alcohol-heavy cleaners that can dull or lift the coating.
Tools and Supplies: Beginner-Friendly Shopping List
You don?t need a garage full of detailing gear. These essentials cover 95% of situations:
- Microfiber towels: At least 4?6 (separate for cleaning vs. dressing).
- Soft interior detailing brush: For vents, seams, and textured grain.
- Interior cleaner: A dedicated interior cleaner is safer than household products.
- UV protectant/dressing: Choose a satin/matte finish for a factory look.
- Cotton swabs or foam swabs: For tight buttons and edges.
- Vacuum with brush attachment: Removes grit that can scratch while wiping.
- Optional: Compressed air or an electric blower for vents and crevices.
Product Recommendations and What to Look For
Car interiors vary, so think in categories. The goal is compatibility, low residue, and a finish you like.
Interior cleaner (safe daily/weekly cleaning)
- What to look for: ?Interior cleaner? labeled for plastic/vinyl, non-caustic, residue-free, and safe for matte finishes.
- Good for beginners: Ready-to-use spray cleaners designed for dashboards and door panels.
- Avoid: Household glass cleaners with ammonia, heavy degreasers, or strong solvents on soft-touch surfaces.
Protectant/dressing (the ?polished? final look)
- Matte/satin protectants: Best for modern dashboards?reduce glare and look factory-correct.
- Gloss dressings: Only if you truly want shine; they can increase windshield reflections and attract dust.
- UV protection: Look for UV blockers on the label?especially if your car sits outside.
Quick comparison: matte vs. gloss
- Matte/satin: Cleaner appearance, less slippery feel, less glare, dust is less noticeable.
- Gloss: ?Wet look,? but can feel oily, show streaks, and reflect sunlight into your eyes.
Step-by-Step Dashboard Polishing (Beginner Method)
Set aside 30?60 minutes for your first time. After you get the hang of it, maintenance takes 10?15 minutes.
Step 1: Park smart and cool the cabin
- Park in shade or a garage.
- Let the dashboard cool to the touch.
- Open doors for ventilation if you?re using sprays.
Heat causes cleaners to evaporate quickly, increasing streaks and making dressings cure unevenly.
Step 2: Dry dust and vacuum first
- Use a vacuum with a soft brush attachment along seams and vents.
- Lightly dust the top of the dash with a clean microfiber.
Tip: This prevents ?grit wiping,? where tiny particles create micro-scratches on plastics and gauge covers.
Step 3: Clean with controlled product use
- Spray interior cleaner onto your microfiber towel (not directly on the dashboard) to reduce overspray onto screens and glass.
- Wipe in straight, overlapping passes.
- For texture and seams, agitate gently with a soft detailing brush, then wipe away loosened dirt with a clean towel.
Real-world detail: Around air vents and infotainment edges, spray cleaner onto the brush instead of the dash. This prevents cleaner from dripping into electronics and reduces streaking.
Step 4: Address stubborn grime (without damaging the finish)
- Oily buildup near steering wheel area: Use a slightly damp microfiber with interior cleaner and repeat a couple passes rather than scrubbing hard.
- Spills or sticky spots: Let cleaner dwell for 20?40 seconds on the towel, then wipe. Don?t soak the dash.
- Crevices and buttons: Use foam swabs lightly; avoid flooding seams.
Step 5: Wipe dry and inspect
- Use a second clean, dry microfiber towel to remove any remaining cleaner residue.
- Check the dash from different angles for streaks or missed dust.
Tip: A residue-free finish after cleaning is what makes the protectant look even. If the dash feels smeary, you likely need one more wipe with a fresh towel.
Step 6: Apply protectant/dressing the right way
- Apply a small amount of protectant to an applicator pad or microfiber towel.
- Spread a thin, even layer?less product gives a better, more factory-looking result.
- Keep product off the steering wheel rim, pedals, and shifter where grip matters.
- Let it sit for the time recommended on the label (often 1?5 minutes).
- Buff lightly with a clean microfiber to level the finish and reduce shine.
Practical tip: If you want a matte look, buff twice with a dry towel. If you want slightly more richness, buff once and leave a whisper-thin film.
Step 7: Finishing touches (vents, screens, cluster)
- Vents: Use a dry brush to knock out dust, then a lightly damp towel to wipe the louvers.
- Infotainment screens: Use a screen-safe cleaner and a dedicated microfiber (no protectants).
- Gauge cluster lens: Use a gentle plastic cleaner and ultra-soft towel; wipe with minimal pressure.
How Often Should You Polish/Protect the Dashboard?
- Light cleaning: Weekly or every other week (dust and wipe-down).
- Deep clean + protectant: Every 4?8 weeks for most daily drivers.
- High sun exposure (outside parking): Consider protectant every 3?4 weeks, plus a windshield sunshade.
Common Mistakes to Avoid
- Using household cleaners (ammonia, bleach, strong alcohol): Can discolor plastics, dry vinyl, and damage soft-touch coatings.
- Over-applying dressing: Causes greasy feel, dust attraction, and uneven shine. Thin coats win.
- Spraying directly onto the dash: Overspray lands on glass, screens, and instrument clusters?leading to streaks and potential damage.
- Ignoring glare: High-gloss products can reflect in the windshield, especially at sunrise/sunset.
- Scrubbing textured plastic aggressively: Can create shiny ?burnished? spots that never look uniform again.
- One towel for everything: A towel loaded with dressing will smear glass and screens. Keep dedicated towels.
Practical Tips for Better Results (Even If You?re New)
- Work top to bottom: Start at the dash top, then vents, then center stack. Dust falls downward.
- Use two-bucket logic with towels: One towel for cleaning, one for drying, one for dressing, one for buffing.
- Test in a hidden spot: Especially on older interiors or soft-touch trims?try the product low on the dash side panel first.
- Choose satin for daily drivers: It hides fingerprints, reduces glare, and looks ?OEM.?
- Keep a small interior kit: A microfiber and a small interior detail spray in the trunk makes maintenance easy.
FAQ: Dashboard Polishing for Beginners
1) Can I use tire shine or exterior trim dressing on my dashboard?
It?s not recommended. Many exterior dressings are too glossy or oily for interiors, can increase windshield glare, and may not be designed for frequent skin contact. Use an interior-specific protectant for a safer finish and better dust control.
2) Why does my dashboard look streaky after I apply protectant?
Usually it?s one of three things: too much product, applying on a hot surface, or leftover cleaner residue underneath. Fix it by buffing with a clean, dry microfiber. If streaks persist, wipe the area with a lightly damp towel, dry it, then reapply a thinner coat.
3) What?s the safest finish for visibility?matte, satin, or gloss?
Matte or satin is best for visibility. Glossy finishes can reflect sunlight onto the windshield and distract you while driving, especially on lighter-colored dashboards.
4) How do I clean dust from vents without blowing it everywhere?
Brush the vent louvers gently with a soft detailing brush while holding a vacuum nozzle nearby. This captures dust as it loosens. If you use compressed air, use short bursts and vacuum immediately after.
5) Is it okay to use a magic eraser on dashboard plastic?
Avoid it for routine cleaning. Melamine foam is mildly abrasive and can permanently change the sheen of textured plastics or soft-touch coatings. Save it for very specific spot issues only if you?re comfortable with the risk?and test in a hidden area first.
6) My dashboard feels sticky?what should I do?
Sticky dashboards are often caused by degraded soft-touch coatings or heavy product buildup. Start with a gentle interior cleaner and multiple light passes using clean towels. If it remains sticky, you may be dealing with coating breakdown, which sometimes requires specialty restoration or refinishing rather than more dressing.
Your Next Steps: A Simple Routine That Works
- Today: Vacuum the dash area, clean with an interior-safe cleaner, and apply a thin satin protectant coat.
- This week: Add a microfiber cloth to your glovebox for quick dust control.
- This month: Reapply UV protectant, and consider using a sunshade if you park outside regularly.
If you want the dashboard to stay looking ?new car? clean, consistency beats intensity. A gentle weekly wipe-down and a proper protectant every month or so will prevent the faded, blotchy look that?s tough to reverse.
Thanks for reading?explore more interior care guides, product tips, and how-to articles on carinteriormix.com to keep your cabin looking sharp year-round.