Tray Mounting Warranty & Coverage (2026)
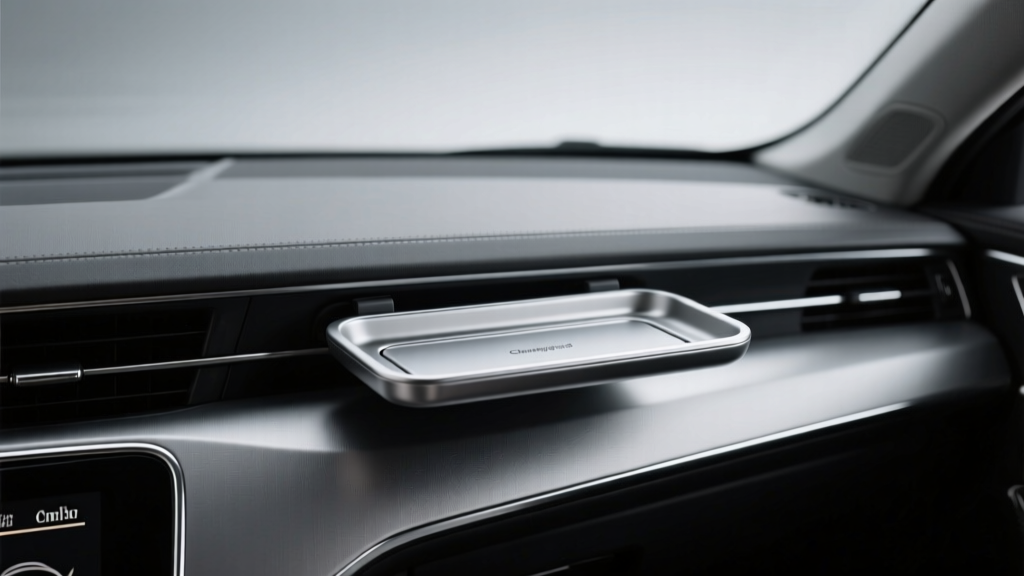
Change trays (also called console coin trays, organizer trays, or center-console inserts) seem like a small interior upgrade?until they rattle, crack, pop loose, or interfere with a sliding lid. Then you?re suddenly dealing with returns, warranty fine print, and the question every car owner asks: ?Is this covered, or am I paying twice??
This guide breaks down how change tray mounting warranties and coverage typically work, what?s usually included (and excluded), and how to document issues so your claim doesn?t get denied. Whether you bought an OEM tray from a dealership, an aftermarket insert online, or a bundled console organizer kit, you?ll find practical steps you can follow today.
Because mounting is often the weak link?clips, tabs, adhesive pads, and friction-fit edges?most warranty disputes happen around ?installation,? ?misuse,? or ?wear.? Knowing the difference between a defective part and an installation-related problem will save you time and money.
What ?Change Tray Mounting? Means (and Why Warranty Terms Focus on It)
?Mounting? refers to how the tray stays in place inside your console, dash cubby, door pocket, or armrest compartment. The mounting method affects durability, rattles, and whether a manufacturer considers it a ?wear item.? Common mounting types include:
- Friction-fit (press-in organizer that grips the console walls)
- Clip/tab retention (plastic tabs snap into grooves or slots)
- Adhesive mounting (double-sided tape, gel pads, hook-and-loop)
- Screw/bolt mounting (rare for trays; more common for console accessories)
- Integrated OEM console insert (part of a larger console assembly)
Warranties scrutinize mounting because many failures are caused by:
- Improper fitment (wrong model year/trim)
- Force during installation (broken tabs)
- Heat exposure (adhesives softening, plastics warping)
- Repeated removal for cleaning (clip fatigue)
- Added loads (overstuffed coins, keys, tools)
Typical Warranty Types You?ll Encounter
1) OEM (Manufacturer/Dealer) Parts Warranty
If your change tray is an OEM part purchased from a dealer parts counter or installed by the dealer, coverage often falls under an OEM parts warranty. Exact terms vary by brand, but common patterns include:
- Coverage period: Often 12 months, sometimes longer if installed during a repair covered by a vehicle warranty.
- What?s covered: Defects in materials or workmanship (cracks, broken tabs that fail under normal use, poor molding).
- What?s usually excluded: Damage from misuse, cosmetic wear, or incorrect installation.
Real-world example: If the tray?s retaining tab snaps during normal removal (following the owner?s manual procedure), that may be considered a defect. If it snaps because it was pried out with a screwdriver, it?s usually not covered.
2) Aftermarket Manufacturer Warranty
Aftermarket tray warranties range from ?lifetime limited? to 30?90 days. The key is reading the ?limited? part. Many brands cover the part itself but not consequential costs.
- Coverage period: Commonly 90 days to 1 year; some offer lifetime replacement for manufacturing defects.
- What?s covered: Manufacturing defects, missing hardware, fitment issues (sometimes).
- What?s often excluded: Adhesive failure due to temperature extremes, wear from constant removal, discoloration, or damage caused by cleaners/solvents.
3) Retailer/Marketplace Return Policy
Separate from a warranty, the seller?s return policy is often your fastest route for a fix?especially in the first 30 days. Some retailers treat ?fitment incorrect? differently than ?defective.? Keep this in mind:
- Return window: Commonly 30 days (sometimes longer for premium memberships).
- Condition requirements: Original packaging, all accessories, minimal marks.
- Restocking fees: May apply if the item shows signs of use.
What?s Usually Covered vs. Not Covered
Commonly Covered Issues
- Cracked tray body from normal use (no evidence of prying or impact)
- Broken mounting tab due to weak molding or material defect
- Poor fitment when the manufacturer lists your exact vehicle/trim as compatible
- Missing mounting pads/clips or incorrect parts in the box
- Persistent rattle caused by incorrect manufacturing dimensions (confirmed by support)
Commonly Not Covered (or Often Disputed)
- Adhesive failure after installation on dirty/greasy surfaces
- Damage from tools (pry marks, stress whitening, snapped tabs)
- Warping from heat (parked in direct sun, high cabin temps)
- Cosmetic wear (scratches from coins/keys, fading, scuffs)
- Fitment issues due to selecting the wrong model year or trim
- Damage from chemicals (harsh cleaners, solvent wipes, petroleum-based dressings)
Before You Buy: How to Choose a Tray with Better Coverage
If warranty and hassle-free support matter, shop with a quick checklist. A few minutes up front can prevent weeks of back-and-forth later.
Coverage Checklist
- Vehicle compatibility clarity: Does the listing specify year, make, model, trim, and console type?
- Mounting method: Friction-fit and clip-in trays usually outlast adhesive-only options in hot climates.
- Warranty transparency: Is the warranty period stated clearly? Is the claim process described?
- Replacement parts availability: Can you buy replacement pads/clips without replacing the whole tray?
- Support responsiveness: Are there real support channels (email, phone) and published hours?
Step-by-Step: How to Document and File a Warranty Claim
If your tray is rattling, loose, or broken, your goal is to show (1) correct fitment, (2) normal use, and (3) a defect or covered failure. Here?s a process that works with most OEM and aftermarket brands.
Step 1: Gather Proof of Purchase and Product Details
- Find the receipt, order confirmation, or invoice.
- Record the part number, SKU, or listing title.
- Confirm your vehicle details: year, make, model, trim, and console configuration.
Step 2: Take Clear Photos (and One Short Video)
- Photo of the tray installed (wide shot showing the console area).
- Close-up of the failure point (broken tab, cracked corner, lifted adhesive).
- Photo of any included hardware/pads/clips.
- Short video showing the symptom:
- For rattles: lightly tap the console and capture the noise.
- For looseness: show the tray shifting under normal finger pressure.
- For fitment: show where it interferes with a lid or prevents closure.
Step 3: Write a Simple, Factual Description
Keep it clean and specific. Include:
- Date installed
- How it was installed (hand pressure only, no tools, cleaned surface first)
- When the problem started
- What you?ve tried (re-seating, cleaning, reapplying pads)
Example message you can copy:
?Installed on 3/12/2026 in a 2022 Honda Civic Sport (center console insert). Tray was pressed in by hand after cleaning the console with 70% isopropyl alcohol and letting it dry. The rear right mounting tab snapped during normal removal for cleaning on 4/2/2026. No tools were used. Photos and video attached.?
Step 4: Contact the Right Party First
- Within the return window: Start with the retailer for the fastest replacement/refund.
- Outside return window: Go to the manufacturer warranty channel.
- OEM parts: Contact the dealer parts department; bring the receipt and part number.
Step 5: Don?t Modify the Part Before the Claim Is Resolved
Drilling holes, trimming edges, gluing tabs, or adding aftermarket tape can get a claim denied. If you need a temporary fix, do something reversible (like a removable felt strip for rattle) and disclose it.
Mounting-Related Problems and Practical Fixes (That Usually Don?t Void Coverage)
Sometimes the tray isn?t defective?it just needs a better install. Here are low-risk fixes that are typically considered normal troubleshooting.
Rattle or Buzzing Noise
- Add thin automotive felt tape at contact points (console walls, tray edges).
- Confirm the tray is fully seated?press evenly at corners.
- Remove loose items (coins can mimic a mounting rattle).
Tray Slides or Lifts During Driving
- Clean the mounting surface with isopropyl alcohol and let it fully dry.
- If pads are included, use the correct pad locations?don?t stack them unless instructed.
- Check for console liners underneath that prevent full seating.
Adhesive Won?t Stick (Hot/Cold Weather Issues)
- Warm the cabin to room temperature before applying (many adhesives bond best around 65?80�F / 18?27�C).
- Apply firm pressure for 30?60 seconds and avoid heavy use for 24 hours.
- Avoid silicone-based interior dressings where tape needs to bond.
Product Recommendations: What to Look For (and What to Avoid)
Rather than pushing one specific brand, here are smart comparisons that help you choose a tray that?s less likely to fail?and easier to get covered if it does.
OEM vs. Aftermarket Inserts
- OEM trays typically offer the best fit and fewer rattles, with straightforward dealer support. They can cost more and may have shorter parts warranty terms.
- Aftermarket trays often add features (divider sections, rubber mats, deeper pockets). Quality varies widely?look for rigid materials, clean molding, and published warranty terms.
Best Materials for Mounting Durability
- ABS plastic: rigid, stable, good for clip tabs and friction-fit edges.
- TPE/rubber liners: reduces rattle and protects surfaces, but shouldn?t be the only retention method.
- Avoid overly brittle plastics: thin, shiny plastic with sharp molding lines tends to crack at tabs.
Accessory Add-Ons That Help (and Are Cheap)
- Automotive felt tape for rattle prevention and snug fit
- Non-slip rubber mat inserts to keep coins from chattering
- Interior-safe cleaner (alcohol-based) to prep surfaces for adhesive pads
Common Mistakes to Avoid (These Can Kill Warranty Coverage)
- Ordering by ?close enough? compatibility: A 2021?2022 listing may not fit a mid-cycle refresh console.
- Prying with metal tools: This leaves marks that look like misuse. Use plastic trim tools if removal is needed.
- Skipping surface prep: Adhesive pads hate dust, oils, and interior dressing residue.
- Overloading the tray: Heavy keychains, tools, and stacks of coins can stress mounting tabs.
- Modifying before contacting support: Trimming corners or gluing tabs can void coverage.
- Discarding packaging too early: Some returns require original packaging or barcodes.
FAQ: Change Tray Mounting Warranty and Coverage
Does a change tray count as a ?wear item??
Often, yes?especially rubber liners, adhesive pads, and cosmetic surfaces. The tray body and molded mounting tabs are more likely to be covered if they fail under normal use and within the warranty period.
If my tray rattles, is that a warranty issue?
Sometimes. If the rattle is caused by loose fit due to manufacturing tolerances (and the product is confirmed compatible), support may replace it. If it?s item noise (coins/keys) or missing felt/liners, it?s usually considered normal and fixable with simple adjustments.
Will using felt tape void my warranty?
Typically no, because felt tape is removable and non-destructive. Avoid permanent glue, drilling, or sanding. If you file a claim, disclose what you added and keep it reversible.
My adhesive mount failed in summer heat?should that be covered?
It depends on the warranty language. Many brands exclude adhesive performance when installed on contaminated surfaces or exposed to extreme heat. If you prepped the surface properly and used the included pads as directed, you have a stronger case?photos of your prep steps help.
Do I contact the retailer or the manufacturer for coverage?
If you?re within the return period, start with the retailer for the fastest outcome. After that, the manufacturer warranty channel is usually the right path. For OEM parts, a dealership parts department is often the gatekeeper.
What if the tray doesn?t fit my trim level even though it says it will?
First, confirm your console type (some trims have different lids, wireless charger trays, or shifter surrounds). If the listing explicitly includes your trim and year, document the mismatch with photos and request a replacement or refund based on fitment guarantee or warranty terms.
Wrap-Up and Next Steps
If your change tray mounting fails, you?re not stuck?most coverage decisions come down to three things: correct fitment, clean installation, and clear documentation. Start by gathering your proof of purchase, capturing good photos/video, and contacting the retailer (within the return window) or the manufacturer (afterward). If the tray is rattling or shifting, try reversible fixes like felt tape and proper surface prep before assuming it?s defective.
Next steps you can take right now:
- Find your receipt and confirm your vehicle?s exact year/trim/console type.
- Inspect mounting tabs/pads and take a few quick photos.
- Check the warranty/return page for timelines and claim steps.
- If needed, file a claim with a short, factual description and a 10?20 second video.
Want more practical interior upgrade guides, troubleshooting tips, and product-fit advice? Browse the latest articles on carinteriormix.com and keep your cabin upgrades clean, quiet, and hassle-free.