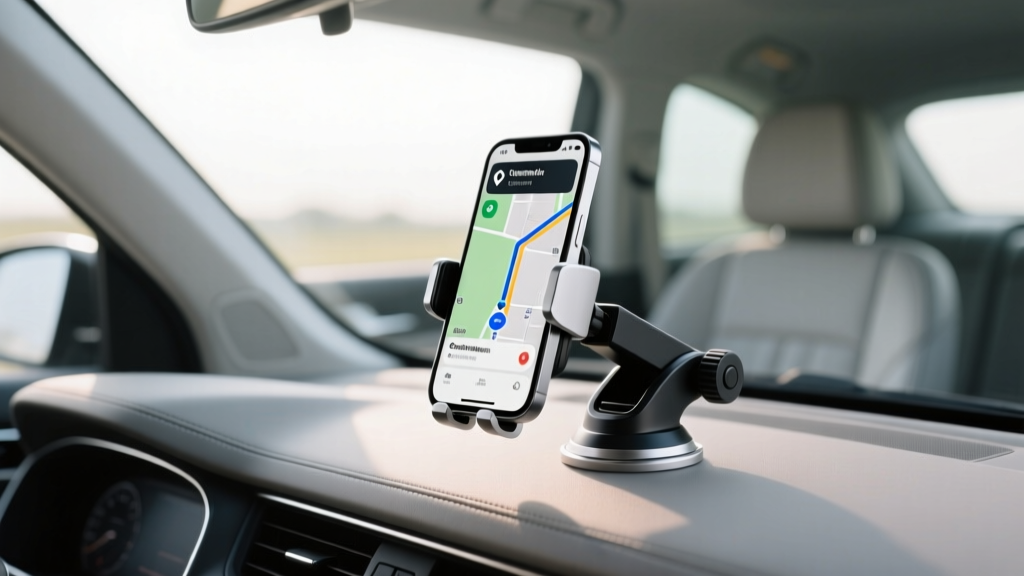
Budget Phone Mounts for Cars | CarInteriorMix
A good phone mount is one of those small interior upgrades that changes your daily drive. It keeps navigation at eye level, makes hands-free calls easier, and reduces the temptation to glance down at your lap every time a notification hits. The best part: you don?t need an expensive ?pro install? or a premium bracket system to get a secure, clean setup.
Still, budget-friendly doesn?t mean ?cheap and sloppy.? A $10 mount installed the right way can outperform a $60 mount installed poorly?especially if you choose the right mounting location for your vehicle and driving style. This guide walks through affordable phone mount types, how to install each one, what to look for before you buy, and the common mistakes that cause mounts to fail.
Quick Checklist: Pick the Right Mount for Your Car and Your Commute
Before you buy anything, use this short checklist. It?ll save you money by preventing the ?drawer of failed mounts? problem.
- Phone size and weight: Large phones (and cases) need stronger clamps, better suction, or a sturdier vent hook.
- Typical road conditions: Rough roads and potholes demand a more rigid mounting point than a flimsy vent clip.
- Interior surfaces: Textured dashboards and curved windshields affect suction and adhesive options.
- Climate: Heat can weaken adhesive pads; cold can reduce suction performance.
- Charging needs: If you use navigation daily, plan for cable management or a budget MagSafe-style solution.
- Airbag zones and visibility: Avoid blocking your view or placing hardware where an airbag could deploy.
Budget-Friendly Phone Mount Types (and When Each Makes Sense)
1) Vent Clip Mounts (Usually the Cheapest)
Best for: Drivers who want a quick install and don?t mind using the center vents.
Typical price range: $8?$20
Pros: Easy to install, easy to move between vehicles, no adhesives.
Cons: Can wobble on rough roads, may block airflow, can stress delicate vent slats, not ideal for heavy phones.
Real-world example: If you drive a compact sedan with firm, horizontal vent slats, a vent mount with a locking hook (instead of a simple spring clip) can hold up well even with a larger phone. If your car has round ?turbine? vents or very thin slats, expect more movement unless you choose a hook-style mount designed for those vents.
2) Windshield Suction Mounts (Best Bang-for-Buck Stability)
Best for: Drivers who want a solid hold and don?t mind a visible mount arm.
Typical price range: $12?$30
Pros: Strong stability when installed correctly, easy repositioning, works in many vehicles.
Cons: Some regions restrict windshield-mounted items; can leave marks; heat can affect suction over time if not maintained.
3) Dashboard Suction Mounts (Cleaner Look Than Windshield)
Best for: Drivers who want eye-level navigation without blocking the windshield.
Typical price range: $12?$30
Pros: Often more ?factory-looking? than windshield setups; better line of sight.
Cons: Textured dashboards can reduce suction; may require an included sticky base pad.
4) Adhesive (Stick-On) Dash Mounts (Low Profile and Affordable)
Best for: A semi-permanent setup that looks tidy and stays put.
Typical price range: $10?$25
Pros: Very stable when properly prepped; minimal wobble; doesn?t block vents.
Cons: Removal can be messy; heat can soften adhesive; not great for soft-touch or dusty surfaces unless prepped carefully.
5) CD Slot Mounts (Old-School but Surprisingly Solid)
Best for: Cars with a front-facing CD slot that you never use.
Typical price range: $10?$25
Pros: Excellent stability, centered placement, no adhesives, no vent strain.
Cons: Not compatible with all head units; blocks CD use; placement may interfere with some screens/buttons.
6) Cup Holder Mounts (No Tools, No Adhesive)
Best for: Drivers who can?t use vents/windshield and want a removable option.
Typical price range: $15?$35
Pros: Very easy installation; stable; doesn?t touch dash materials.
Cons: Uses a cup holder; phone sits lower (more eye movement); can interfere with shifter/console controls.
Budget Product Recommendations (What to Look For)
Rather than chasing brand names, focus on features that matter. In the budget range, build quality varies, so these checkpoints help you compare options quickly.
Recommended Feature Checklist
- Vent mounts: Look for a locking hook that grabs the vent frame, plus a rubberized contact point.
- Suction mounts: Choose a gel pad suction cup with a locking lever and a short, rigid arm (less wobble).
- Adhesive mounts: Prefer 3M VHB-style tape or equivalent; larger base = better hold.
- Cradle type: A spring clamp is fine; for one-hand use, consider an auto-clamp (still affordable).
- Ball joint strength: A tight ball joint prevents droop over bumps?cheap joints loosen fast.
- Heat resistance: If you park in the sun, avoid ultra-thin adhesives and fragile plastics.
Quick Comparisons: Which Option Is Best on a Budget?
- Most stable for the money: CD slot mount or high-quality windshield suction.
- Cleanest look: Adhesive dash mount (if you?re okay with semi-permanent placement).
- Easiest to swap between cars: Vent mount or suction mount.
- Best if your dash is heavily textured: Vent mount, CD slot mount, or cup holder mount.
Installation: Step-by-Step for Each Mount Type
Vent Clip Mount Installation (5?10 minutes)
- Pick the right vent: Choose a vent close to your line of sight that won?t block critical buttons. Avoid vents that point straight at your phone if you use heat often.
- Inspect the slats: If slats feel flimsy, switch to a different mount type or use a hook-style vent mount.
- Attach the clip or hook: Slide the clip onto a slat or tighten the hook mechanism behind the slat until snug.
- Set the angle: Aim for a position that keeps the phone readable without turning your head.
- Test for wobble: With the phone in place, gently shake. If it moves excessively, reposition or tighten.
- Practical tip: If your vent mount droops, reduce leverage by keeping the phone closer to the vent (shorter arm, less extension).
Windshield Suction Mount Installation (10 minutes)
- Check local rules: Some areas restrict windshield-mounted devices. If unsure, choose a dashboard mount instead.
- Clean the glass: Use glass cleaner or isopropyl alcohol. Let it dry completely.
- Warm the suction cup (optional): In cold weather, warming the cup with your hands improves sealing.
- Press and lock: Press the suction cup firmly to the glass and flip the locking lever.
- Position the arm: Keep the arm as short as possible for stability.
- Road test: After a short drive, re-check the lock and angle.
- Practical tip: If the mount falls off in heat, remove it, rinse the suction cup with warm water (no soap), let it air dry, then reinstall on freshly cleaned glass.
Dashboard Suction Mount Installation (10?15 minutes)
- Choose a flat spot: Avoid deep texture, stitched seams, or curved surfaces.
- Use the included base pad if needed: Many budget mounts include a sticky dashboard disk. Clean the dash first.
- Clean and dry: Wipe the area with isopropyl alcohol and allow it to dry.
- Attach the disk (if using): Press firmly for 30?60 seconds.
- Mount the suction cup: Press onto the disk (or dash) and lock the lever.
- Set phone angle: Keep the phone low enough to avoid blocking the road view, high enough for quick glances.
- Practical tip: Place the mount so your charging cable can route cleanly without crossing the steering wheel or shifter path.
Adhesive Dash Mount Installation (Best results take patience)
- Dry fit first: Sit in the driver?s seat and hold the mount where you want it. Check visibility, reach, and button clearance.
- Clean the surface thoroughly: Use isopropyl alcohol. Oils from interior dressings can ruin adhesion.
- Let the surface dry: Give it a few minutes. Adhesive hates moisture.
- Apply the mount: Press firmly for 60 seconds with steady pressure.
- Wait before loading: For best hold, wait at least 1?2 hours; 24 hours is ideal if temperatures are cool.
- Do a final test: Insert the phone and check for any creeping or lifting edges.
- Practical tip: If your dash is soft-touch rubber, use an adhesive base disk designed for interiors, or switch to a vent/CD/cup holder solution. Some soft-touch coatings can peel when adhesive is removed.
CD Slot Mount Installation (5 minutes)
- Confirm the slot is stable: If your head unit has a hidden or motorized door, avoid CD mounts.
- Insert the mount: Slide the mount?s blade into the CD slot.
- Tighten gradually: Use the knob to expand the mount until snug?don?t over-tighten.
- Set the angle: Make sure the phone doesn?t block climate buttons or hazard switch.
- Test for vibration: Drive over a rough patch and confirm it stays put.
Cup Holder Mount Installation (5?10 minutes)
- Select the best cup holder: Typically the one closest to the dash, away from the shifter.
- Expand the base: Twist or press the expander until it fits snugly.
- Adjust height and angle: Keep it high enough to see, low enough to avoid blocking controls.
- Secure the phone: Clamp the phone and check that it won?t hit the console during turns.
Clean Cable Management on a Budget
A mount is only half the setup. A dangling charging cable can snag your shifter, block controls, or look messy.
- Use adhesive cable clips: Place one near the mount and one near the console edge to guide the cable.
- Choose a short cable: A 1?3 ft cable often looks cleaner than a 6 ft cable stuffed into the console.
- Route along trim gaps: Tuck the cable along the edge of the center console or dash seams (no prying force needed).
- Add a right-angle plug: Helps reduce stress on the charging port and keeps the cable closer to the mount.
Common Mistakes to Avoid (These Cause Most Mount Failures)
- Mounting on dirty or dressed surfaces: Dashboard shine products can destroy adhesive and suction performance.
- Overextending the arm: The longer the arm, the more wobble?especially with heavier phones.
- Blocking airbags: Avoid mounting over passenger airbag panels or near side curtain deployment paths.
- Using the wrong vent mount for your vents: Thin or vertical slats often need hook-style mounts, not spring clips.
- Ignoring heat cycles: A mount that works in spring may fail in summer if adhesive or suction isn?t maintained.
- Placing the phone too low: A low mount increases eyes-off-road time. Aim for a comfortable glance angle.
FAQ: Budget Phone Mount Installation Options
What?s the most reliable phone mount type for under $25?
CD slot mounts and windshield suction mounts tend to be the most stable in that price range?assuming the CD slot is sturdy and the windshield is cleaned properly before installation.
Will a vent mount damage my car?s air vents?
It can. Spring clips can stress delicate slats, especially with heavier phones. If you want a vent mount, choose one with a locking hook that anchors behind the slat, and avoid overtightening.
Why does my suction mount keep falling off?
Common causes include dusty glass, a worn suction cup, extreme heat, or mounting on a curved area that prevents a full seal. Clean the surface with isopropyl alcohol, keep the arm short, and refresh the suction cup by rinsing with warm water and air drying.
Are adhesive dash mounts safe for soft-touch dashboards?
They?re sometimes risky. Soft-touch coatings can lift or discolor when adhesive is removed. If your interior has a rubberized finish, consider a CD slot, vent hook, or cup holder mount instead.
Where should I place my phone mount for the safest viewing angle?
Aim for a position close to your natural line of sight?often near the center of the dash, slightly toward the driver?without blocking the windshield or covering critical controls. Avoid any airbag deployment areas.
Can I install a phone mount without tools?
Yes. Vent, suction, CD slot, and cup holder mounts are typically tool-free. Adhesive mounts don?t require tools either, but they do require careful surface prep and curing time.
Next Steps: A Simple Plan for a Clean, Secure Setup
- Decide your mounting zone: Vent, windshield, dash, CD slot, or cup holder based on visibility and interior design.
- Buy based on features, not hype: Prioritize locking mechanisms, strong joints, and stable bases.
- Install carefully: Clean surfaces, keep arms short, and let adhesives cure.
- Do a one-week check: Re-tighten joints, re-route the cable, and adjust the angle after real driving.
If you want more practical interior upgrade guides?everything from cleaning tips to smart storage ideas?explore the latest articles on carinteriormix.com.