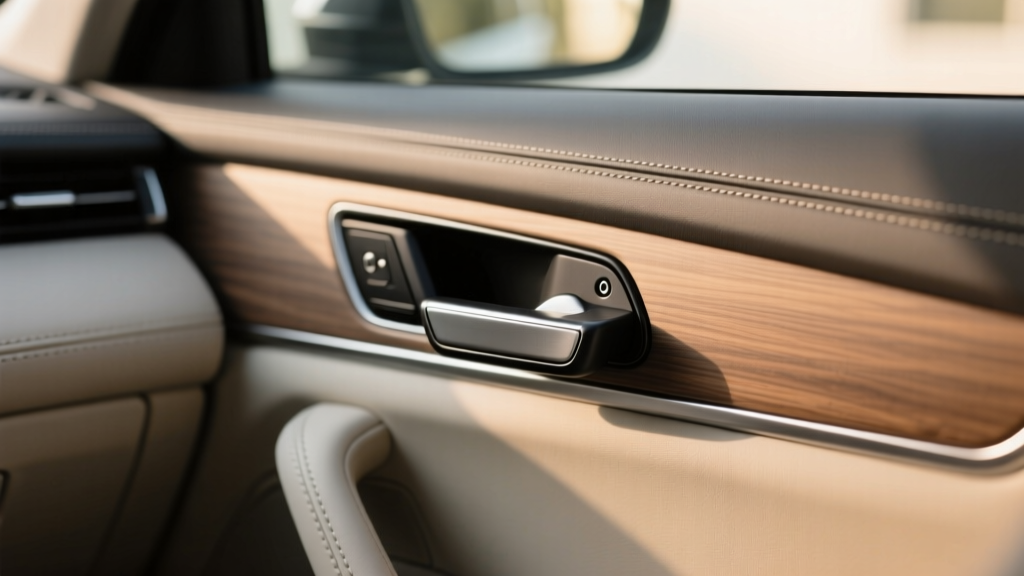
Grab Handle Installation: Budget-Friendly Options (2026)
Grab handles (also called assist grips) are one of those small interior upgrades you don?t think about?until you need one. Whether you?re climbing into a lifted truck, helping kids or older passengers step in, or just wanting extra stability on bumpy roads, a solid grab handle can make your vehicle feel more user-friendly and refined.
The good news: adding or replacing grab handles doesn?t have to be expensive. With the right approach, you can install OEM-style handles, universal straps, or even no-drill solutions for far less than a dealership visit. The key is choosing an option that matches your vehicle?s interior structure (roof rails, A-pillar trim, roll bar, seat frame) and your comfort level with light DIY work.
This guide breaks down budget-friendly grab handle installation options, what they cost, where they mount best, and how to avoid common mistakes that lead to rattles, ripped headliners, or weak mounts.
Why Install Grab Handles? Real-World Use Cases
- Easier entry and exit: Especially on lifted SUVs/trucks or tall crossovers.
- Passenger comfort: Helps reduce ?bracing? against the dash or door when roads get rough.
- Accessibility: Useful for older passengers or anyone with knee/hip issues.
- Off-road stability: A proper handle is safer than grabbing trim pieces that can snap.
- Interior refresh: Replacing sagging or stained factory handles is a quick cosmetic win.
Know Your Mounting Locations (Before You Buy Anything)
Most budget problems happen when a handle is bought first and the mounting plan is an afterthought. Start by identifying where a handle can mount securely.
Common Mount Points
- Factory handle locations: Many vehicles have pre-threaded holes behind small plastic caps, even if a handle wasn?t installed on your trim level.
- A-pillar/B-pillar structure: Some cars allow pillar-mounted handles, but you must avoid airbags.
- Roof support / header rail: Often where OEM handles attach with screws into reinforced points.
- Roll bars (Jeeps, UTVs, some off-road builds): Strap-style handles are ideal here.
- Seat frame mounts: A few universal handles clamp or bolt near seats for entry assistance (varies by design).
Quick Safety Check: Side Curtain Airbags
If your vehicle has side curtain airbags, they typically run along the roofline behind the headliner and down pillars. Mounting anything through an A-pillar trim panel or into the roof edge without verifying clearance can interfere with airbag deployment. If you?re unsure, stick to factory mounting points or strap-style handles on approved bars.
Budget-Friendly Installation Options (From Cheapest to Most OEM-Like)
Option 1: Universal Strap Grab Handles (No Drill or Minimal Tools)
Best for: Jeeps, vehicles with roll bars, rear cargo handles, off-road rigs, and quick upgrades.
Typical cost: $10?$35 per pair (basic) / $35?$80 (padded, heavy-duty, branded).
Strap handles wrap around a bar or sturdy anchor point using Velcro, buckles, or sewn loops. They?re inexpensive, fast to install, and they won?t damage headliners.
- Pros: Quick install, low cost, adjustable position, great for off-road.
- Cons: Only works where a bar/solid anchor exists; may sway slightly; cheaper straps can fray.
Step-by-Step: Installing Strap Handles on a Roll Bar
- Choose the location: Sit in the seat and mark where your hand naturally reaches.
- Clean the bar: Wipe it down so the strap doesn?t slide on dust.
- Wrap and secure: Feed the strap around the bar and tighten the Velcro/buckle.
- Check for rotation: Pull down firmly; if it twists, reposition or add a rubber strip under the strap for grip.
- Test with a real entry/exit: Step in and out a few times to confirm it?s at the right height.
Real-world tip: If your strap handle slowly slides over time, add a thin piece of rubber (like a cut section of inner tube) between the strap and bar to increase friction.
Option 2: ?Headrest Post? Handles (Tool-Free for Some Vehicles)
Best for: Rear-seat passengers, rideshare vehicles, quick assist handles.
Typical cost: $12?$30 each.
These handles attach to the metal posts of a front seat headrest. They?re popular because they avoid drilling and provide a stable grip for rear passengers when getting in/out.
- Pros: No drilling, fast install, easy to remove, good for kids/elderly passengers.
- Cons: Not ideal for front passengers; some designs can rattle; fit varies by headrest post spacing.
Step-by-Step: Installing a Headrest-Mounted Handle
- Measure post spacing: Compare with product specs before buying.
- Raise the headrest: Give yourself room to attach the handle brackets/loops.
- Attach and align: Ensure it sits centered and doesn?t press into the seatback.
- Tighten or lock: Depending on design, tighten screws or snap the latch securely.
- Check headrest movement: Confirm the headrest can still lock into position safely.
Option 3: Replace or Add OEM-Style Roof Grab Handles (Best Value When Compatible)
Best for: Most sedans, crossovers, minivans, and SUVs with factory provisions.
Typical cost: $15?$45 per handle (aftermarket OEM-style) / $35?$120+ (genuine OEM, color-matched).
If your car already has grab handles and one is loose, stained, or broken, replacing it is often the cheapest ?looks-like-factory? upgrade. If your trim level didn?t include a handle, you may still find the mounting points hidden under small caps in the headliner area.
- Pros: OEM look, solid feel, usually the most stable option.
- Cons: Requires verifying mounting points; mismatched colors can look off; cheap handles can squeak.
Step-by-Step: Installing OEM-Style Roof Handles (Using Factory Mounts)
- Inspect for factory caps: Look for small plastic covers where the handle would sit.
- Carefully pry caps: Use a plastic trim tool to avoid marring the headliner.
- Verify threads: You should see threaded inserts or holes aligned for screws.
- Match hardware: Use the correct screw type/length (ideally OEM or included with a quality kit).
- Position the handle: Align both ends before starting screws.
- Thread by hand first: Start each screw a few turns to prevent cross-threading.
- Tighten evenly: Snug is enough?over-tightening can crack the handle base or distort the headliner.
- Check operation: Flip the handle up/down to ensure smooth movement and no binding.
Real-world example: Many base-model vehicles share headliner stampings with higher trims. Owners sometimes discover the holes exist behind the headliner caps; adding handles becomes a 15-minute upgrade that looks fully factory.
Option 4: Clamp-On or Bolt-On Interior Handles (Budget Off-Road Style)
Best for: Off-road builds, cargo areas, vans, and some trucks where you can access a sturdy metal brace.
Typical cost: $20?$60 per handle.
These are more ?hardware-like? than OEM roof handles and can be very strong when mounted properly. Some clamp to exposed bars; others require drilling into metal bracing (not recommended unless you?re comfortable verifying what?s behind the panel).
- Pros: Strong, rugged look, good grip, often universal.
- Cons: Can look out of place in a refined cabin; drilling risks wiring/airbags; may introduce rattles.
Product Comparison: What to Look For on a Budget
You don?t need a specific brand to get good results, but you do need the right features for your mounting style.
OEM-Style Roof Handles
- Material: Reinforced plastic with a solid hinge; avoid thin, flexy bodies.
- Fitment: Listed for your make/model/year whenever possible.
- Color match: ?Gray? and ?beige? vary a lot; check photos and reviews for interior match.
- Hardware included: Ideally comes with correct screws and caps.
Strap Handles
- Stitching: Box stitching or reinforced seams hold up better than single-line stitches.
- Padding: Nice for comfort, especially in hot/cold climates.
- Fastener style: Heavy-duty Velcro is convenient; buckle styles can be more secure.
Headrest Handles
- Post spacing compatibility: Verify measurement range.
- Rattle control: Look for rubber inserts or snug clamps.
- Grip shape: Wider grips feel more natural and reduce hand fatigue.
Tools and Supplies That Keep Costs Low (and Results Clean)
- Plastic trim tools: Prevent marks on caps and headliner edges.
- Small ratchet or screwdriver set: Helps avoid stripping screws.
- Thread locker (optional): A tiny amount of medium-strength thread locker can prevent screws backing out over time (only if mounting into metal threads).
- Felt tape: Great for eliminating squeaks where plastic meets headliner or trim.
- Microfiber towel: Protects surrounding panels while you work.
Common Mistakes to Avoid (and How to Prevent Them)
- Over-tightening screws: This can crack handle bases, strip threads, or pucker the headliner. Tighten to snug, not ?as hard as possible.?
- Assuming mounting points exist: Not every vehicle has reinforced points behind the headliner. If you don?t see factory inserts, don?t force a ?universal? screw solution into thin sheet metal.
- Ignoring airbags: Avoid drilling near A-pillars and roof edges unless you?re 100% sure of airbag layout and clearances.
- Buying the cheapest strap handle: Low-quality stitching can fail. If the handle is for entry/exit support, choose reinforced stitching and a reputable listing with real reviews.
- Mixing wrong hardware: Screws that are too long can damage wiring or dent roof panels; too short won?t hold securely.
- Not test-pulling after install: Always apply firm, controlled pull force before relying on it daily.
Practical Tips for a Factory-Looking Result
- Match interior tones: If your interior is ?light gray,? consider ordering two shades and returning the mismatch (when possible).
- Silence squeaks: Add small strips of felt tape where handle bases contact trim or headliner.
- Upgrade as a set: Replacing all handles at once can make the interior look newer, especially if the originals are yellowed or worn.
- Check for used OEM bargains: Salvage yards and online marketplaces can be goldmines for genuine OEM handles at budget prices?just inspect hinges and mounting tabs.
FAQ: Budget-Friendly Grab Handle Installation
1) Can I add grab handles to a car that didn?t come with them?
Sometimes, yes. Many vehicles have hidden factory mounting points under plastic caps or behind the headliner. If you don?t see threaded inserts or reinforced mounts, don?t install with random screws into thin metal or headliner board. In that case, consider headrest-mounted handles or strap-style solutions where appropriate.
2) Are universal grab handles safe?
They can be, but it depends on the mounting method and load path. A strap handle around a solid roll bar can be very secure. A ?universal? screw-in handle mounted through trim with no reinforcement is not safe. Choose designs that mount to strong structural points.
3) Will installing a roof handle damage my headliner?
If you use factory mounting points and remove caps with a plastic trim tool, damage is unlikely. Headliner damage usually happens when people pry aggressively with metal tools, over-tighten screws, or try to create new holes without reinforcement.
4) What?s the cheapest grab handle option that still works well?
For vehicles with roll bars or sturdy bars, strap handles are usually the best low-cost choice. For daily drivers without bars, OEM-style replacement handles using factory mounts offer the best value and cleanest look.
5) How do I stop a grab handle from rattling?
Check fasteners first (snug, not over-tight). Add felt tape at contact points, confirm plastic caps are seated, and make sure you?re using the correct hardware. For headrest handles, rubber shims or tighter clamps typically eliminate rattles.
6) Should I use thread locker on grab handle screws?
Only when screws thread into metal inserts and you?re confident you won?t need frequent removal. Use a small amount of medium-strength thread locker. Avoid it for screws going into plastic, and don?t use high-strength compounds that make removal difficult.
Next Steps: Choose the Right Option and Install with Confidence
Start by checking whether your vehicle already has factory grab handle mounting points?if it does, an OEM-style handle is usually the most budget-friendly upgrade that looks stock. If you need a no-drill solution, headrest-mounted handles work well for rear passengers, while strap handles are hard to beat for roll-bar vehicles and off-road rigs.
Your action plan:
- Inspect your interior: Look for handle caps, mounting holes, bars, or compatible headrest posts.
- Pick the right handle type: OEM-style for factory mounts, straps for bars, headrest handles for quick assist.
- Buy smart: Prioritize fitment, reinforced stitching, and included hardware over the absolute lowest price.
- Install carefully: Use trim tools, avoid airbag zones, and test-pull before relying on it.
Want more practical interior DIY ideas and upgrade guides? Browse the latest articles on carinteriormix.com and keep building a cabin that?s more comfortable, functional, and personal.