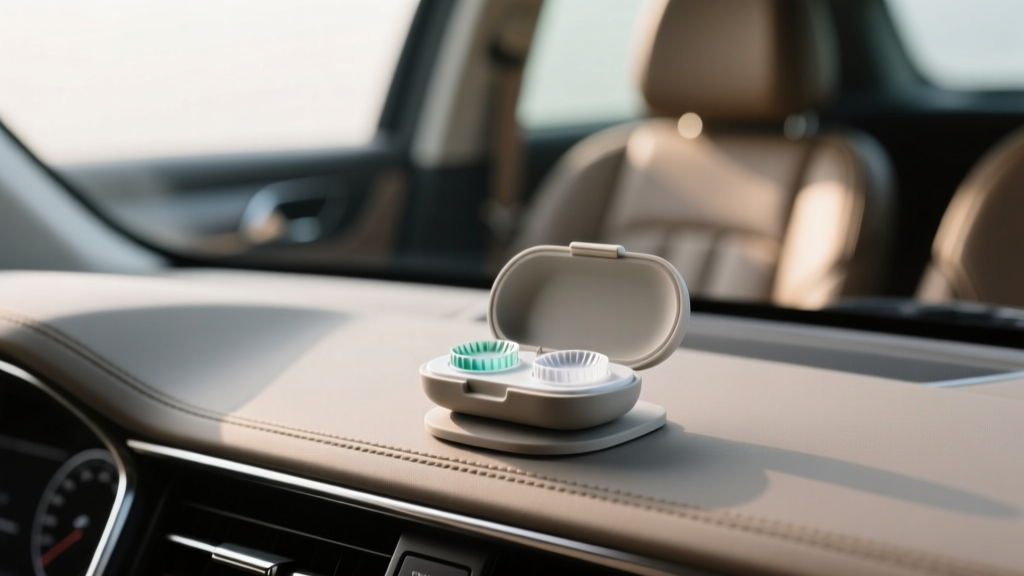
Contact Lens Case Mounts for Cars (2026)
If you wear contact lenses, you already know the familiar routine: rinse hands, pop lenses in, stow the case? and then spend the next week wondering where you left it in the car. A contact lens case is tiny, rolls easily, and loves to disappear into seat rails, door pockets, and center console ?black holes.? When you?re headed to work, the gym, or a weekend drive, having a clean, secure place for your lens case isn?t just convenient?it can save your eyes from a dusty, compromised case and save your interior from spills.
A smart mount solves two problems at once: it keeps the case easy to reach, and it protects your cabin from leaked solution (or worse, a sticky case rolling under a pedal). The good news is you don?t need an expensive organizer or custom interior accessories. With a few budget-friendly mounting options?many under $10?you can create a dedicated, hygienic ?lens station? that feels factory-clean and doesn?t clutter your car?s look.
This guide breaks down practical, low-cost contact lens case mount options for car interiors, where to place them, and how to install them so they stay put through hot summers, cold winters, and daily driving.
Why Mounting a Contact Lens Case in Your Car Matters
Safety, cleanliness, and less cabin chaos
- Quick access: If a lens feels dry or you need to swap to glasses, you can find your case instantly.
- Spill prevention: Contact solution can seep into seams, cupholders, and console fabrics, causing stains and odors.
- Hygiene: A case bouncing around collects dust and crumbs. A mount keeps it away from dirty surfaces.
- Less distraction: Searching while driving is risky. A set location reduces temptation to rummage at stoplights.
Real-world example
Picture this: you toss your lens case into the cupholder, it tips during a turn, and solution runs down into the shifter trim. Later, you?re wiping residue out of crevices with a cotton swab. A simple mount?like a small adhesive pouch?keeps the case upright and sealed, especially on bumpy roads.
Before You Mount Anything: Pick the Right Spot
Placement is half the battle. You want a spot that?s easy to reach, doesn?t interfere with airbags or controls, and won?t bake your lens supplies in direct sunlight.
Best locations for most vehicles
- Inside center console lid or side wall: Hidden, clean, and temperature-stable.
- Glove box side panel: Great if you keep a small ?eye care kit.?
- Lower dash cubby (if deep enough): Convenient without being in the way.
- Seatback pocket (with a pouch mount): Works well for passengers or rideshare drivers.
Locations to avoid
- Airbag zones: Don?t mount to A-pillars, steering wheel area, or passenger dash airbag cover.
- Direct sun hotspots: Top of dash and windshield-facing shelves can overheat and degrade solution.
- High-kick areas: Lower footwell panels where shoes scuff and knock items loose.
- Loose cupholders: They?re fine temporarily, but not a ?mount.?
Budget-Friendly Mount Options (Ranked by Practicality)
1) Adhesive Mini Pouch (Best all-around option)
A small adhesive pouch or ?stick-on organizer pocket? is one of the cleanest solutions for a contact lens case. It keeps the case upright and prevents rattles.
- Typical cost: $5?$12
- Best for: Center console interior wall, glove box, seatback, door pocket liner
- Pros: Secure, hides clutter, easy access
- Cons: Adhesive quality varies; choose a reputable brand or add better tape
Tip: Look for pouches with a smooth inner liner that can be wiped clean (TPU or coated fabric beats fuzzy cloth).
2) Industrial Hook-and-Loop (Velcro) Strips (Most flexible)
Hook-and-loop strips let you mount the case itself (or a small holder) without drilling or permanent hardware. This works especially well inside the center console where surfaces are flat and sheltered.
- Typical cost: $4?$10
- Best for: Inside console, glove box, flat plastic trim (not textured)
- Pros: Removable, adjustable, cheap, strong
- Cons: Can collect lint; adhesive can fail in heat if surfaces aren?t prepped
3) Magnetic Mount + Metal Plate (Fast ?grab and go?)
A small magnetic mount (often sold for phones) can be repurposed for a contact lens case if you attach a thin metal plate to the case or to a small sleeve holding the case.
- Typical cost: $6?$15
- Best for: Console side, inside glove box, hidden areas
- Pros: One-handed removal, minimal footprint
- Cons: Some cases are too light or oddly shaped; heat can weaken adhesives
Practical note: If your lens case is the rounded ?barrel? type, it may rotate on a magnet. A small sleeve or flat-backed holder fixes that.
4) Cupholder Insert or Divider (Best for people who refuse adhesives)
If you don?t want anything stuck to your interior, a cupholder insert with small compartments can corral a lens case. It?s not a true mount, but it?s a budget-friendly containment option.
- Typical cost: $7?$20
- Best for: Larger cupholders, SUVs/trucks with deep center consoles
- Pros: No adhesive, easy to clean, quick install
- Cons: Can still tip if the insert is loose; uses prime cupholder space
5) Clip-On Storage (Sun visor or vent clips?use with caution)
Clip-on holders can work, but they?re often exposed to sunlight and heat. Vent clips also risk blocking airflow or rattling.
- Typical cost: $5?$15
- Best for: Short trips, mild climates, minimal storage needs
- Pros: No adhesive residue, easy to move between cars
- Cons: Heat exposure, potential rattles, can look cluttered
Step-by-Step: Installing an Adhesive Mini Pouch Mount
This is the most ?set it and forget it? approach for most car interiors.
What you?ll need
- Adhesive mini pouch (or a small stick-on organizer pocket)
- Isopropyl alcohol (70% or higher) and a microfiber cloth
- Optional: 3M VHB tape (if the included adhesive feels weak)
Installation steps
- Test-fit the location. Sit in the driver?s seat and confirm you can reach the pouch without leaning or looking away for long. Check that it won?t interfere with console closing.
- Clean the surface. Wipe the mounting spot with isopropyl alcohol to remove oils and interior dressing. Let it dry fully.
- Warm the adhesive (optional but helpful). If it?s cold out, warm the adhesive backing slightly with your hands or set the pouch in a warm room for a few minutes.
- Apply with firm pressure. Peel backing, align carefully, and press firmly for 30?60 seconds. Focus pressure on edges.
- Let it cure. Avoid loading it for a few hours (24 hours is best) so the adhesive bonds properly.
- Load your lens case upright. Keep the case cap side up if possible to reduce leak risk.
Pro tip for hot climates
If you live where cabin temps soar, skip bargain-bin adhesives. Upgrade with a small piece of 3M VHB on the pouch backing. It costs a bit more but dramatically improves long-term hold on interior plastics.
Step-by-Step: Mounting with Hook-and-Loop Strips
What you?ll need
- Hook-and-loop strips (industrial strength preferred)
- Alcohol and microfiber cloth
- Optional: a slim sleeve or small plastic case to create a flat mounting surface
Installation steps
- Decide what gets mounted. For best results, mount a small sleeve/holder rather than the lens case directly (more surface area = better grip).
- Clean both surfaces. Clean the interior mounting area and the holder/case surface.
- Apply hook-and-loop pieces. Press firmly and hold for 30 seconds. Keep the pieces aligned so the case sits level.
- Let adhesive set. Wait a few hours before repeatedly removing/attaching.
- Check for rattle. If it buzzes over bumps, add a thin foam pad behind the holder.
Product Recommendations: What to Look For (and What to Skip)
Rather than chasing a specific model that may go out of stock, use these buying cues to find budget mounts that actually work.
Recommended features
- Strong adhesive backing: 3M-style tape or clearly rated for automotive use
- Wipeable materials: TPU, silicone, coated nylon
- Low-profile design: Keeps the cabin looking tidy
- Drainage or easy cleaning: If solution leaks, you want to wipe it out quickly
Skip these common ?cheap? pitfalls
- Cloth-only pouches that soak up solution and get funky
- Weak, gummy adhesives that melt in heat and leave residue on trim
- Bulky visor organizers that sag and block visibility
Smart Setup: Build a Tiny ?Lens Kit? for the Car
Even a perfect mount won?t help if you?re missing essentials. A small kit keeps everything controlled and reduces mess.
Good items to keep together
- Contact lens case (mounted)
- Travel-size contact solution (sealed in a small zip pouch)
- Microfiber cloth (for hands after using sanitizer)
- Backup glasses in a hard case (if you have room)
Real-world tip: Put the solution bottle in a secondary bag. Even a slow leak won?t end up inside your console fabric or electronics area.
Common Mistakes to Avoid
- Mounting on textured or dirty plastic: Adhesives fail fast if you stick to a dusty, silicone-dressed surface.
- Ignoring heat exposure: A case on the dash can cook. Store inside the console or glove box for better temperature stability.
- Placing it where it can become a projectile: Avoid open shelves and slick trim where it can fly during hard braking.
- Blocking controls or ports: Don?t mount near USB ports, shifter paths, parking brake, or seat controls.
- Relying on ?temporary? placement forever: A case living in a cupholder usually ends with spills or lost caps.
- Not checking door clearance: Door-mounted pouches can snag when you slam the door or when items in the pocket shift.
FAQ: Contact Lens Case Mounting in Car Interiors
1) Is it safe to keep contact lens solution in a car?
For short periods, yes, but avoid extreme heat and long-term storage. High cabin temperatures can degrade solutions over time. Keep solution in the center console or glove box (out of direct sun), and replace it regularly.
2) What?s the best mount if I lease my vehicle and worry about residue?
Use hook-and-loop strips inside the center console or glove box, where any minor residue is hidden. If you do use adhesive, choose removable automotive tape and clean with interior-safe adhesive remover when it?s time to return the car.
3) Will adhesive mounts damage soft-touch plastic?
They can, especially on rubberized ?soft-touch? coatings. Test a small area first, and favor mounting on harder plastics inside the console rather than visible dash materials.
4) Can I mount a lens case on a vent clip?
You can, but it?s not ideal. Vents expose the case to heat or AC blasts, and clips can rattle. A console-based mount is usually cleaner, quieter, and more durable.
5) How do I stop the case from rattling?
Use a pouch with a snug opening, add a thin foam pad behind the holder, or wrap the case in a slim silicone sleeve. Also make sure the mount is fully cured before use.
6) Where should I NOT mount anything?
Avoid airbag deployment areas (A-pillars, steering wheel zones, passenger dash airbag cover), and avoid mounting anything that could interfere with pedals, shifter movement, or driver visibility.
Next Steps: Make It Clean, Secure, and Easy to Use
Start by picking a location?most drivers will be happiest with an adhesive mini pouch inside the center console or a hook-and-loop mount on a flat console wall. Clean the surface properly, let adhesives cure, and keep your lens supplies in a small secondary bag to prevent leaks from becoming interior problems.
If you want a quick win today, do this:
- Clean the inside wall of your center console with isopropyl alcohol.
- Install a small adhesive pouch or hook-and-loop holder.
- Load your lens case upright and add a sealed travel solution in a zip pouch.
For more practical, budget-friendly interior organization ideas and cabin-care tips, explore the latest guides on carinteriormix.com.