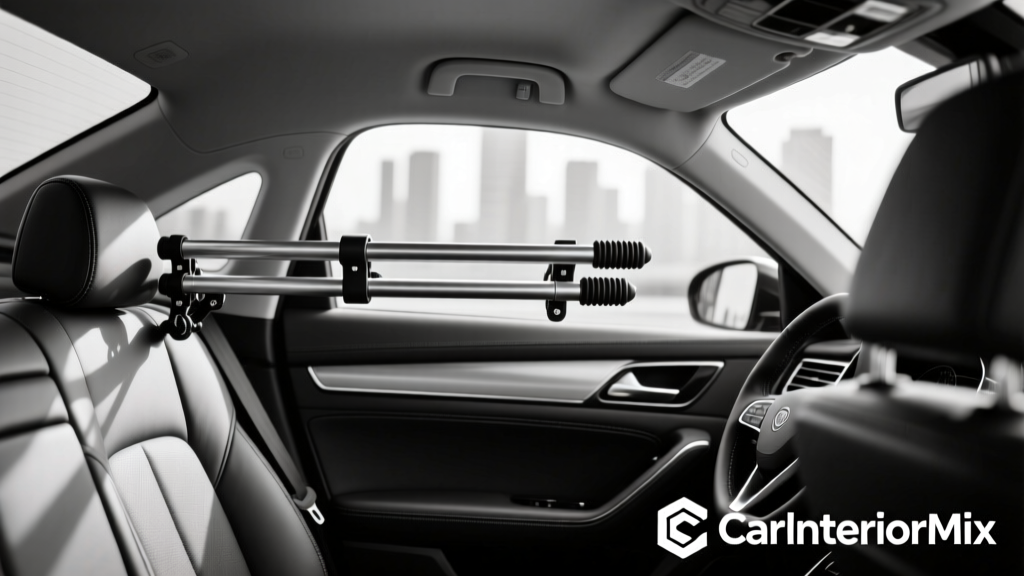
Bike Rack Interior Mount Maintenance (2026)
If you carry bikes inside your vehicle, you already know the upside: cleaner aerodynamics than a roof rack, better security than an exterior hitch rack, and far less worry about low garages or drive-throughs. But interior bike rack mounts?fork mounts, thru-axle mounts, seatpost clamps, rail systems, and DIY platforms?have their own set of wear points. Dirt, chain lube mist, wet tires, and constant tightening cycles can quietly degrade the mounts and your interior surfaces over time.
Maintenance isn?t just about making the rack ?look nice.? It?s about protecting your cabin materials (carpet, leather, plastics), keeping bikes stable during emergency braking, and avoiding those annoying rattles that make you think something is wrong with your suspension. A well-maintained interior mount also makes loading faster, reduces the chance of scratches, and extends the life of expensive hardware like quick-release skewers and thru-axle adapters.
This guide breaks down what to clean, what to inspect, and what to replace?plus practical tips for different vehicle interiors and bike types. Whether you run a simple fork mount bolted to a board or a modular track system in an SUV, these steps help your setup stay secure and cabin-friendly for years.
Know Your Interior Mount: What You?re Maintaining
Interior bike rack mounts vary, but most systems share similar components and failure points. Identify your setup before you start so you?re cleaning and inspecting the right places.
Common interior rack styles
- Fork mount base (quick release or thru-axle) attached to a board or platform
- Upright clamp mount holding the frame or seatpost (less common inside vehicles)
- Track/rail systems with adjustable fork mounts and tie-down points
- Strap-only systems using D-rings, soft straps, and wheel cradles
- DIY plywood platforms with bolted mounts and eye bolts
Main wear points to watch
- Clamping interfaces: skewer cams, thru-axle threads, knobs, and quick-release levers
- Fasteners: bolts, washers, T-nuts, and rivnuts in the platform or vehicle
- Contact surfaces: rubber pads, wheel trays, straps, and hooks
- Interior surfaces: carpet, seatbacks, plastic trim, cargo liners, and door sills
- Noise sources: loose hardware, dry hinges, vibrating straps, and flexing boards
Maintenance Schedule: A Simple Routine That Works
The easiest way to keep an interior bike rack mount in top shape is to follow a light schedule instead of waiting for problems.
- After every ride (2?3 minutes): wipe down obvious dirt, check clamp tightness, and dry wet areas.
- Monthly (15?30 minutes): deep clean mounts and straps, inspect fasteners, and treat interior surfaces.
- Seasonally (45?60 minutes): remove the platform (if possible), inspect attachment points, re-torque hardware, and replace worn straps/pads.
Real-world example: If you ride in winter or on muddy trails, treat ?monthly? as ?every two weeks.? Grit works like sandpaper on plastic trim and clamping surfaces.
Tools and Supplies Worth Keeping in Your Garage
You don?t need a huge kit. A few smart items make interior rack maintenance faster and more consistent.
- Microfiber towels (dedicate a couple to ?bike grime? only)
- Vacuum with crevice tool (helps around rails, seat tracks, and cargo corners)
- All-purpose interior cleaner (plastic-safe, no heavy solvents)
- Mild soap (dish soap works for straps and rubber pieces)
- Isopropyl alcohol (70%) for final wipe on metal clamps (avoid soaking plastics)
- Small nylon brush (toothbrush-size) for threads and knurled knobs
- Hex keys + torque wrench (especially for thru-axle mounts and rail bolts)
- Threadlocker (medium strength) for hardware that loosens repeatedly
- Silicone spray or dry PTFE lube for squeaks (use sparingly, avoid overspray on carpet)
- Cargo liner or rubber mat to protect carpet and simplify cleanup
Step-by-Step: Cleaning Your Interior Bike Rack Mount
Step 1: Remove bikes and shake out loose debris
- Unload the bike(s) and remove front wheels if your system stores them nearby.
- Take out any loose accessories: straps, wheel blocks, axle adapters, tool rolls.
- Gently shake or tap the platform outdoors if it?s removable.
Tip: Keep a small plastic bin in the cargo area for axle adapters, skewers, and straps. It reduces ?lost hardware? moments and prevents metal bits from rolling under seat tracks.
Step 2: Vacuum first (always)
- Vacuum around the mounts, rails, and under straps.
- Use a crevice tool along door sills, seatback seams, and cargo corners.
- If you have a carpeted cargo area, vacuum in multiple directions to lift embedded grit.
Why vacuum before wiping? If you wipe first, you can grind grit into plastic panels and scratch glossy trim.
Step 3: Wipe down mount hardware and base surfaces
- Use a lightly damp microfiber with interior cleaner for the platform and surrounding trim.
- For metal clamp areas (fork mount jaws, skewer clamp faces), wipe with a mild cleaner, then finish with a small amount of isopropyl alcohol on a towel.
- Brush threads and knurled knobs with a nylon brush to remove dried mud or salt.
Practical detail: If you see black marks on plastic trim near the mount, it?s often chain lube mist or rubber scuff. Interior cleaner plus gentle agitation usually lifts it. Avoid harsh degreasers inside the cabin?they can discolor plastics and leave strong odors.
Step 4: Clean straps, pads, and wheel trays
- Hand wash straps in warm water with a drop of mild soap.
- Rinse and air dry completely before reinstalling (wet straps can smell musty fast).
- Wipe rubber pads and wheel trays; inspect for cracking or permanent flattening.
Tip: If your straps are Velcro-based, pick out debris with a small brush. Velcro packed with pine needles and grit loses holding power and starts slipping under load.
Step 5: Dry and deodorize the cargo area
- Dry any wet carpet or liners with clean towels.
- If there?s lingering odor, use a fabric-safe interior spray lightly?don?t soak.
- Leave the hatch open for 10 minutes if weather allows.
Step-by-Step: Inspection and Tightening for Safety
A clean rack is nice. A secure rack is non-negotiable. Interior mounts experience repeated stress from braking, cornering, potholes, and loading cycles.
Step 1: Check mount-to-base fasteners
- Inspect bolts securing the fork/thru-axle mount to the board or rail.
- Look for elongated holes in wood platforms?this is a sign of movement.
- Re-torque bolts to the manufacturer?s spec if provided. If not, tighten firmly without crushing plastic components.
Real-world example: If you hear a ?tick? when braking, it?s often a slightly loose mount bolt that shifts under load. Tightening usually fixes it immediately.
Step 2: Inspect clamps, threads, and adapters
- Thru-axle mounts: check thread smoothness and ensure the axle engages cleanly without cross-threading.
- Quick-release skewers: confirm the cam action feels consistent (not gritty or overly loose).
- Adapters: verify the correct axle size (e.g., 12x100 vs 15x110) to avoid sloppy fit and vibration.
Step 3: Inspect tie-down points and straps
- Look for fraying, torn stitching, or melted sections on straps (exhaust heat can damage straps if stored near a hot bike after transport).
- Check buckles for cracks and proper latch engagement.
- Confirm D-rings/eye bolts aren?t bending or pulling out of the platform.
Step 4: Confirm the bike is stable under simulated forces
- Mount the bike as you normally would.
- Push and pull the bike gently in multiple directions.
- Watch the mount base: if the base shifts before the suspension compresses, something is loose.
A stable setup should allow a tiny amount of bike movement (tires and suspension flex), but the mount itself should not slide, twist, or creak.
Protecting Your Car Interior: Liners, Barriers, and Smart Placement
Interior bike rack maintenance is also interior care. A few protective measures can prevent permanent wear.
Best practices that save your trim
- Use a cargo liner (rubber or molded) under the rack to catch mud and chain lube drips.
- Add door-sill protection film where tires or pedals pass during loading.
- Use a seatback protector if bikes lean near folded seats.
- Keep pedals covered with a simple pedal sleeve or microfiber wrap to avoid gouging plastic panels.
- Don?t let wet tires sit on carpet; place a small rubber mat under each wheel area.
Placement tips for safer loading and fewer scratches
- Orient fork mounts so handlebars clear side glass and pillar trim.
- Stagger bikes (one slightly forward, one slightly back) to prevent bar-to-saddle contact.
- Keep chainrings facing away from interior panels when possible.
Product Recommendations: What?s Worth Upgrading for Longevity
Not every setup needs new hardware, but a few targeted upgrades dramatically improve durability and reduce cabin damage.
Thru-axle vs quick-release mounts
- Thru-axle mounts tend to feel more solid and reduce wobble, especially for modern mountain bikes and gravel bikes.
- Quick-release mounts are convenient and affordable, but skewers can wear faster if contaminated with grit.
Straps: cam buckle vs ratchet vs Velcro
- Cam buckle straps: great balance of speed and holding power; less likely to overtighten and damage wheels.
- Ratchet straps: strong, but easy to overdo; can crush a wheel against a tray or stress a light platform.
- Velcro straps: fast, but wear out sooner and can slip if contaminated with dirt.
Platform materials: plywood vs aluminum rails
- Plywood platforms: cost-effective and quiet if built well; seal edges with polyurethane to prevent moisture swelling.
- Aluminum rail systems: adjustable and durable; typically easier to remove and clean underneath.
If your current platform creaks or shows moisture damage, upgrading to a sealed plywood base or a modular rail system is often cheaper than repairing interior trim scratched by a shifting rack.
Common Mistakes to Avoid (and What to Do Instead)
- Mistake: Using harsh degreasers inside the cabin.
Do instead: Use interior-safe APC for plastics and a controlled alcohol wipe for metal clamp faces. - Mistake: Overtightening clamps and bolts ?just to be safe.?
Do instead: Use a torque wrench where possible; aim for secure without crushing plastics or stripping threads. - Mistake: Ignoring wet gear after rainy rides.
Do instead: Dry the rack base, straps, and carpet area the same day to avoid mildew odors. - Mistake: Letting grit accumulate under the platform.
Do instead: Periodically remove the platform or lift it enough to vacuum underneath. - Mistake: Mixing axle standards without labeling adapters.
Do instead: Label adapters (12x100, 12x110, 15x110) and store them in a dedicated bin. - Mistake: Assuming ?it hasn?t moved yet? equals safe.
Do instead: Perform the push/pull stability test monthly and after any hard stop.
FAQ: Bike Rack Interior Mount Maintenance
How often should I tighten my interior bike rack mount hardware?
Check tightness monthly and after any rough road trip, emergency braking event, or if you hear new rattles. If you transport bikes weekly, a quick bolt check every couple of weeks is a good habit.
What?s the best way to prevent chain lube stains inside the car?
Use a cargo liner and place an absorbent mat or towel under the drivetrain side. Wiping the chain lightly before loading helps, and switching to a ?drier? lube in dusty seasons can reduce fling.
Can I use silicone spray on interior rack parts?
Yes, but use it sparingly and apply it to a cloth first?then wipe the hinge or contact point. Overspray can make plastics shiny and slippery and may attract dust on carpet.
My platform is plywood. How do I stop it from smelling after wet rides?
Seal the wood with polyurethane (including edges and bolt holes), dry it after wet trips, and avoid storing wet straps against it. If it already smells, remove it, clean with mild soap, let it dry fully in a ventilated area, then reseal if needed.
Why does my bike wobble even when the fork mount is tight?
Common causes include the wrong axle adapter, a loose mount-to-platform bolt, a flexing base, or a wheel/tire bumping trim and ?springing? back. Work through the stability test: watch the mount base for movement first, then check adapters and strap tension.
Do interior bike racks damage car interiors?
They can, but most damage comes from grit, unsecured pedals/handlebars, and shifting platforms. A liner, careful loading technique, and routine vacuuming prevent the majority of scuffs and scratches.
Wrap-Up: A Maintenance Checklist You Can Use Today
If you want long-lasting results from an interior bike rack mount, focus on three things: keep grit out, keep hardware tight, and keep your interior protected. Here?s a quick next-step checklist:
- Vacuum around the mounts and under straps this week.
- Wipe clamp faces and clean threads so tightening feels smooth and consistent.
- Wash and fully dry straps; replace any with fraying or weak Velcro.
- Re-torque mount bolts and test bike stability with a firm push/pull.
- Add a cargo liner or rubber mats if your carpet is taking the abuse.
- Label and organize axle adapters so you always use the correct standard.
For more practical interior care tips?cargo protection, trim scratch prevention, odor control, and smart storage solutions?explore more guides on carinteriormix.com.